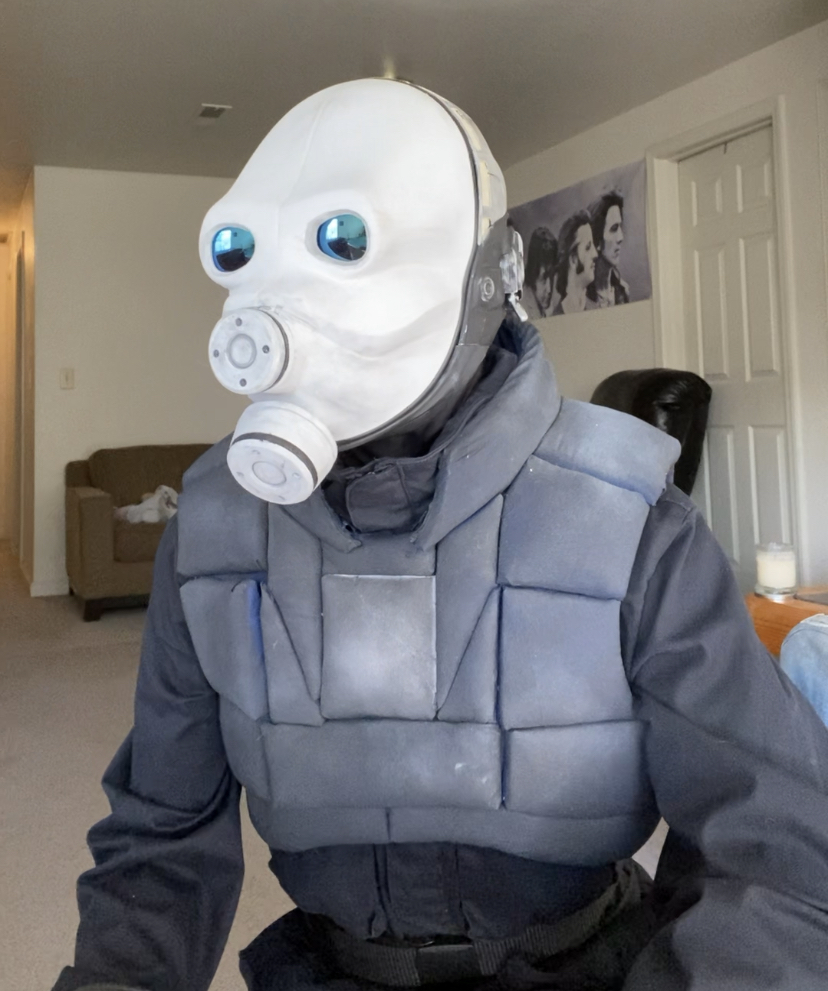
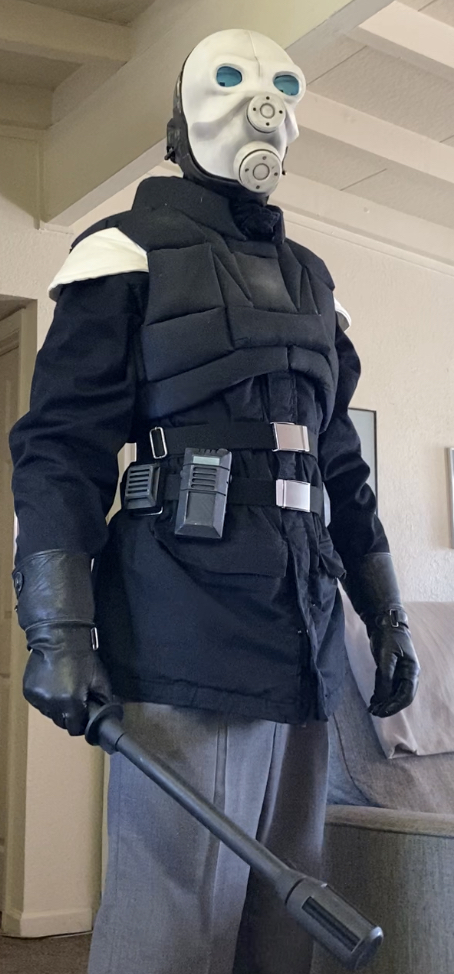
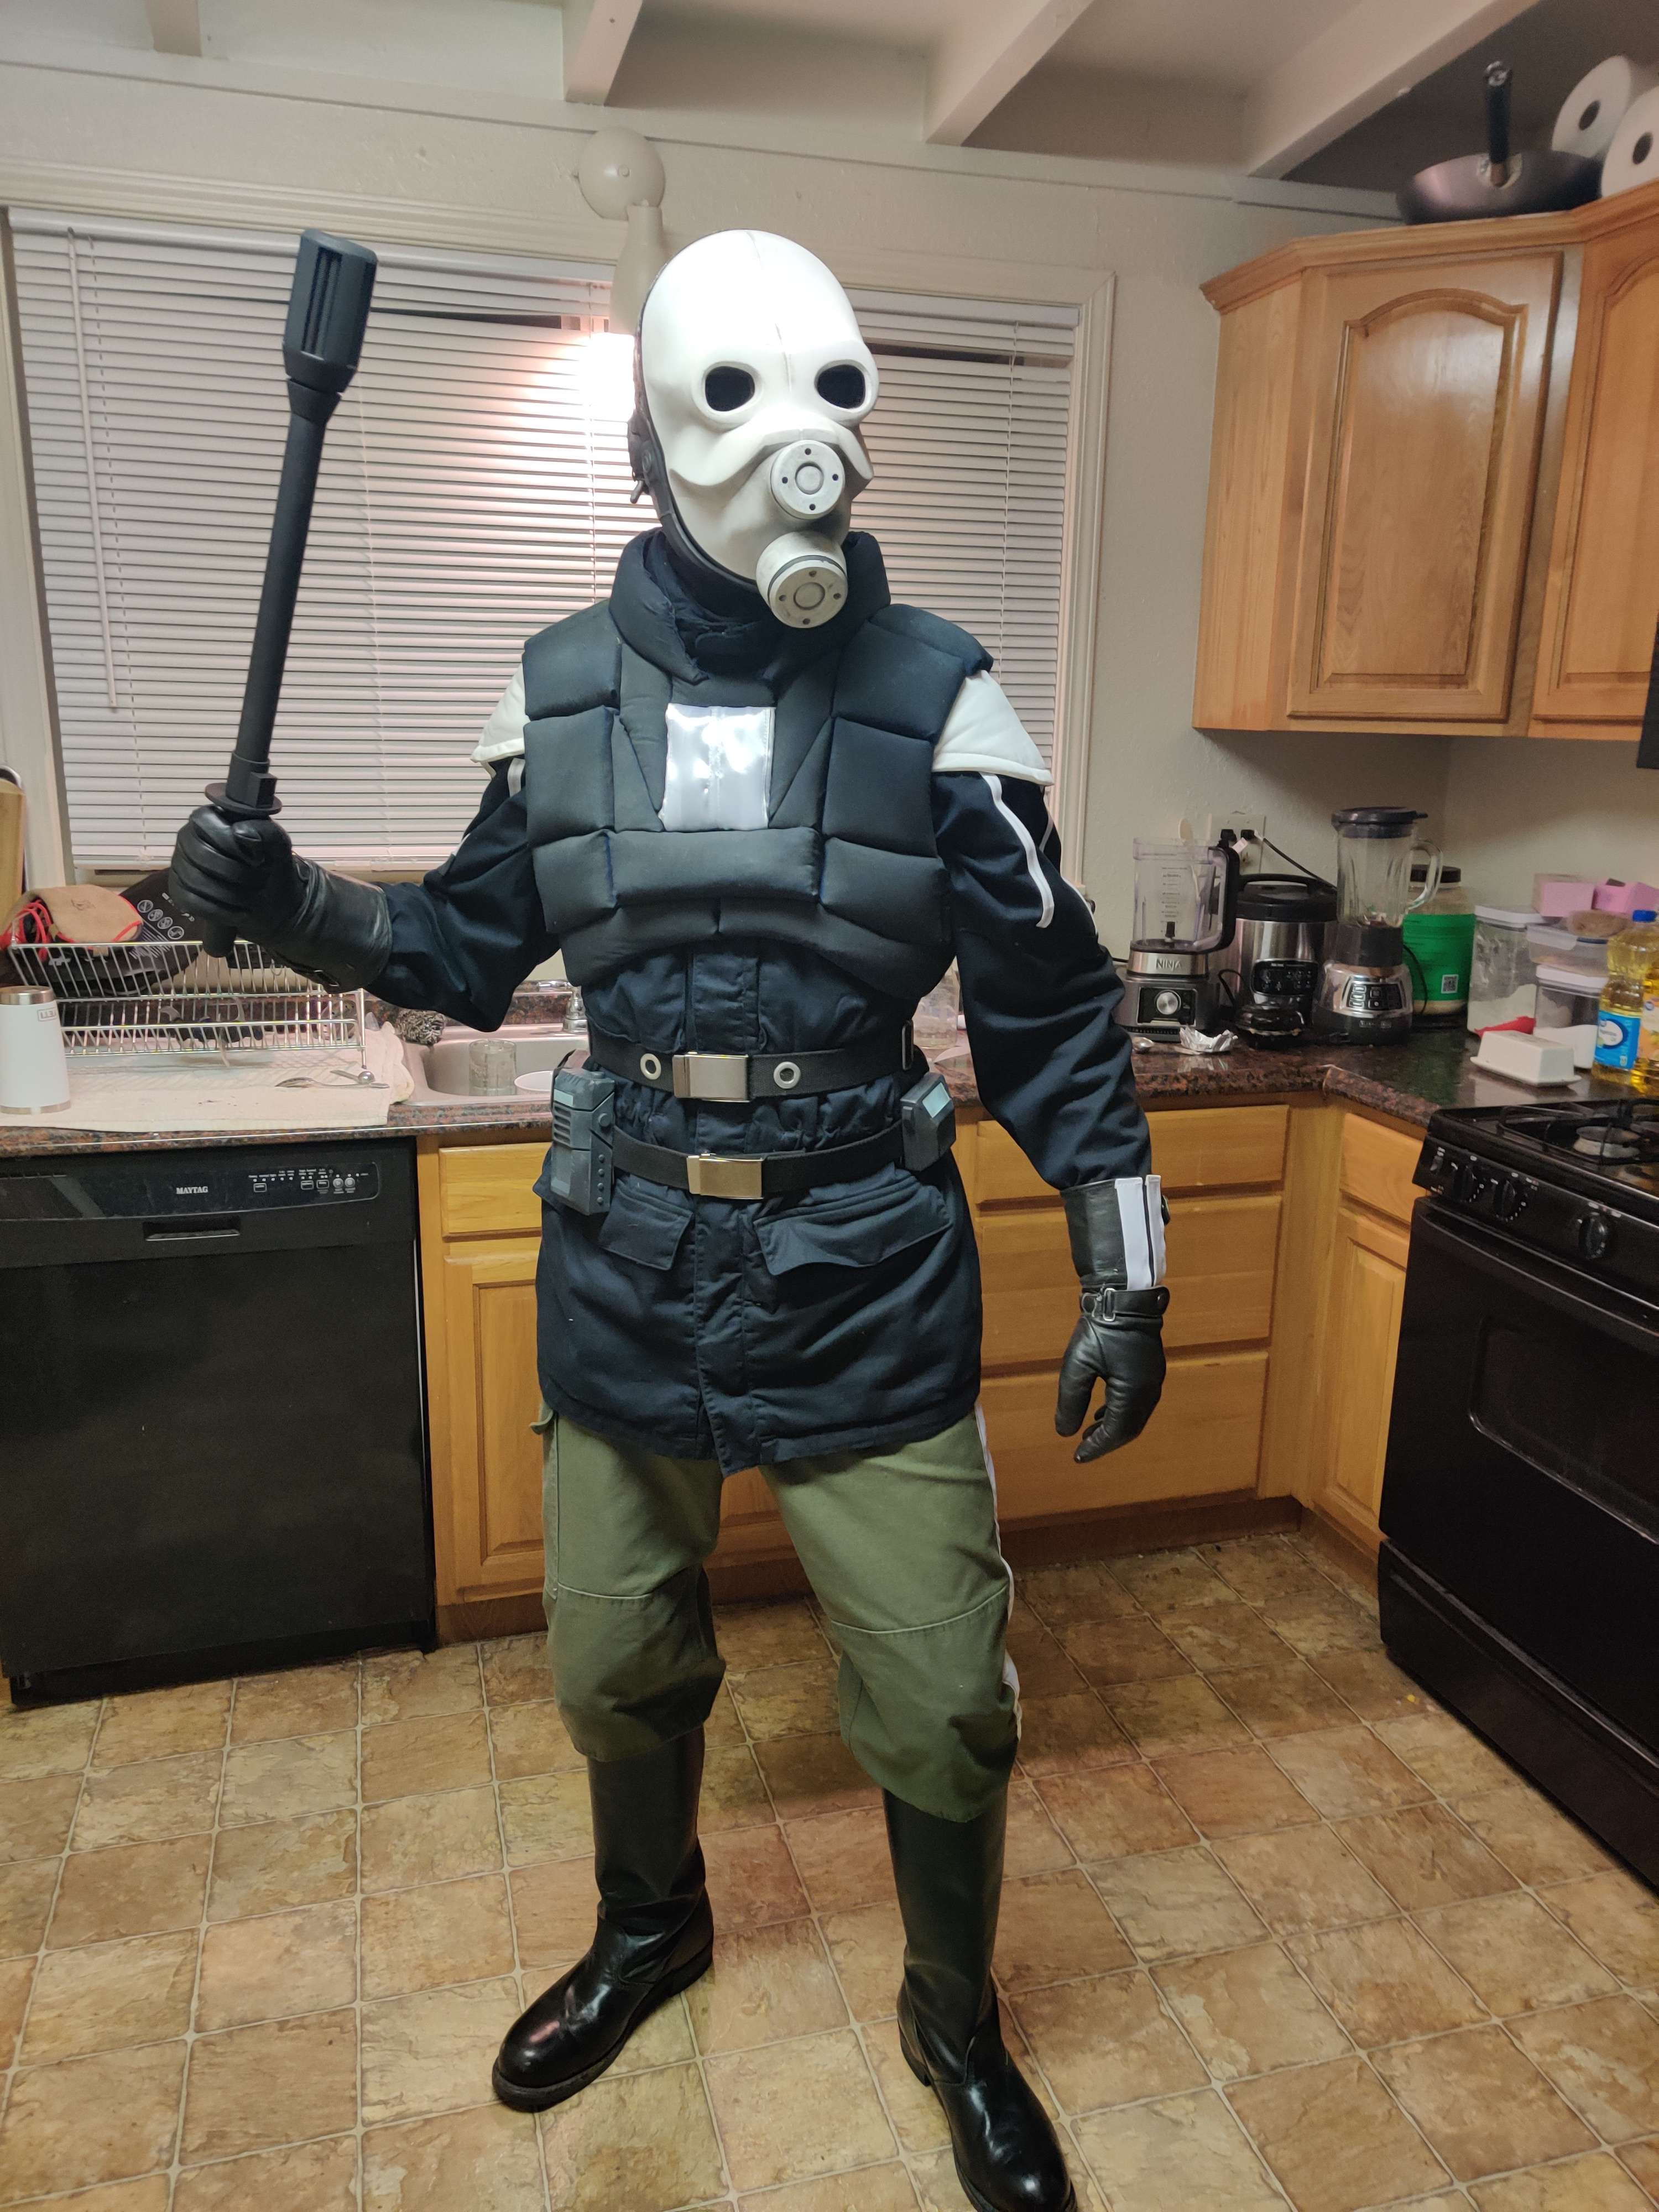
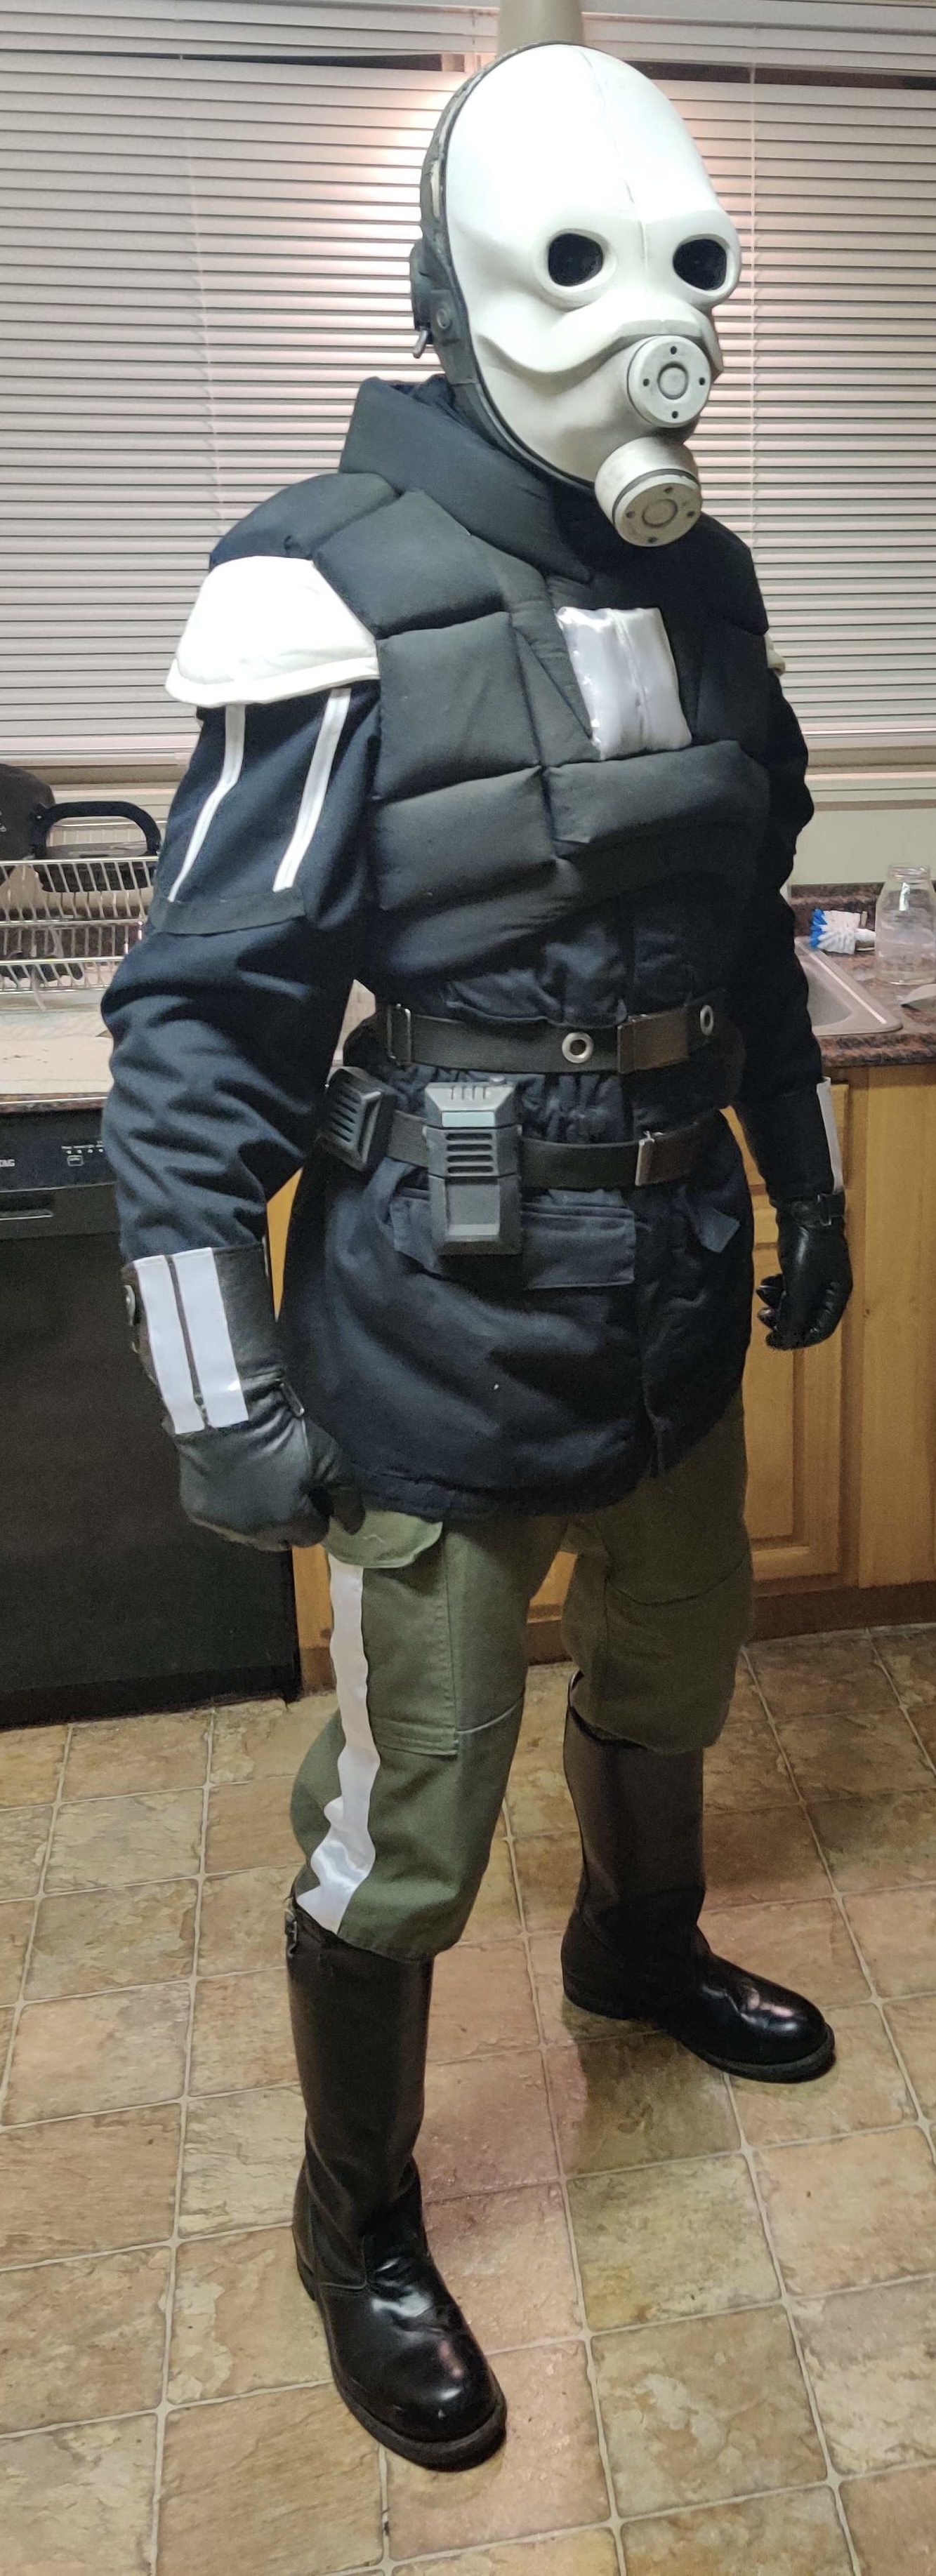
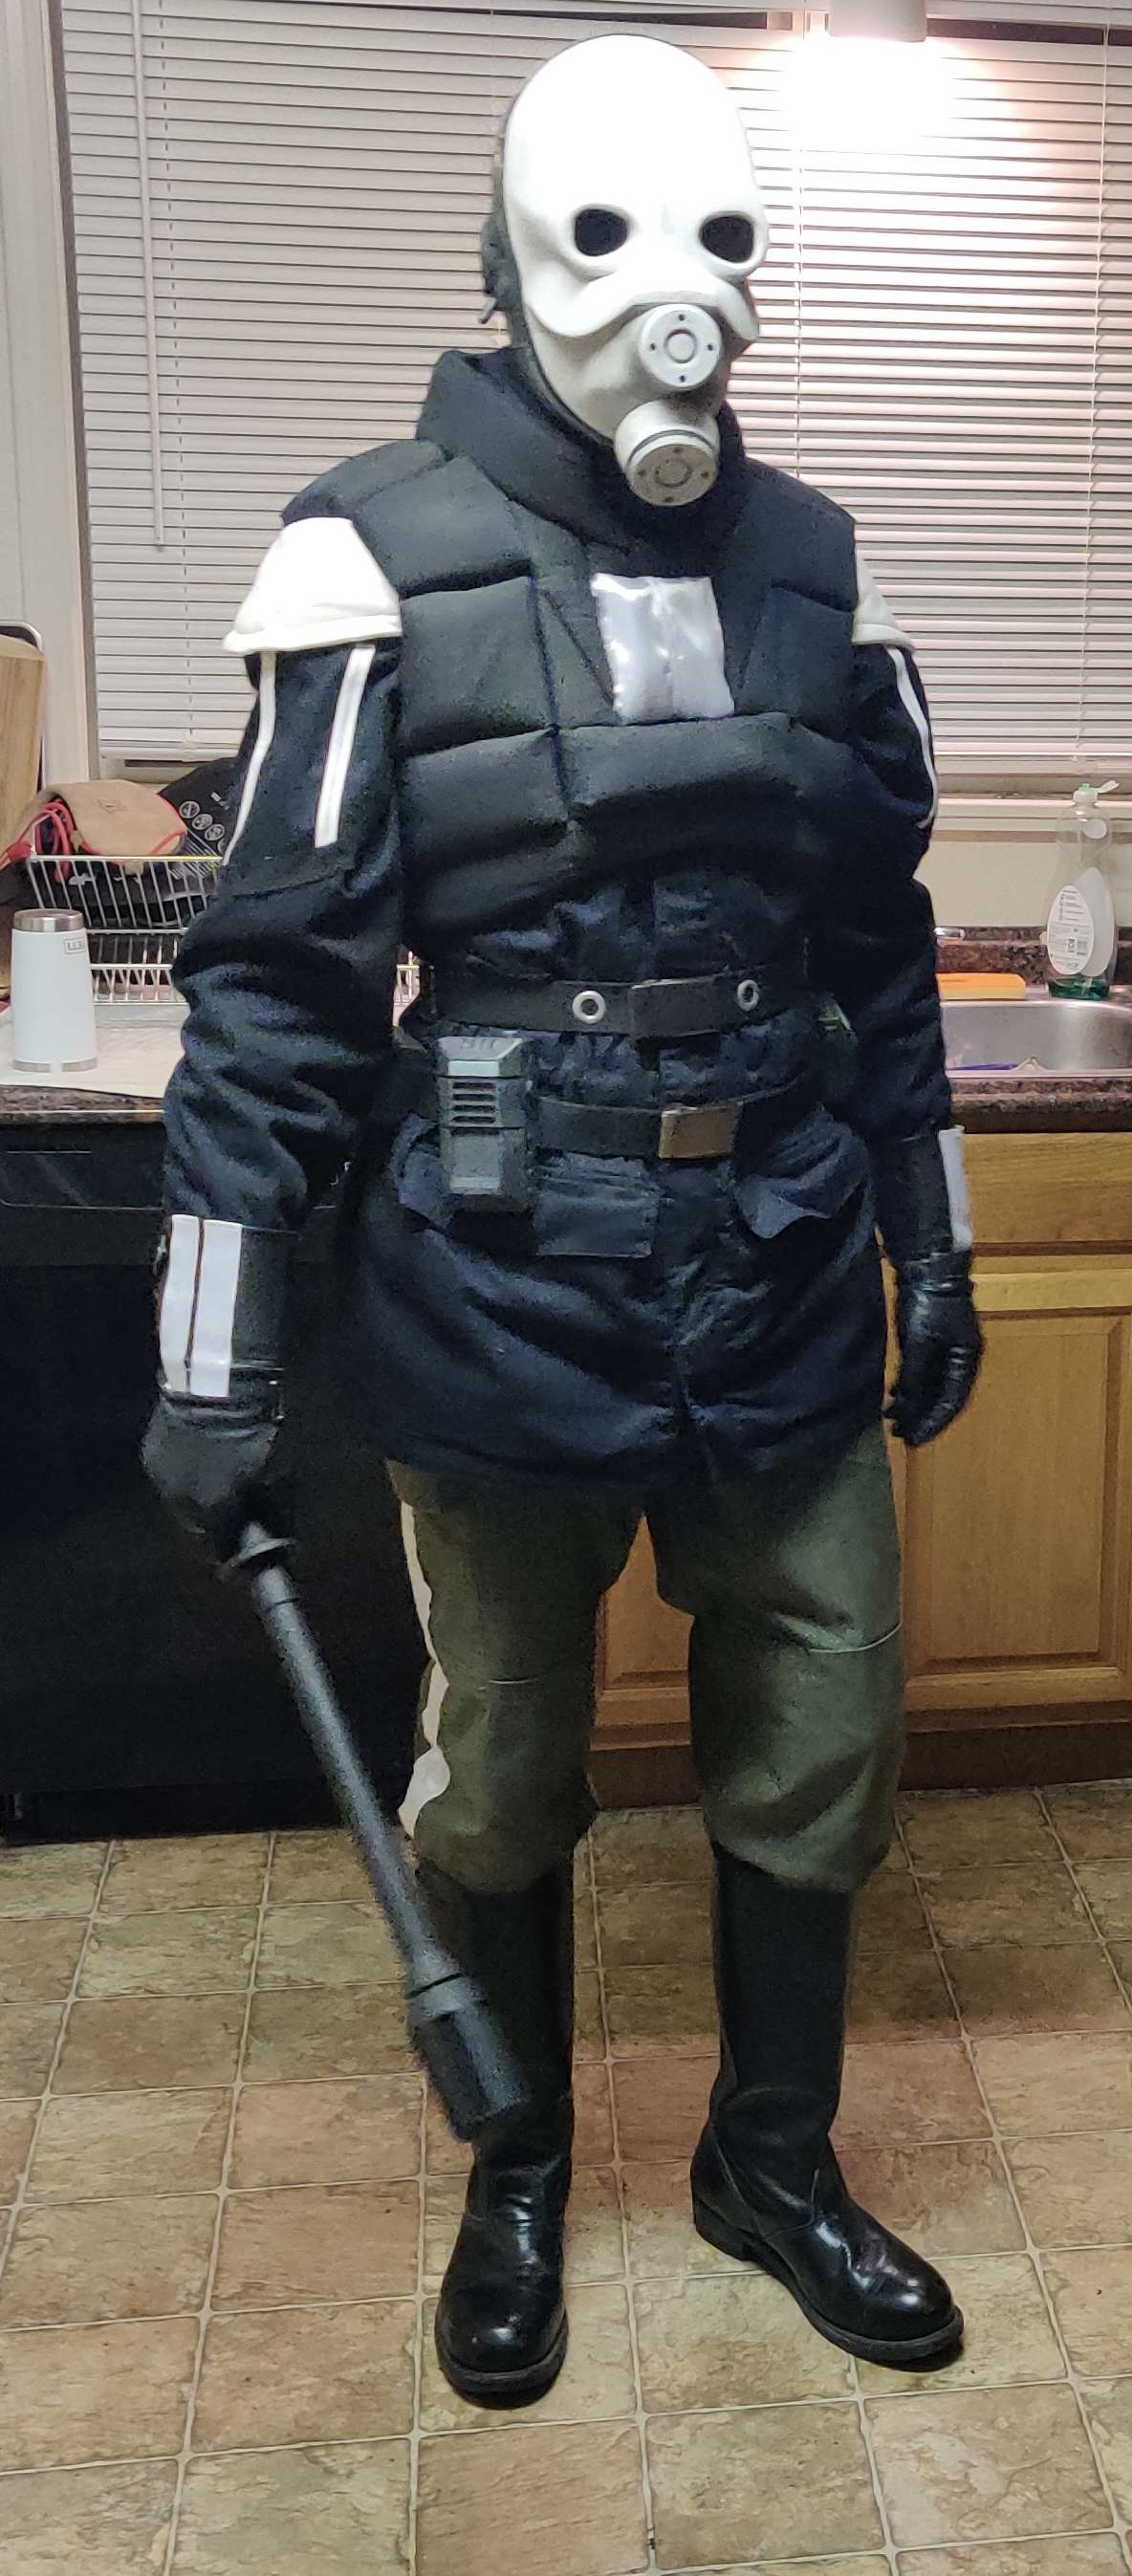
The experiments, false starts, and small breakthroughs behind the uniform.
39 journal entries68 imagesStill evolving
I started this build in 2019. This journal follows the work from the beginning: early foam experiments, helmet rebuilds, convention deadlines, and the refinements that came after.
Follow the experiments year by year, from the first foam panels to finished costumes and redesigned accessories. The optional “From the community” sections collect feedback, questions, and other builders’ contributions along the way.
About this journal & design credits
Adapted from my original build notes, with dates retained to show how the project developed. Some early entries include later photographs. Community contributions are summarized and attributed, with links to the original discussions. Historical prices and resource availability may have changed.
Reference images are retained beside the discussion they illustrate. Design references include mb814’s model and textures, Half-Life: Alyx references and Max Aristov, and imagery from msleeper’s blog. The early baton uses Lybos’s model; the later stunstick references Pixelitz’s HD remake. The 2021 helmet came from an Etsy model whose creator is not identified in my original notes. Half-Life and its characters belong to Valve; this is an independent fan project.
I've wanted to build a Metrocop for years. Seeing other makers bring Civil Protection to life finally pushed me to start my own version.
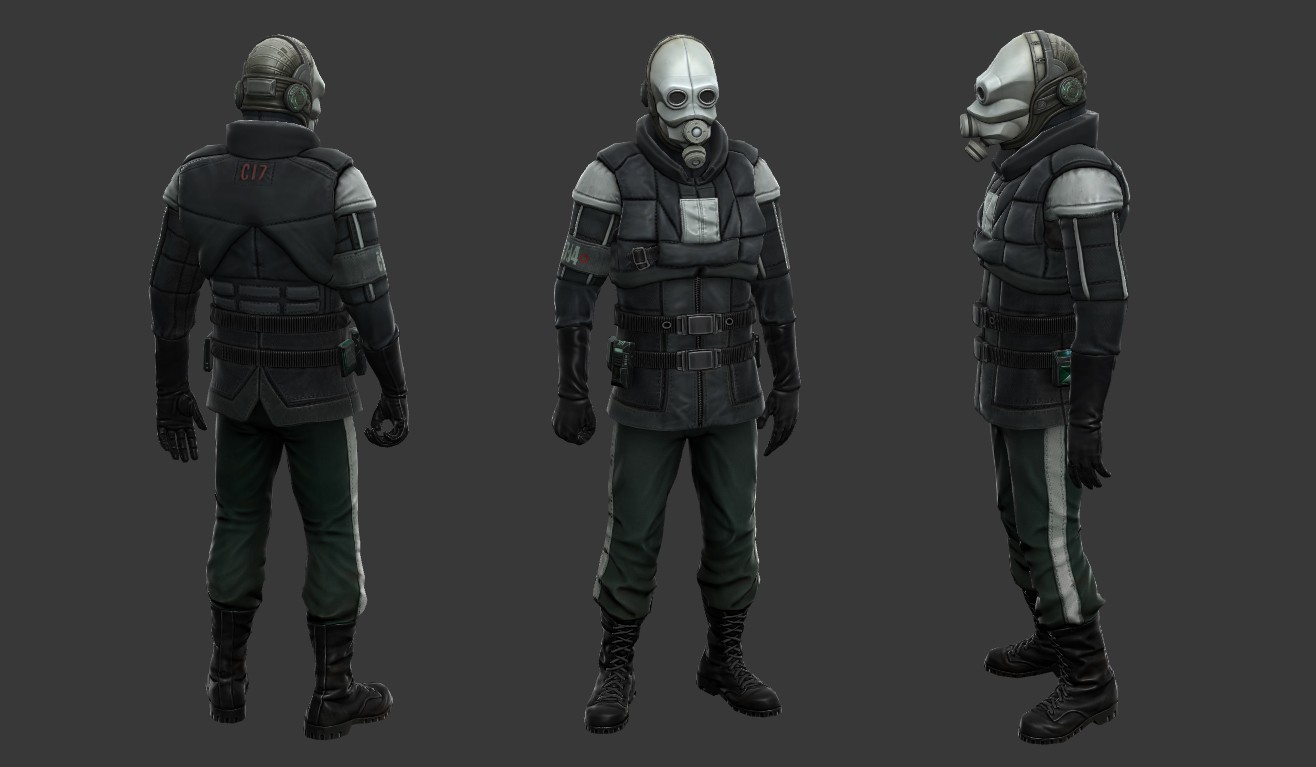
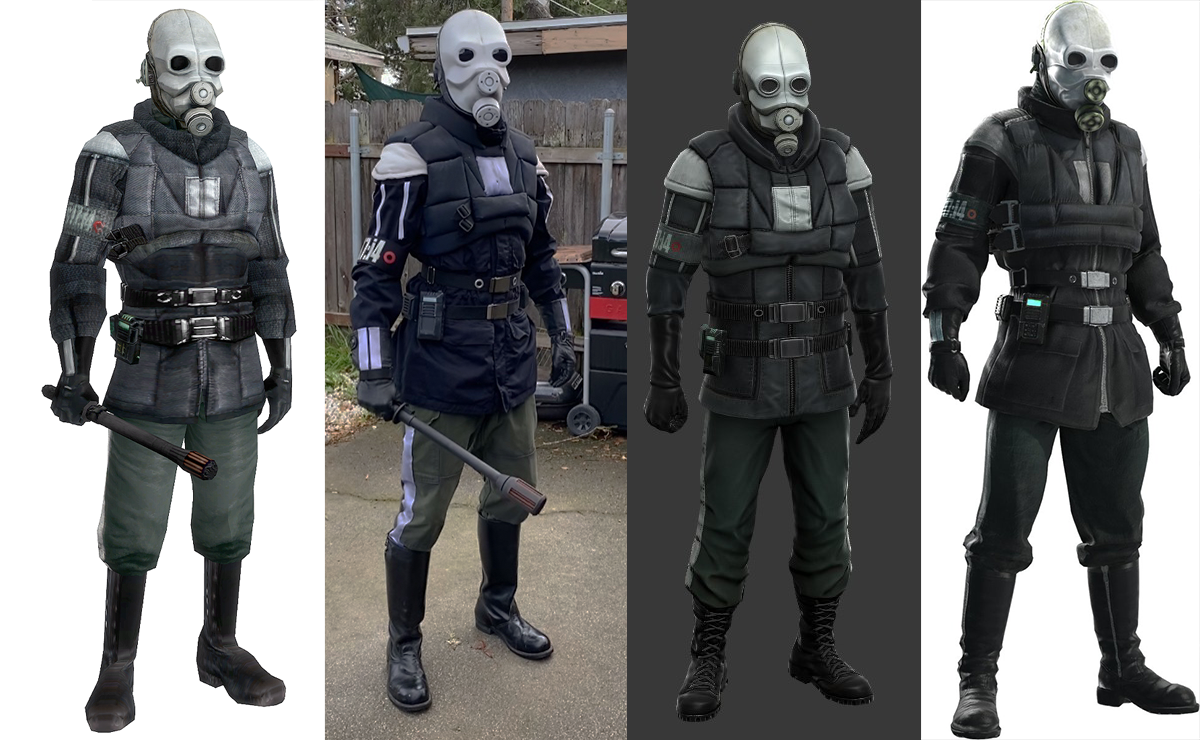
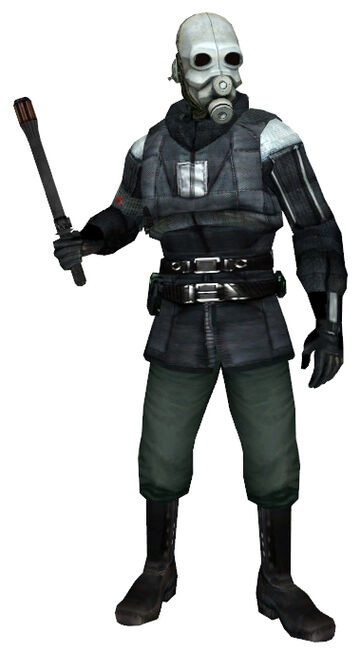
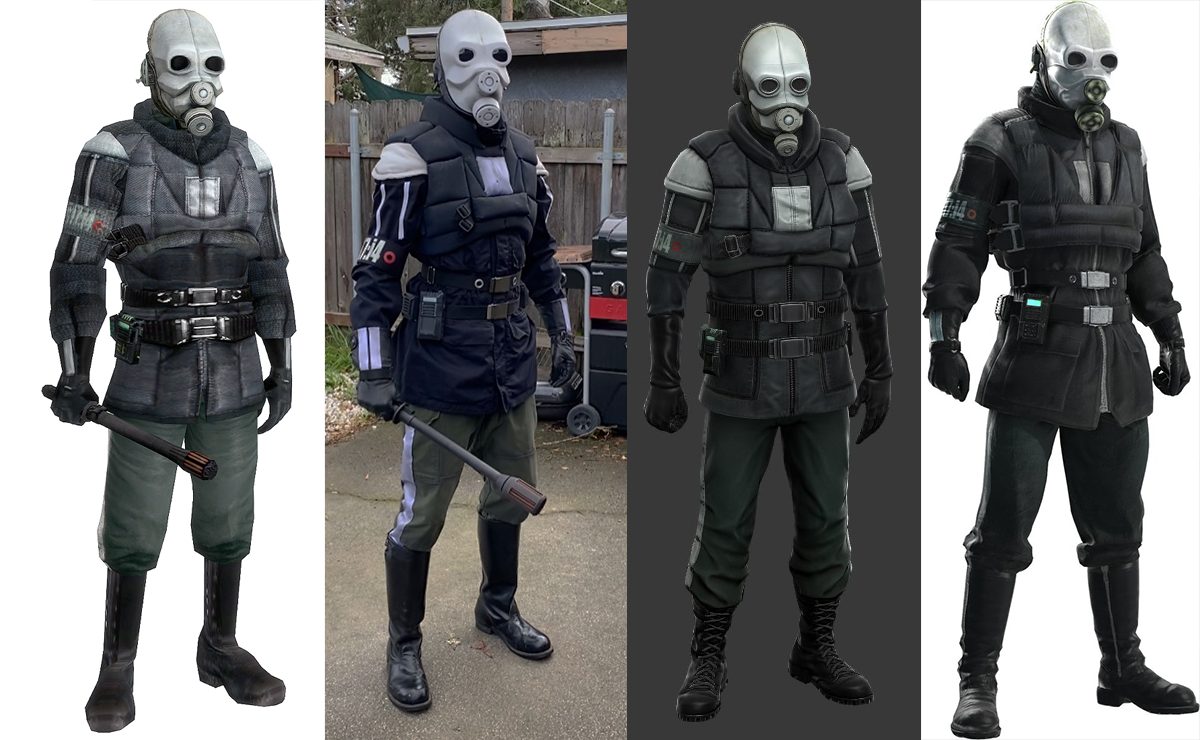
The goal is to get as close as I can to the character's proportions and silhouette. My main reference is mb814's higher-resolution Metrocop model and textures: https://gamebanana.com/skins/141967. I prefer its look to the original in several places, although I'm planning to skip the lace-up boots.
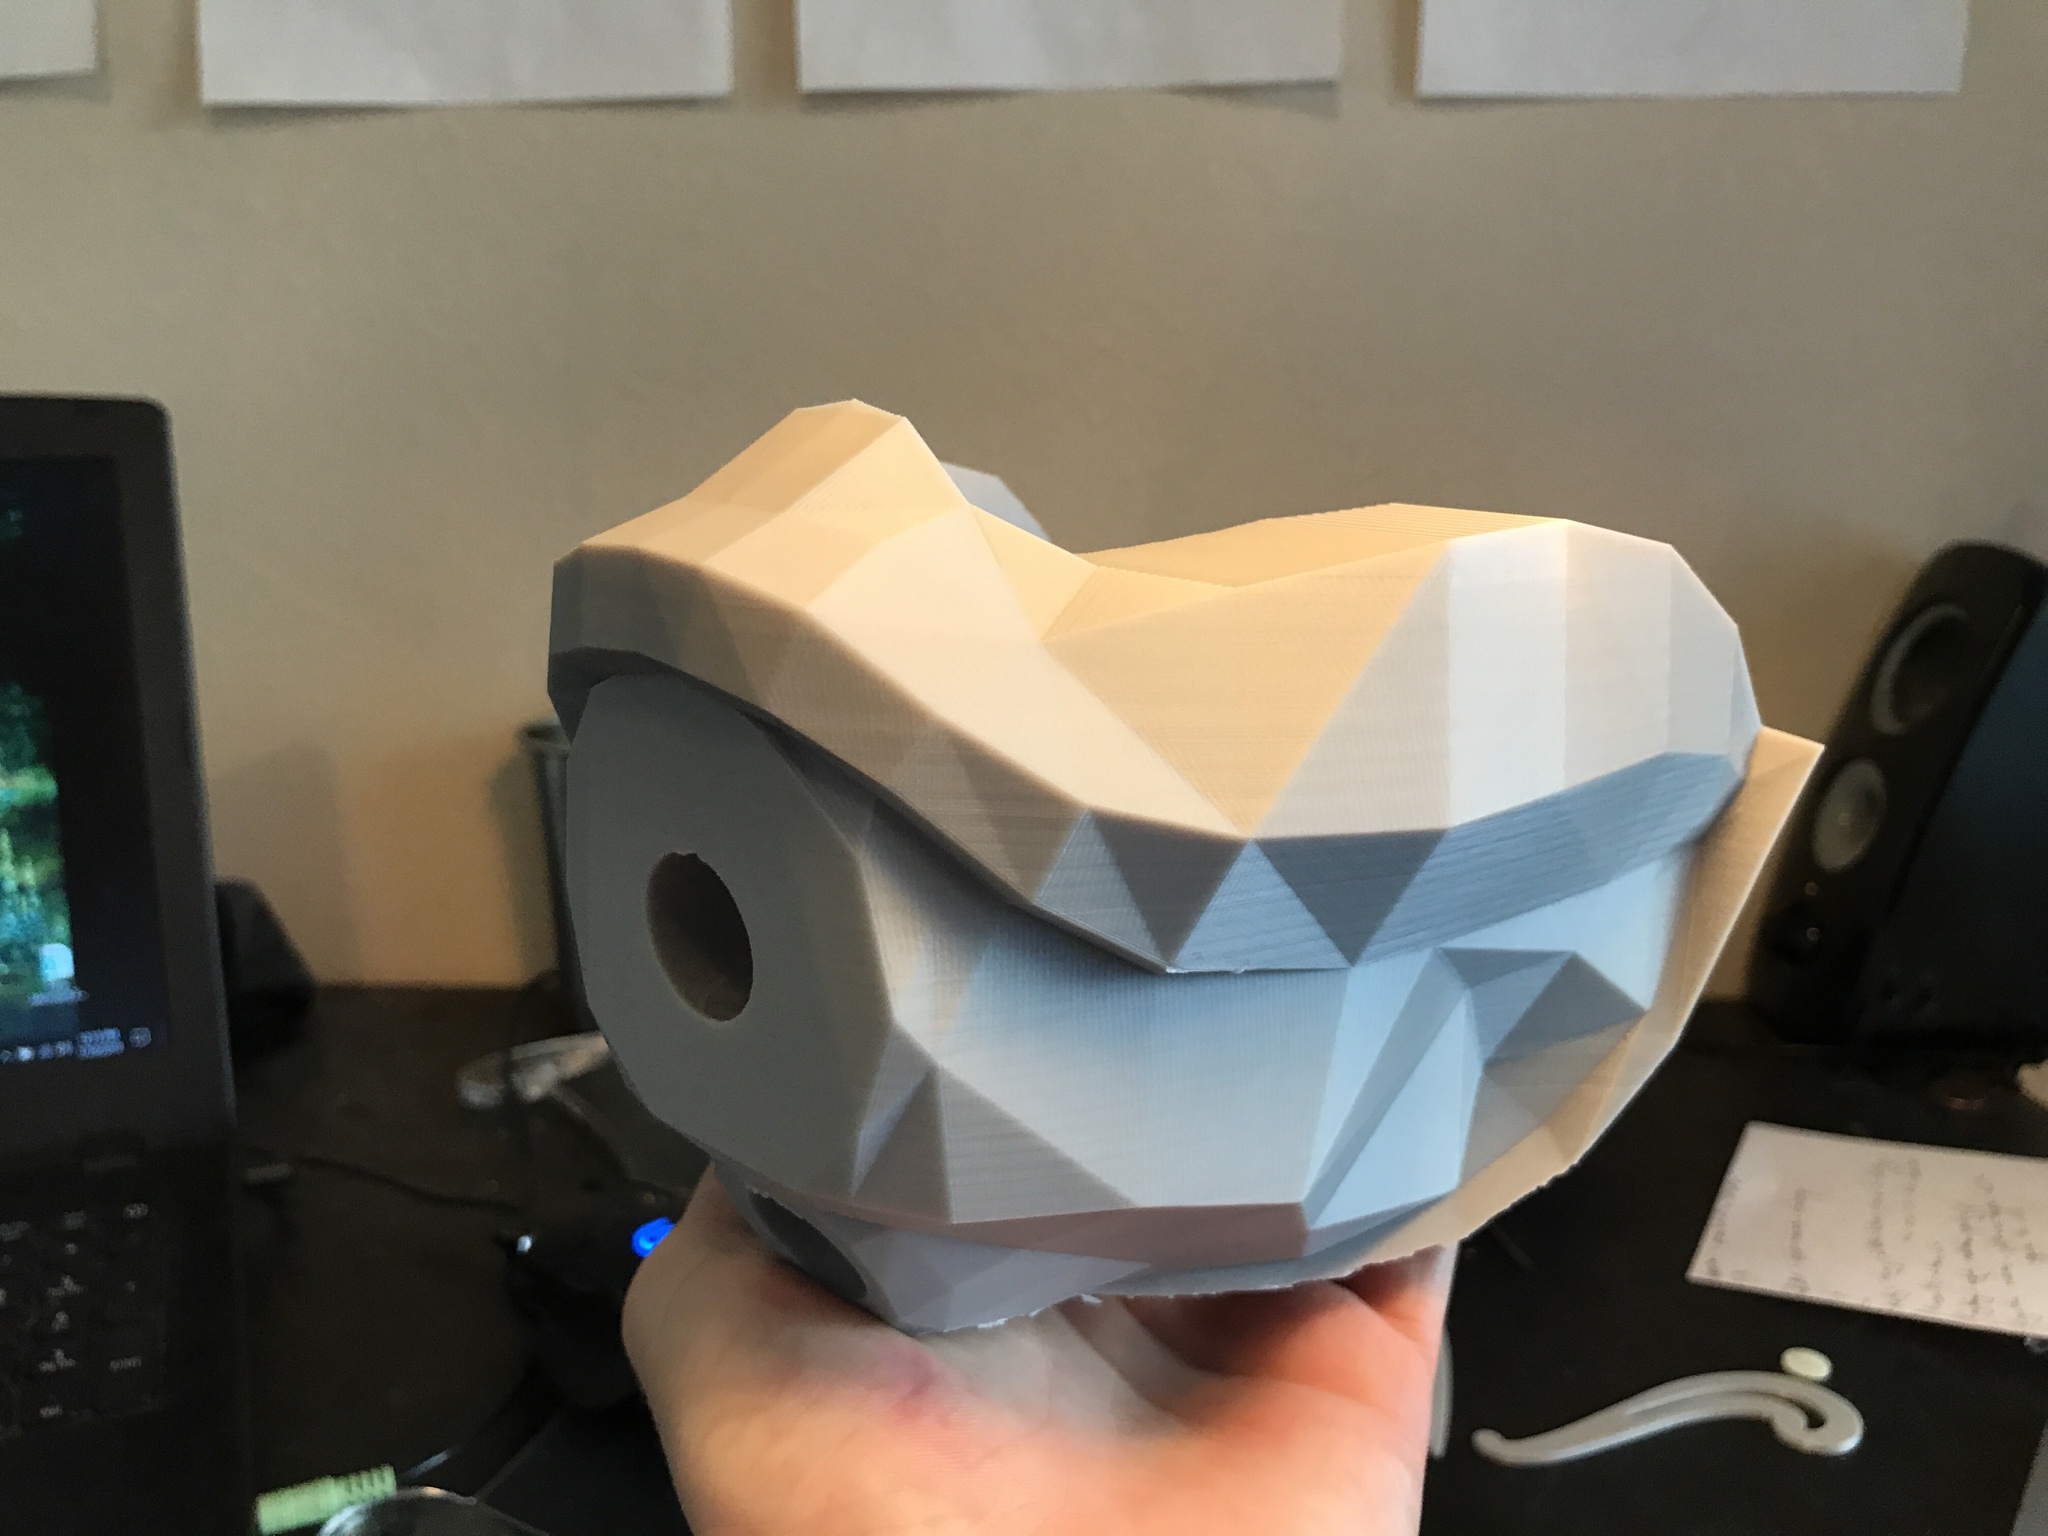
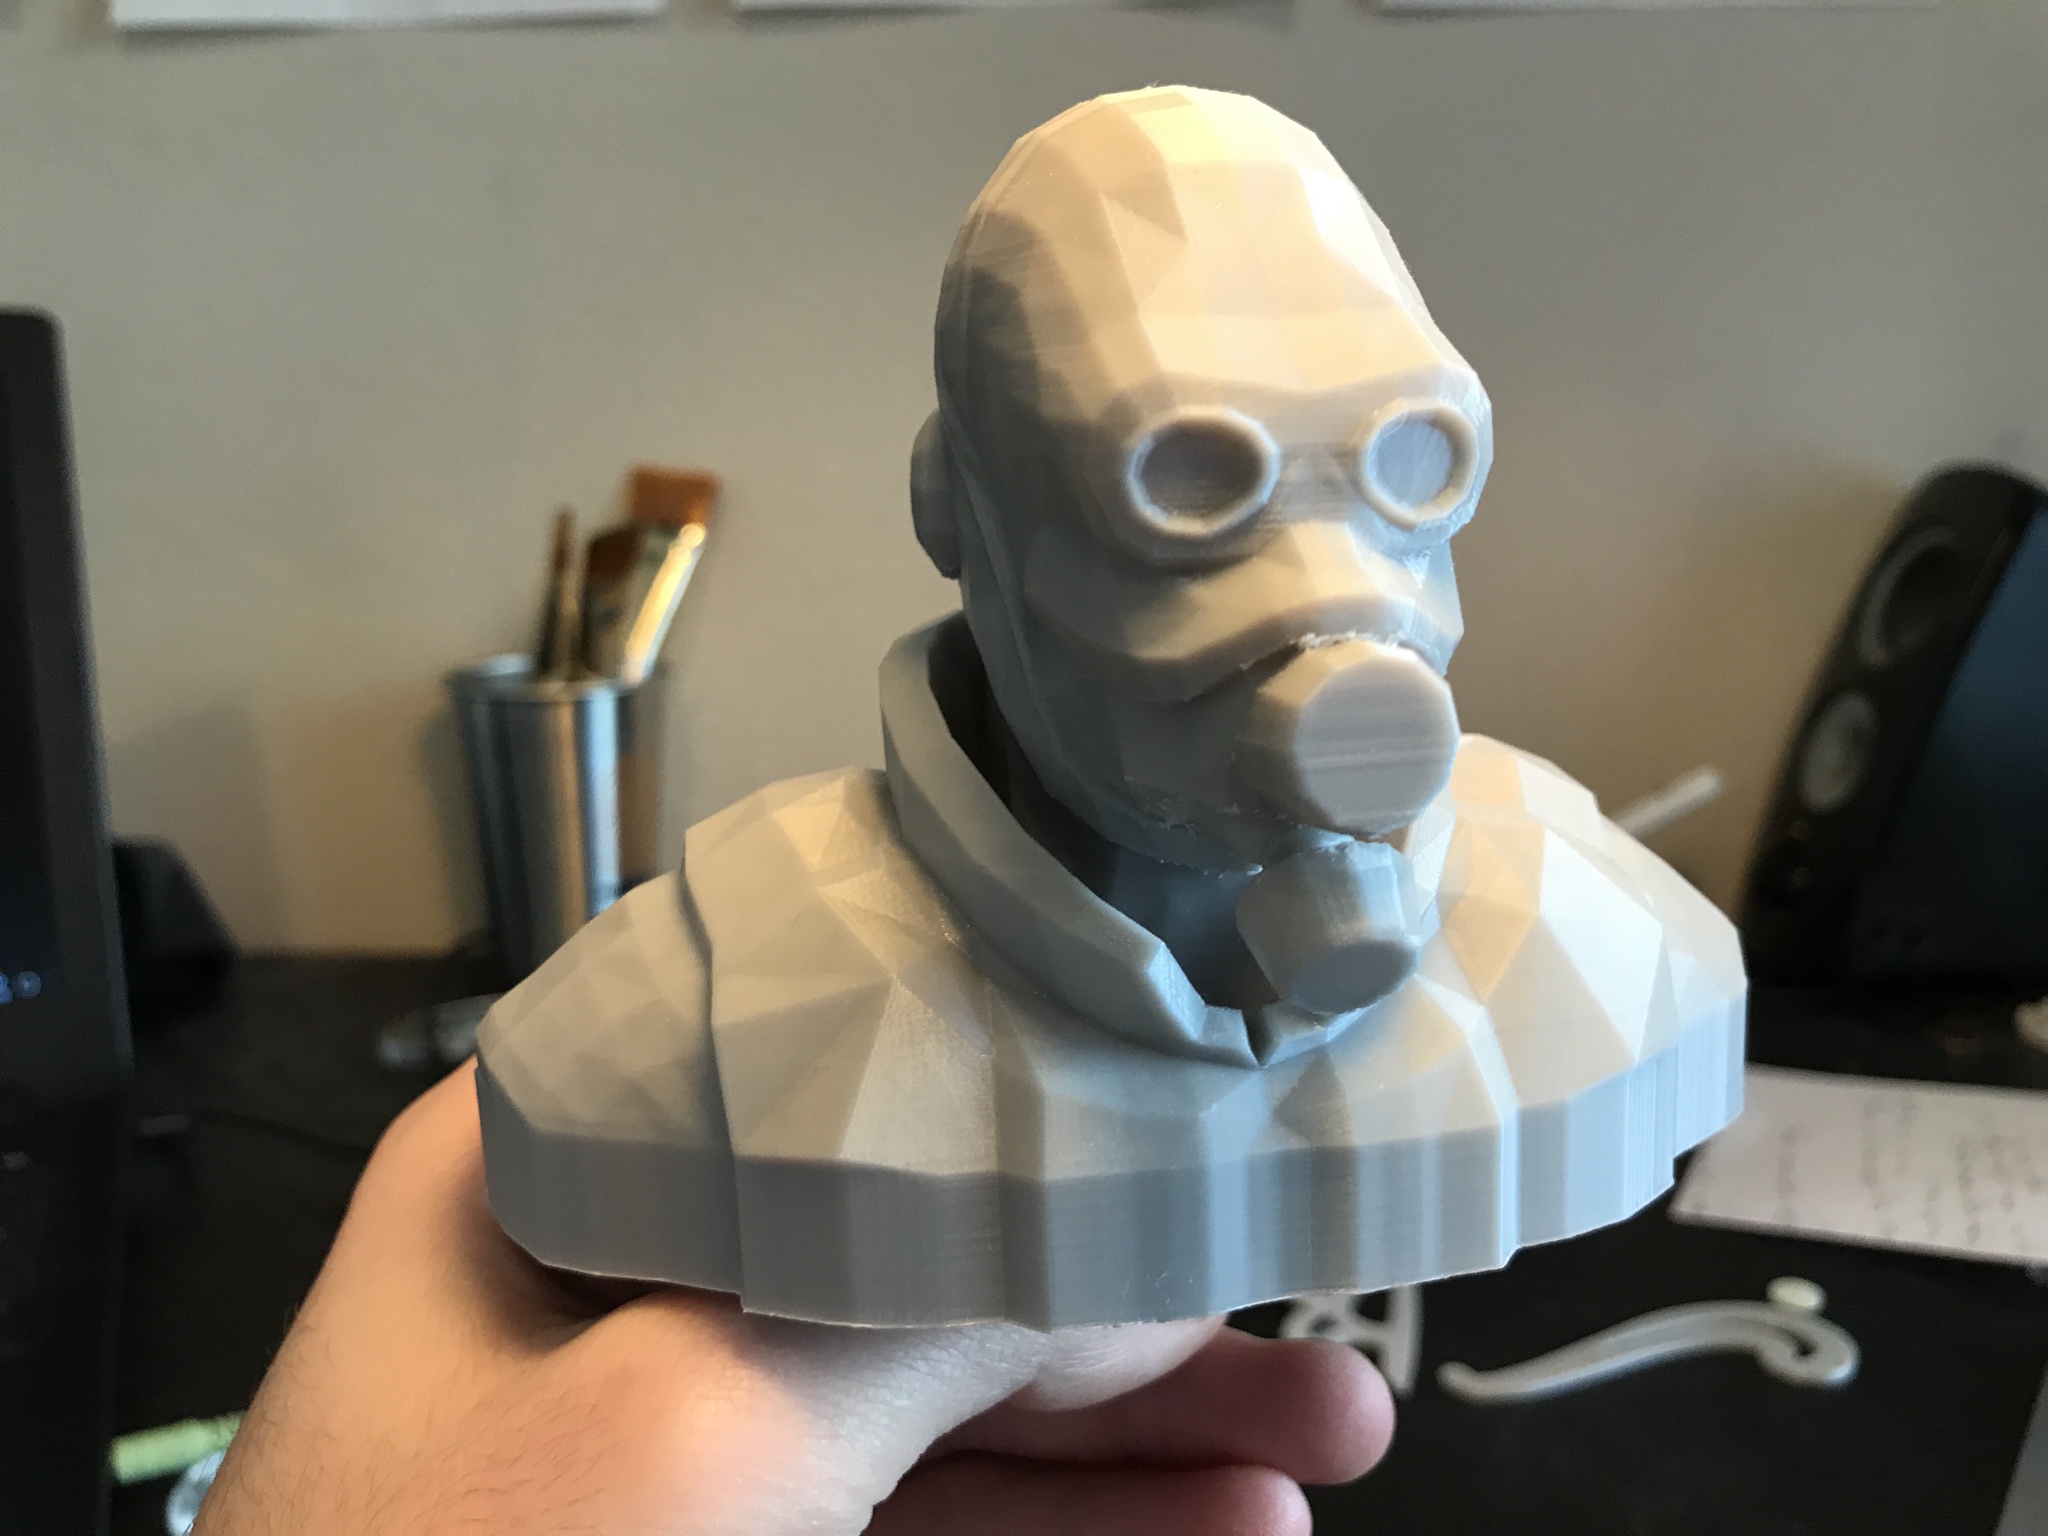
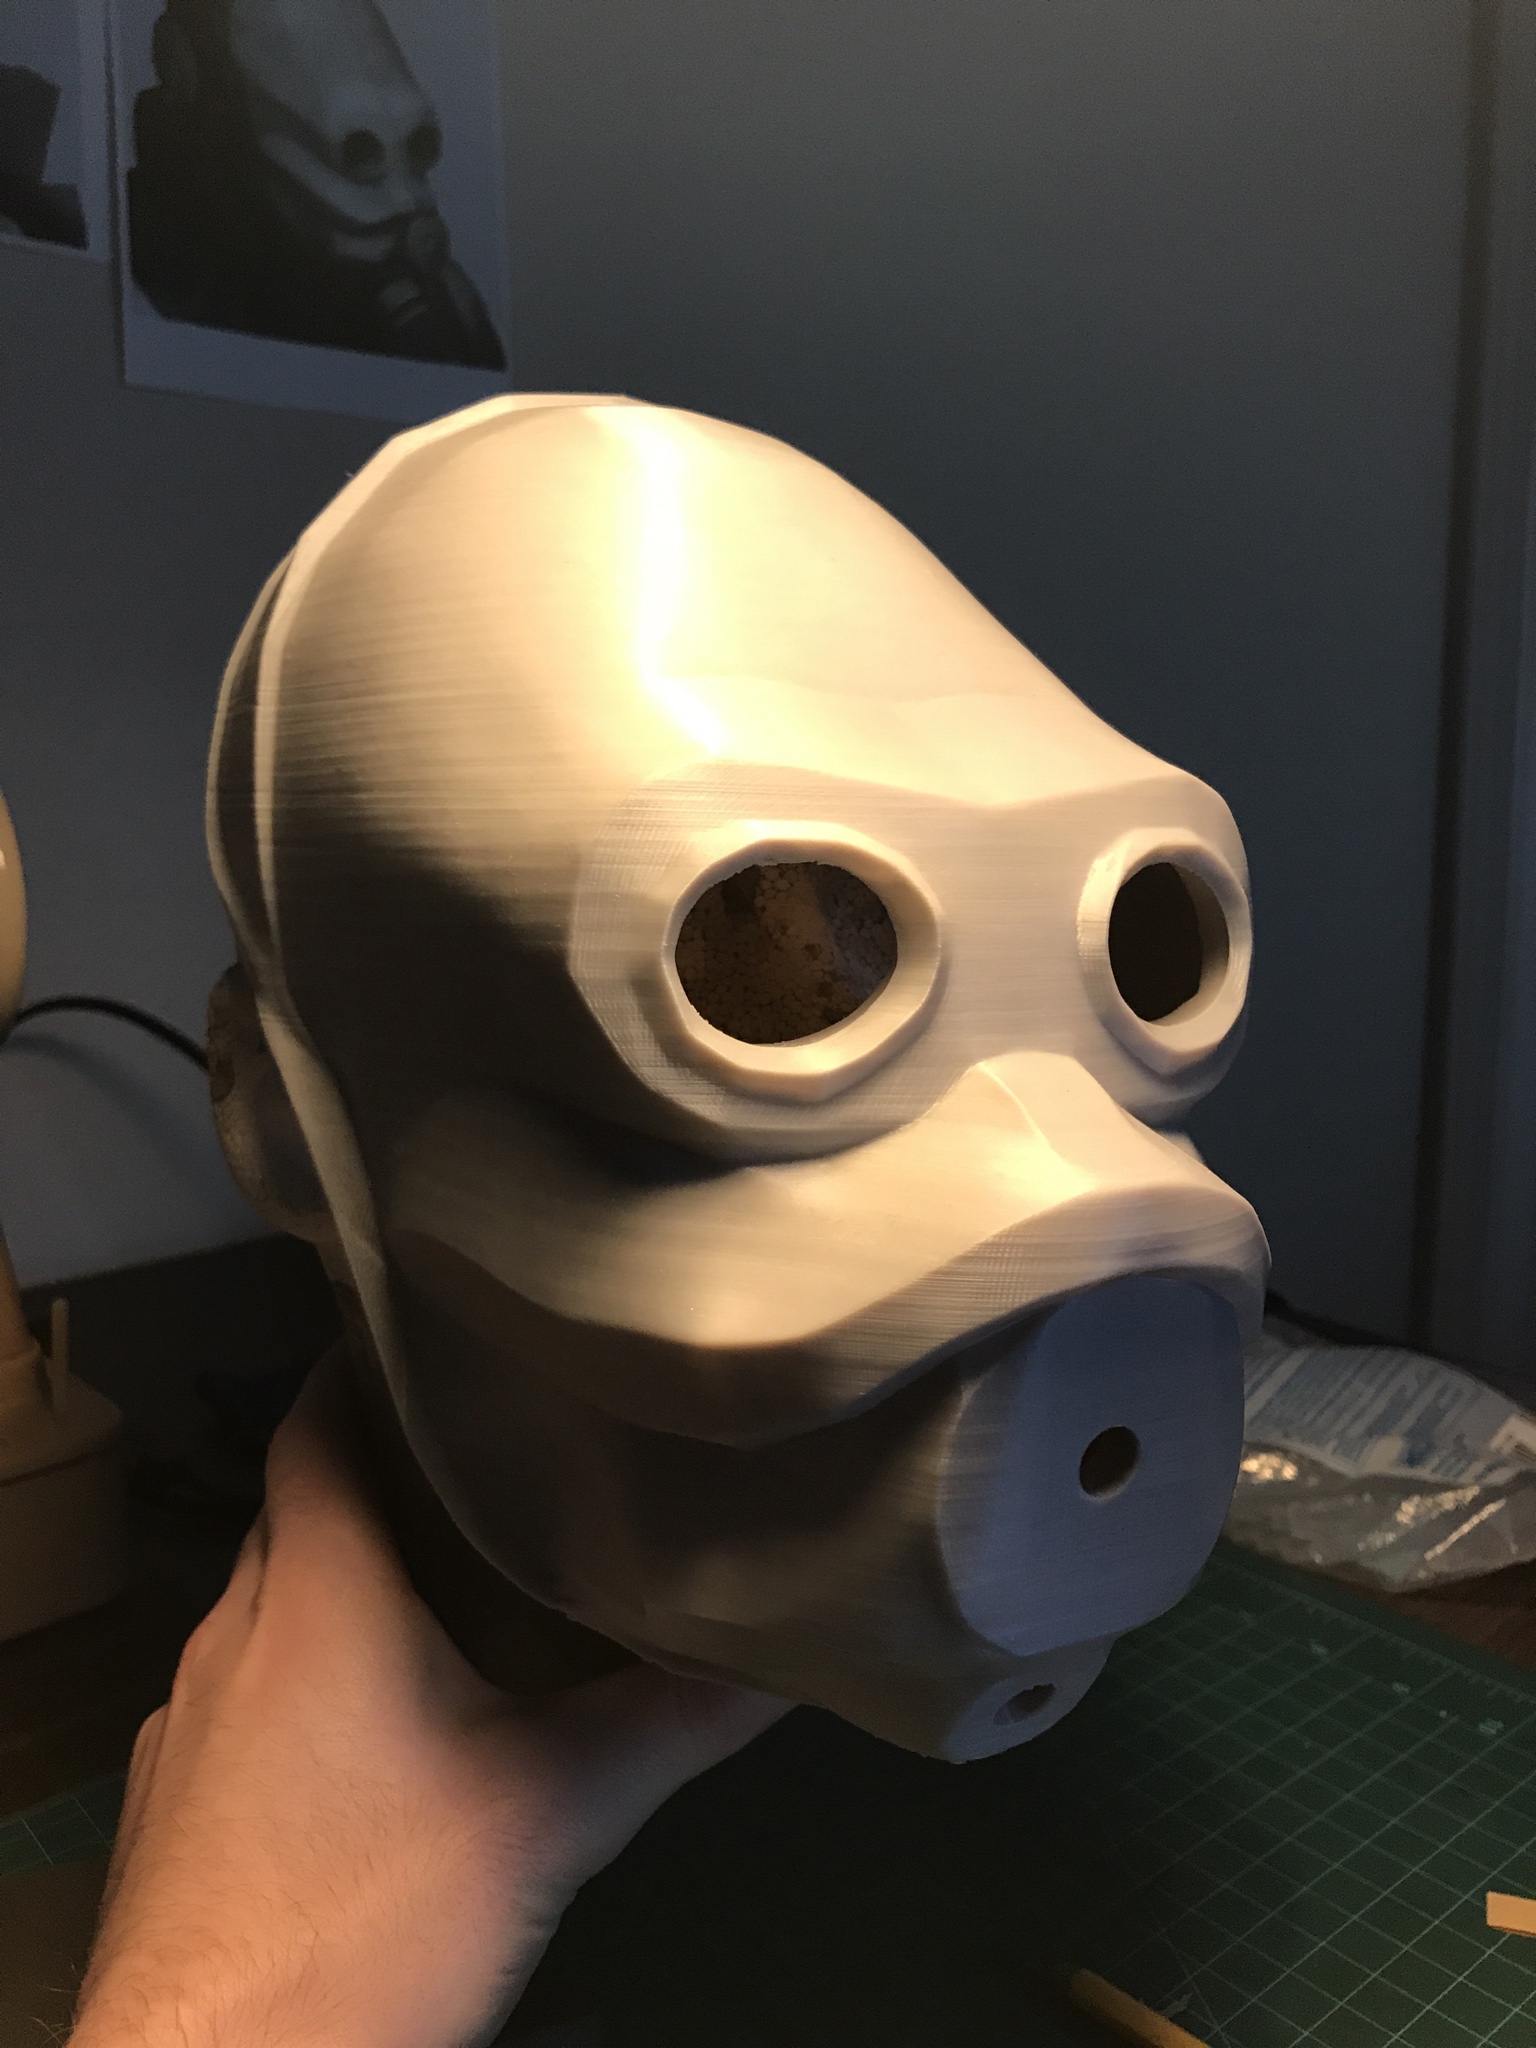
The first results made the limitations pretty obvious. A smaller bust helped me see the whole model, but the faceting was still too pronounced for the finish I wanted.
At this point, SketchUp was the only modeling software I knew. After an unsuccessful attempt to smooth the mesh in Windows 3D Builder, I paid an artist on Fiverr $17 to do it. That made a substantial difference.
This print is still a prototype: I made it too narrow to wear. One possibility is to turn it into a vacuum-forming buck, but getting the shape right is the first hurdle.
From the community · 2 replies
Feedback and contributions from other builders. Follow the links to read more and see their photographs.
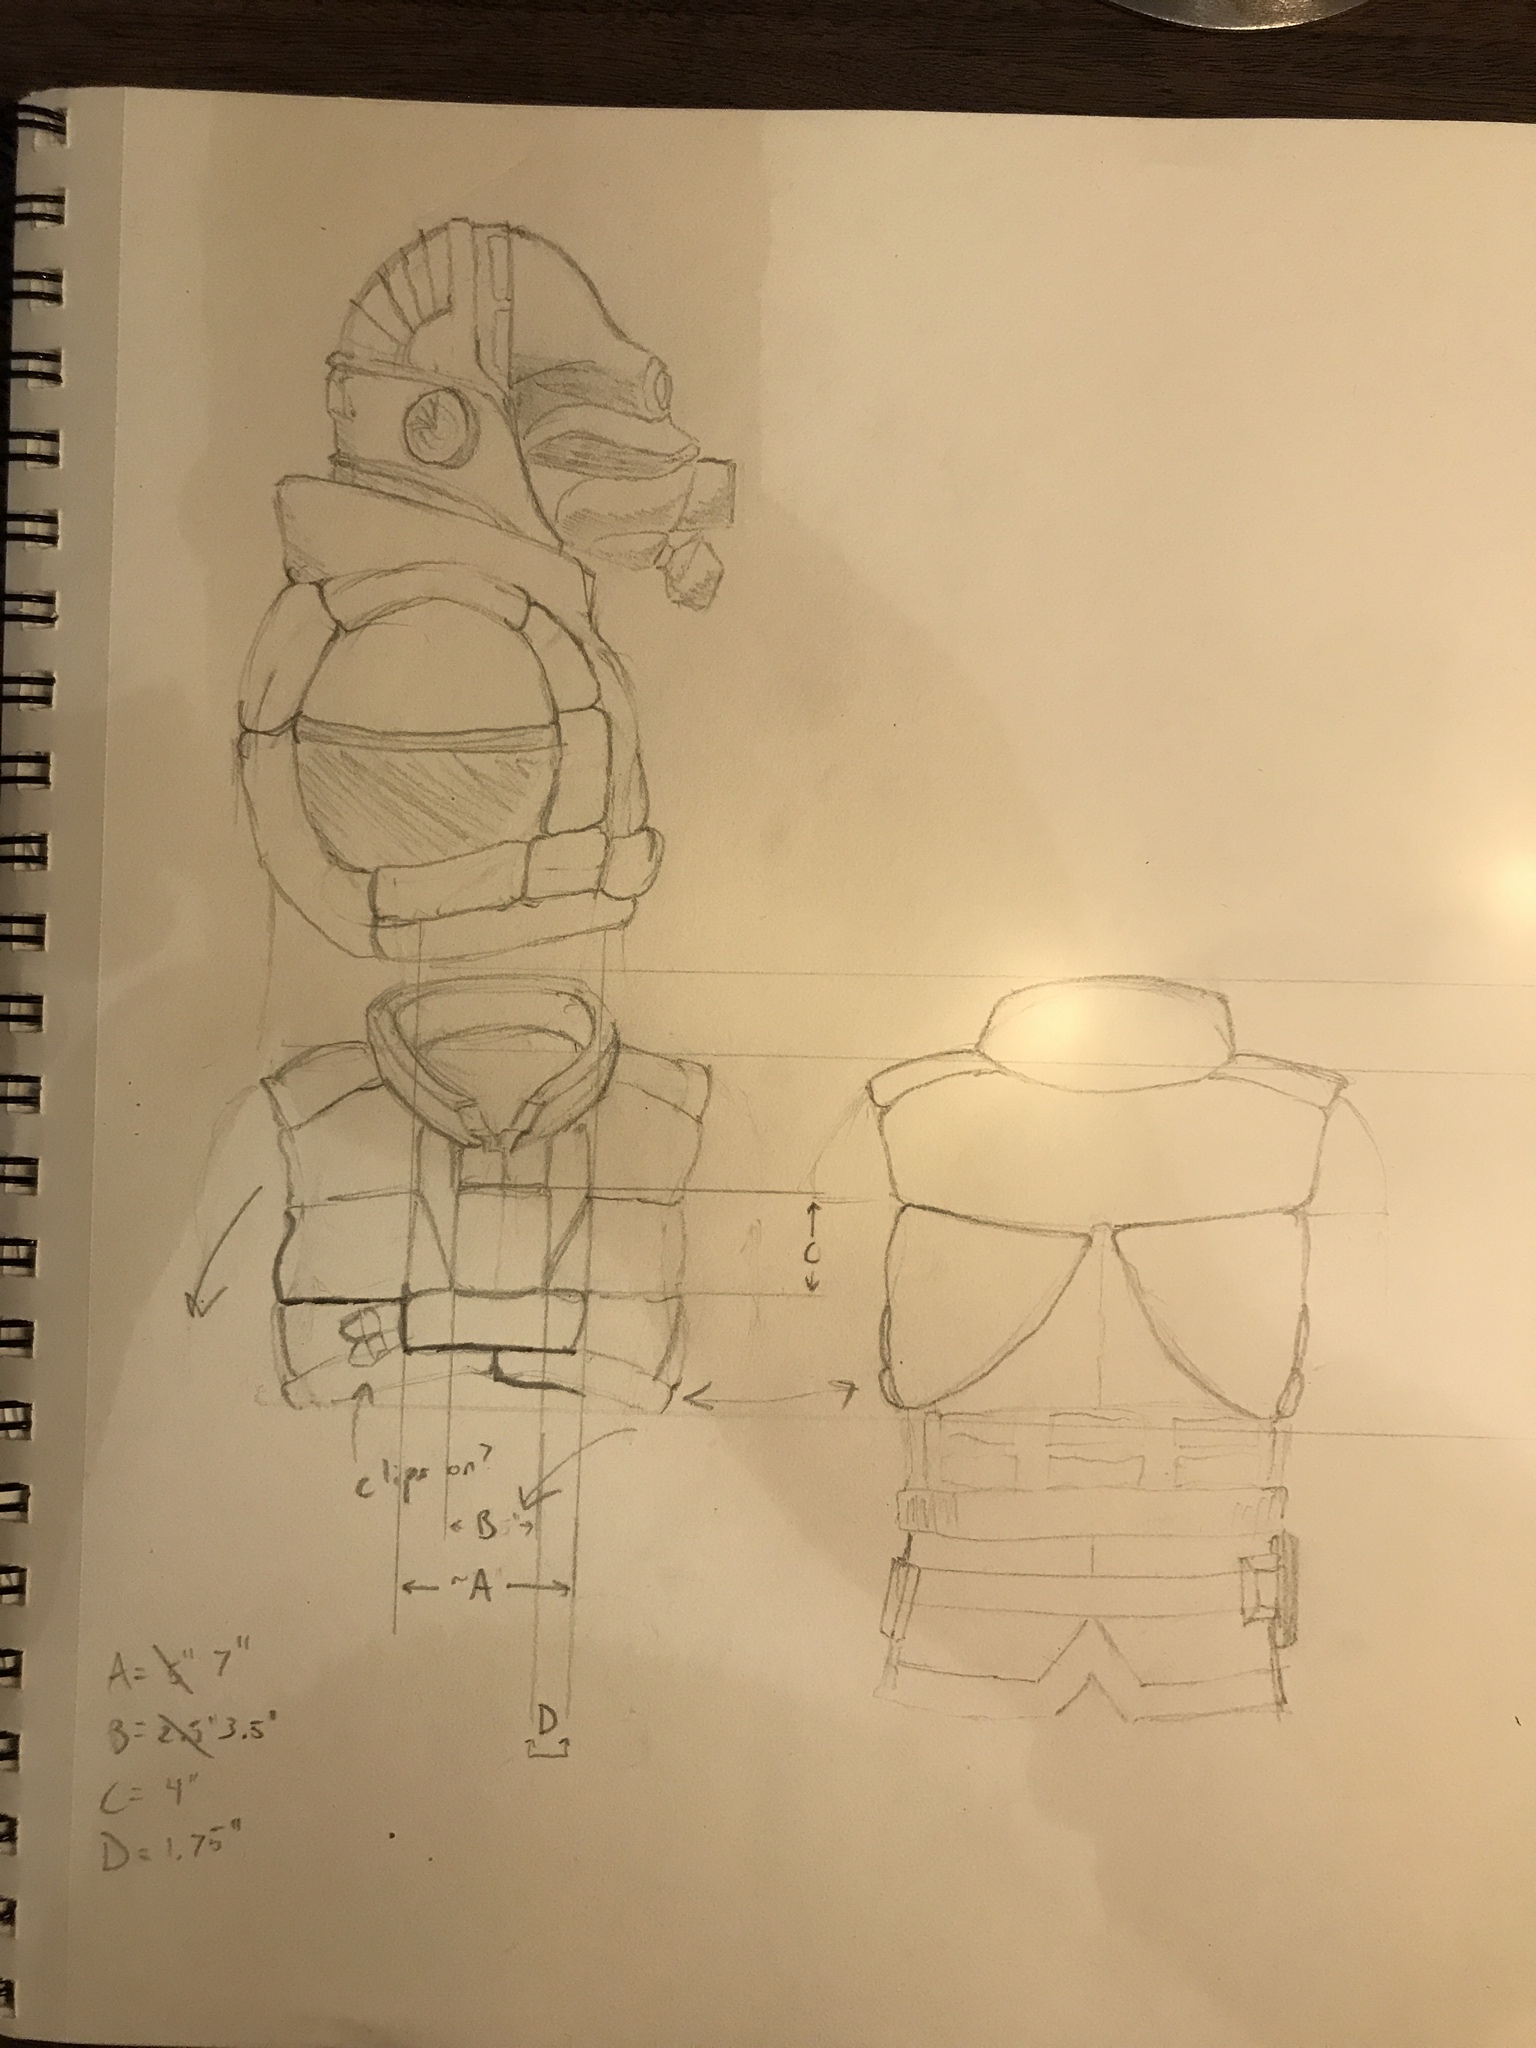
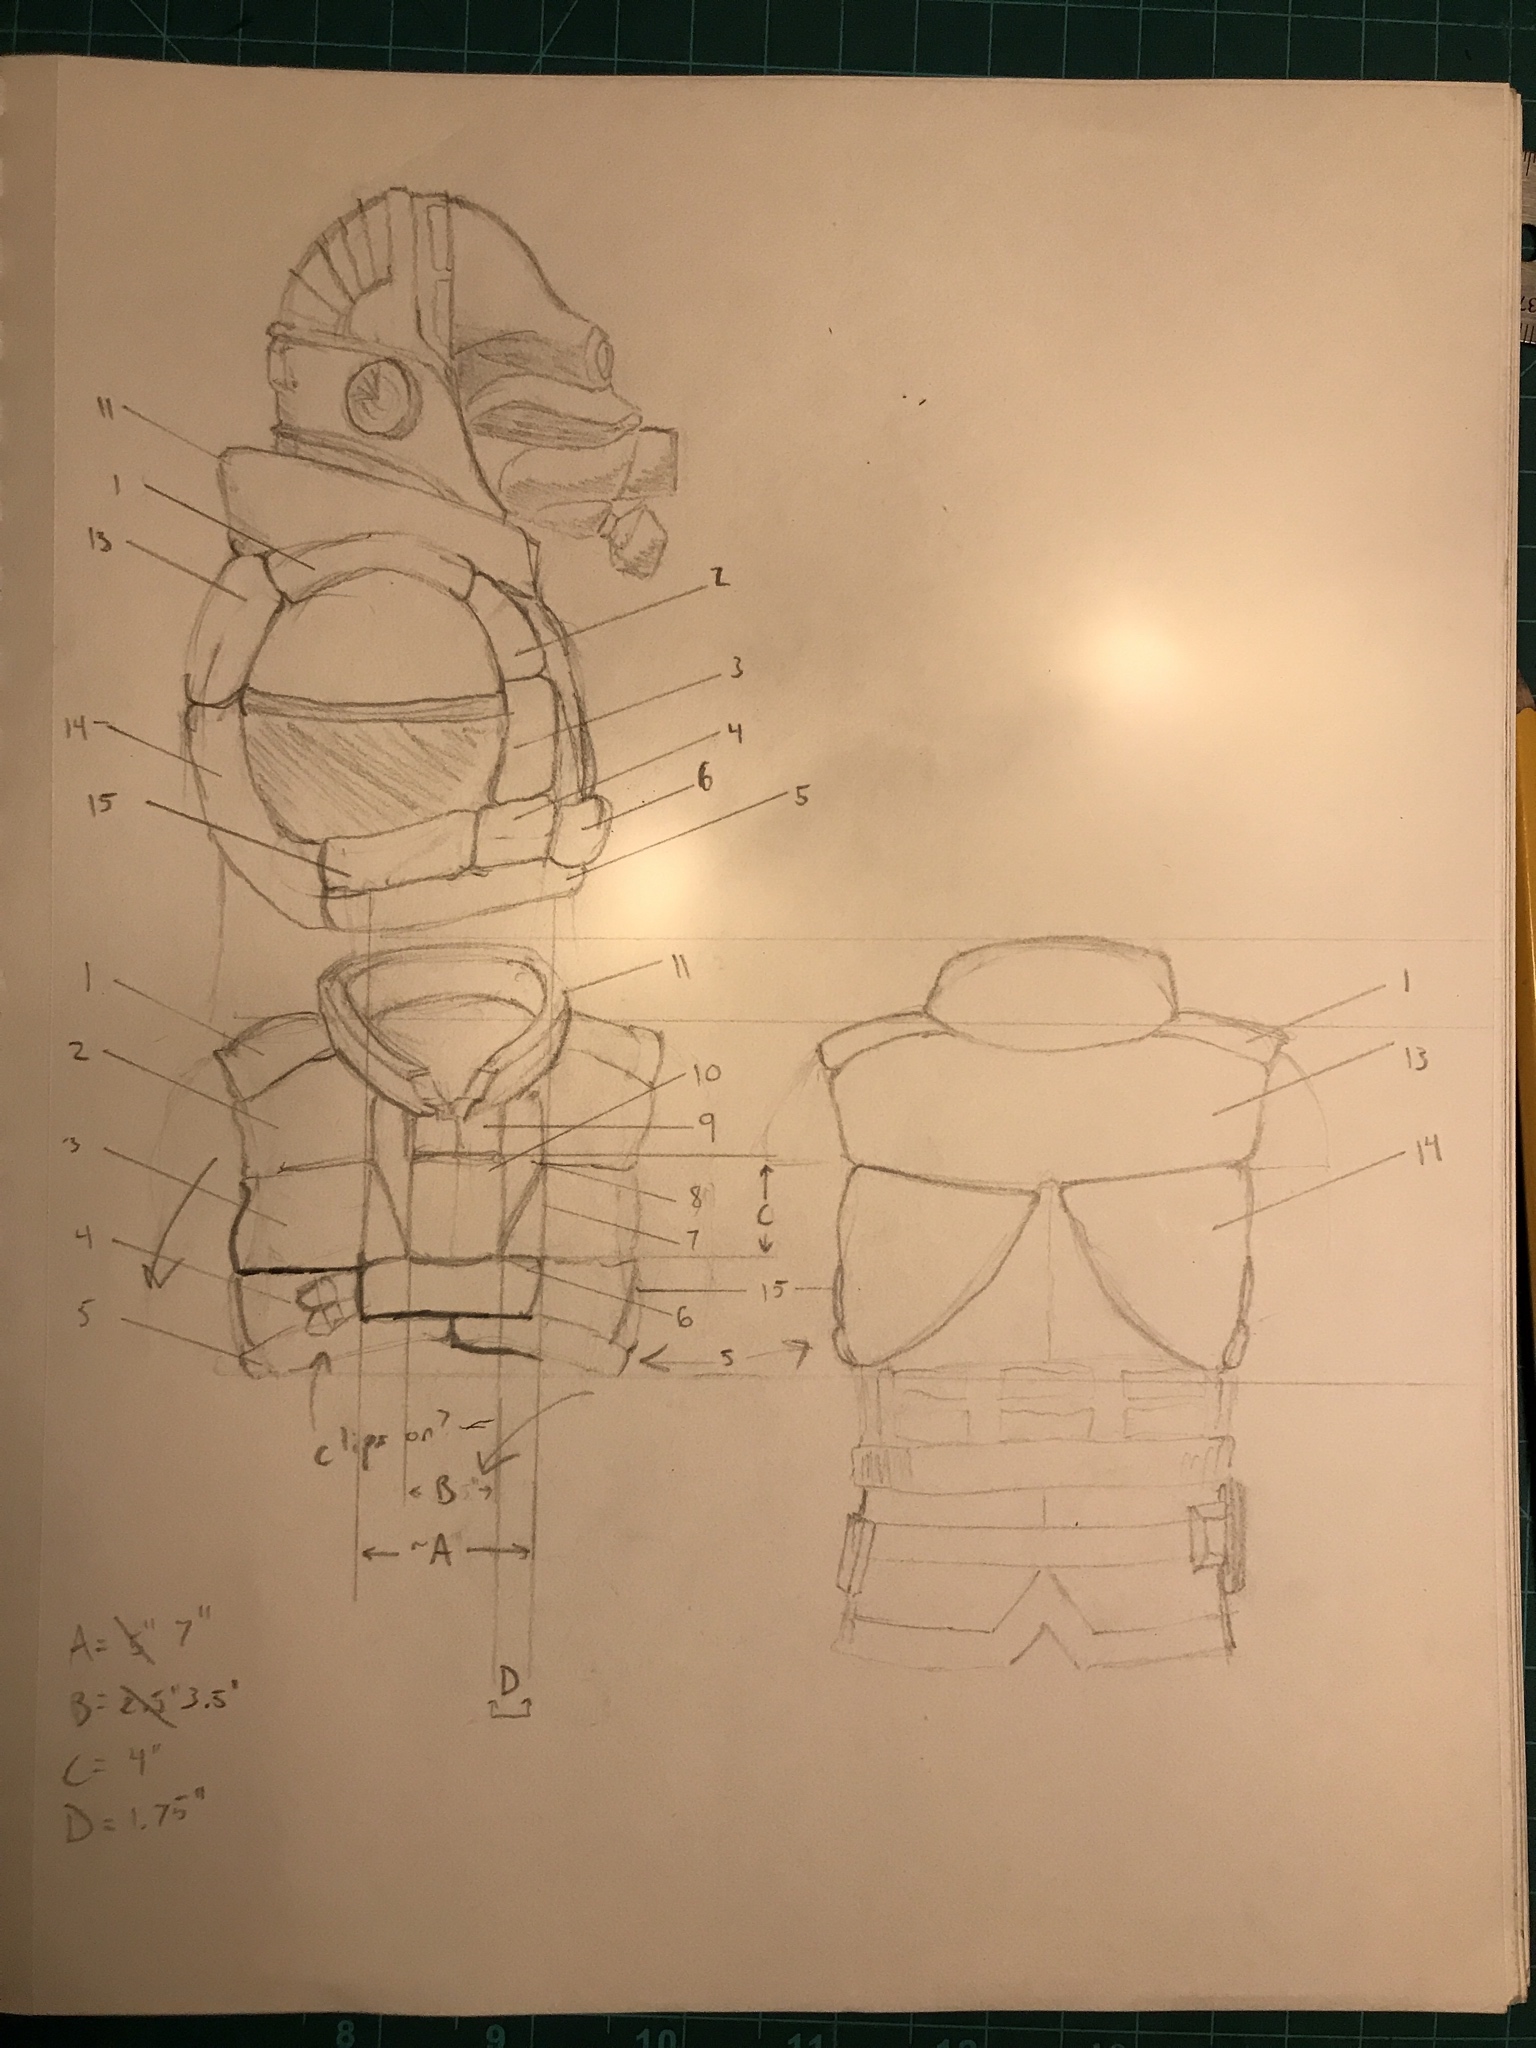
Sketching the vest helped me work out its construction. I don't need to copy how the game model is assembled; I need to reproduce how it looks.
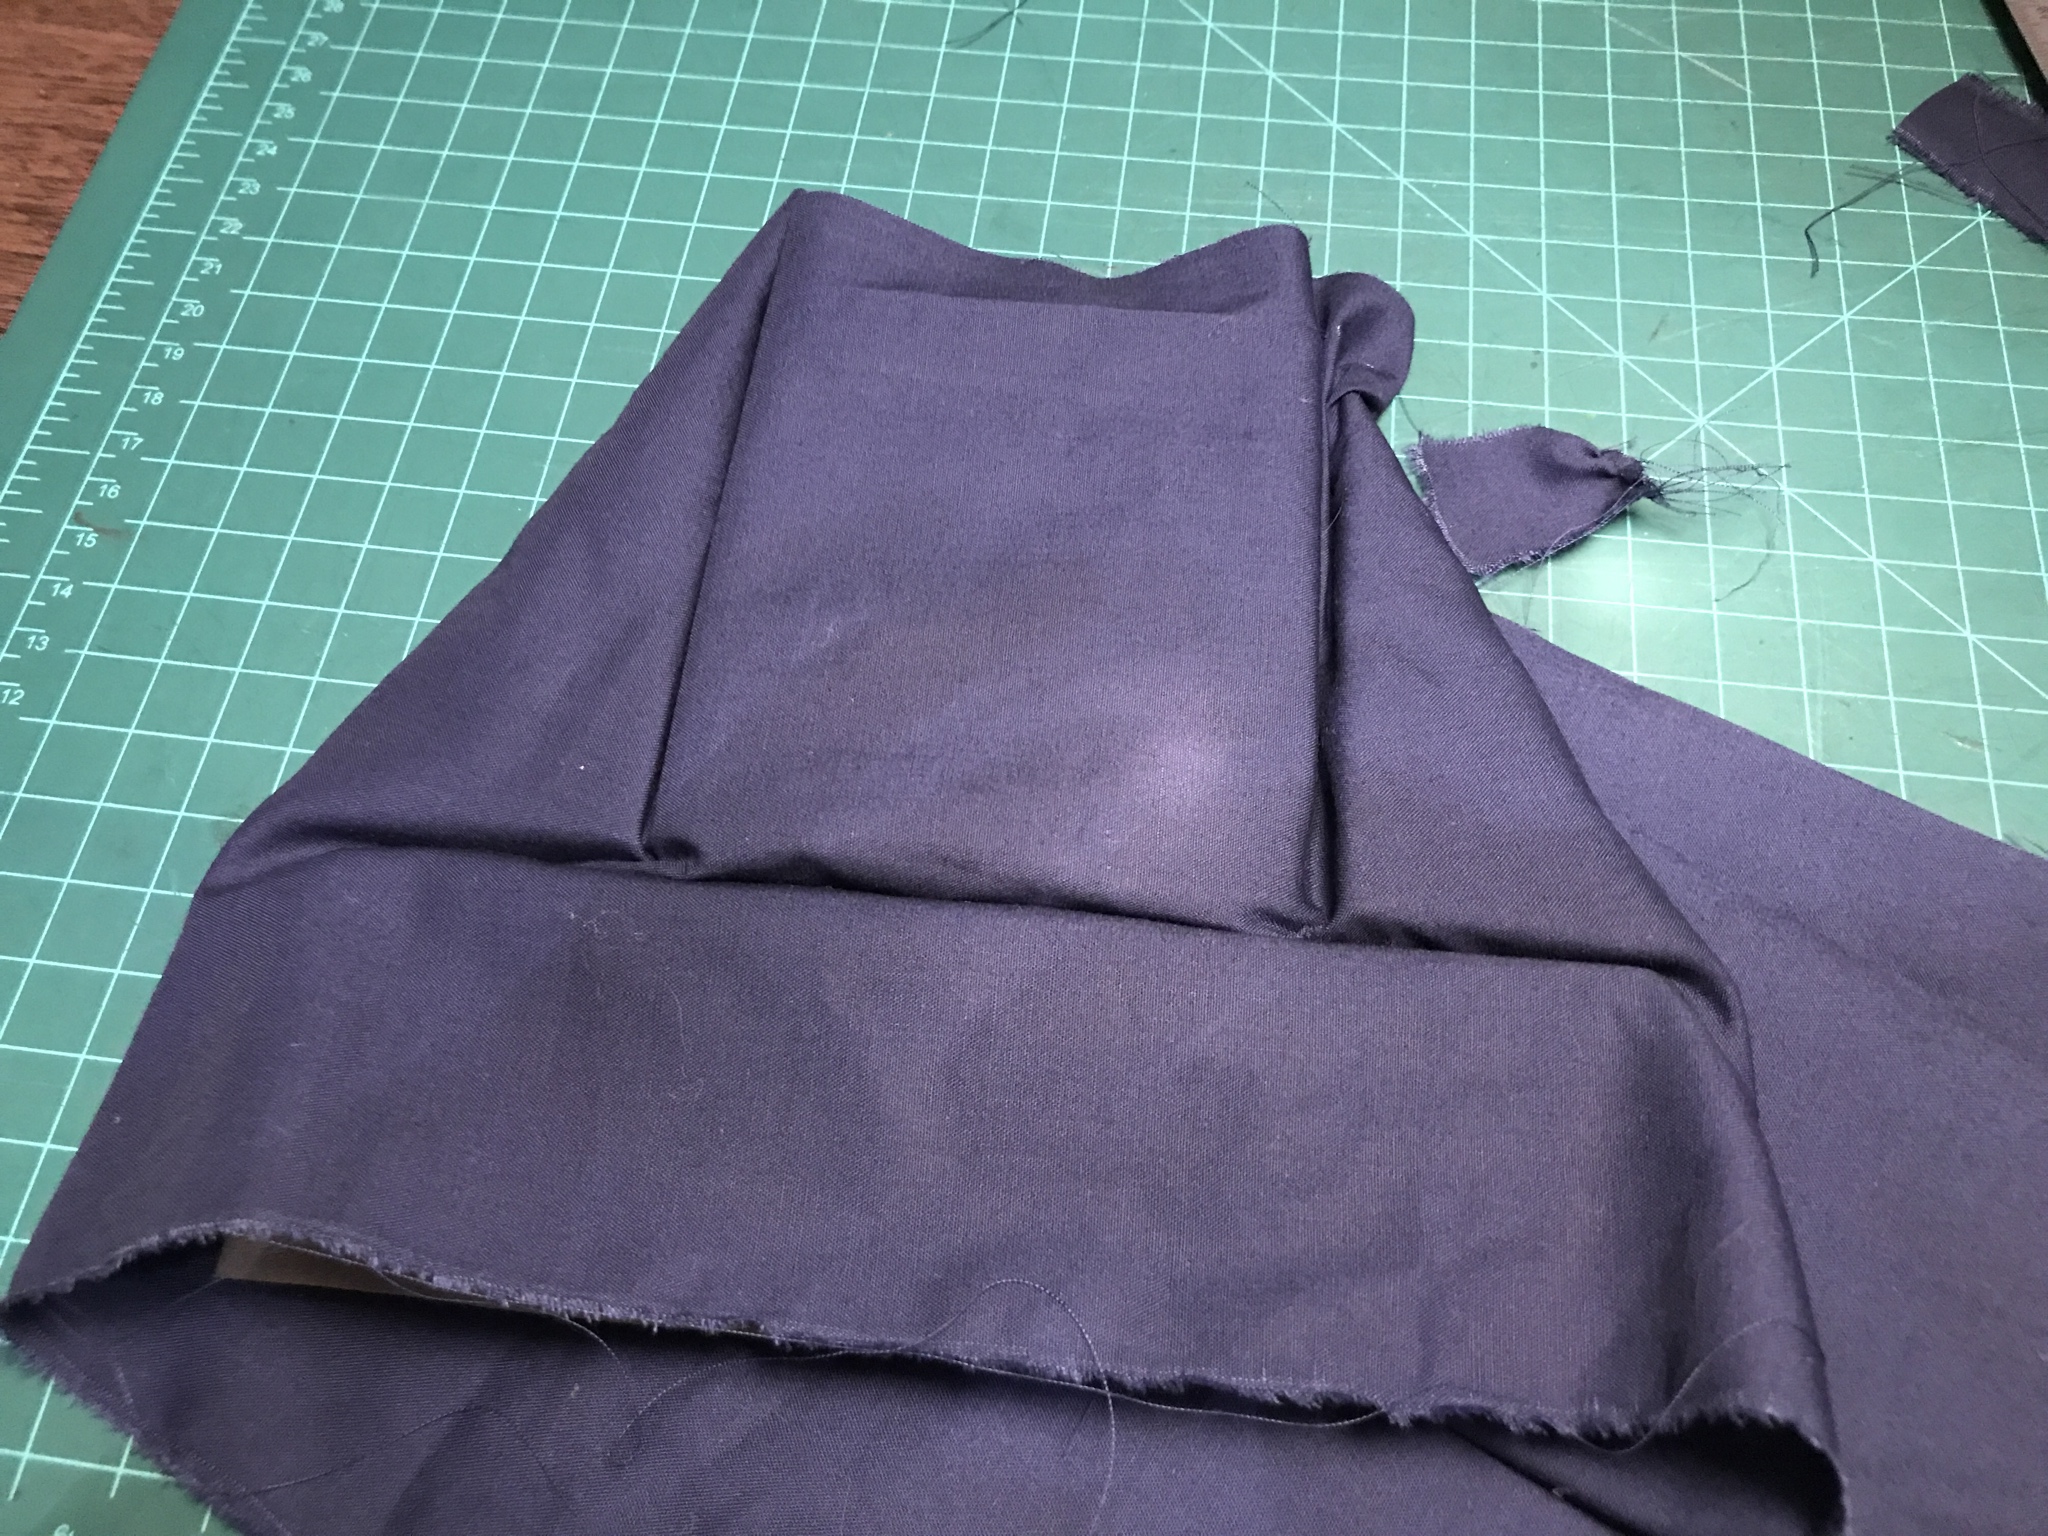
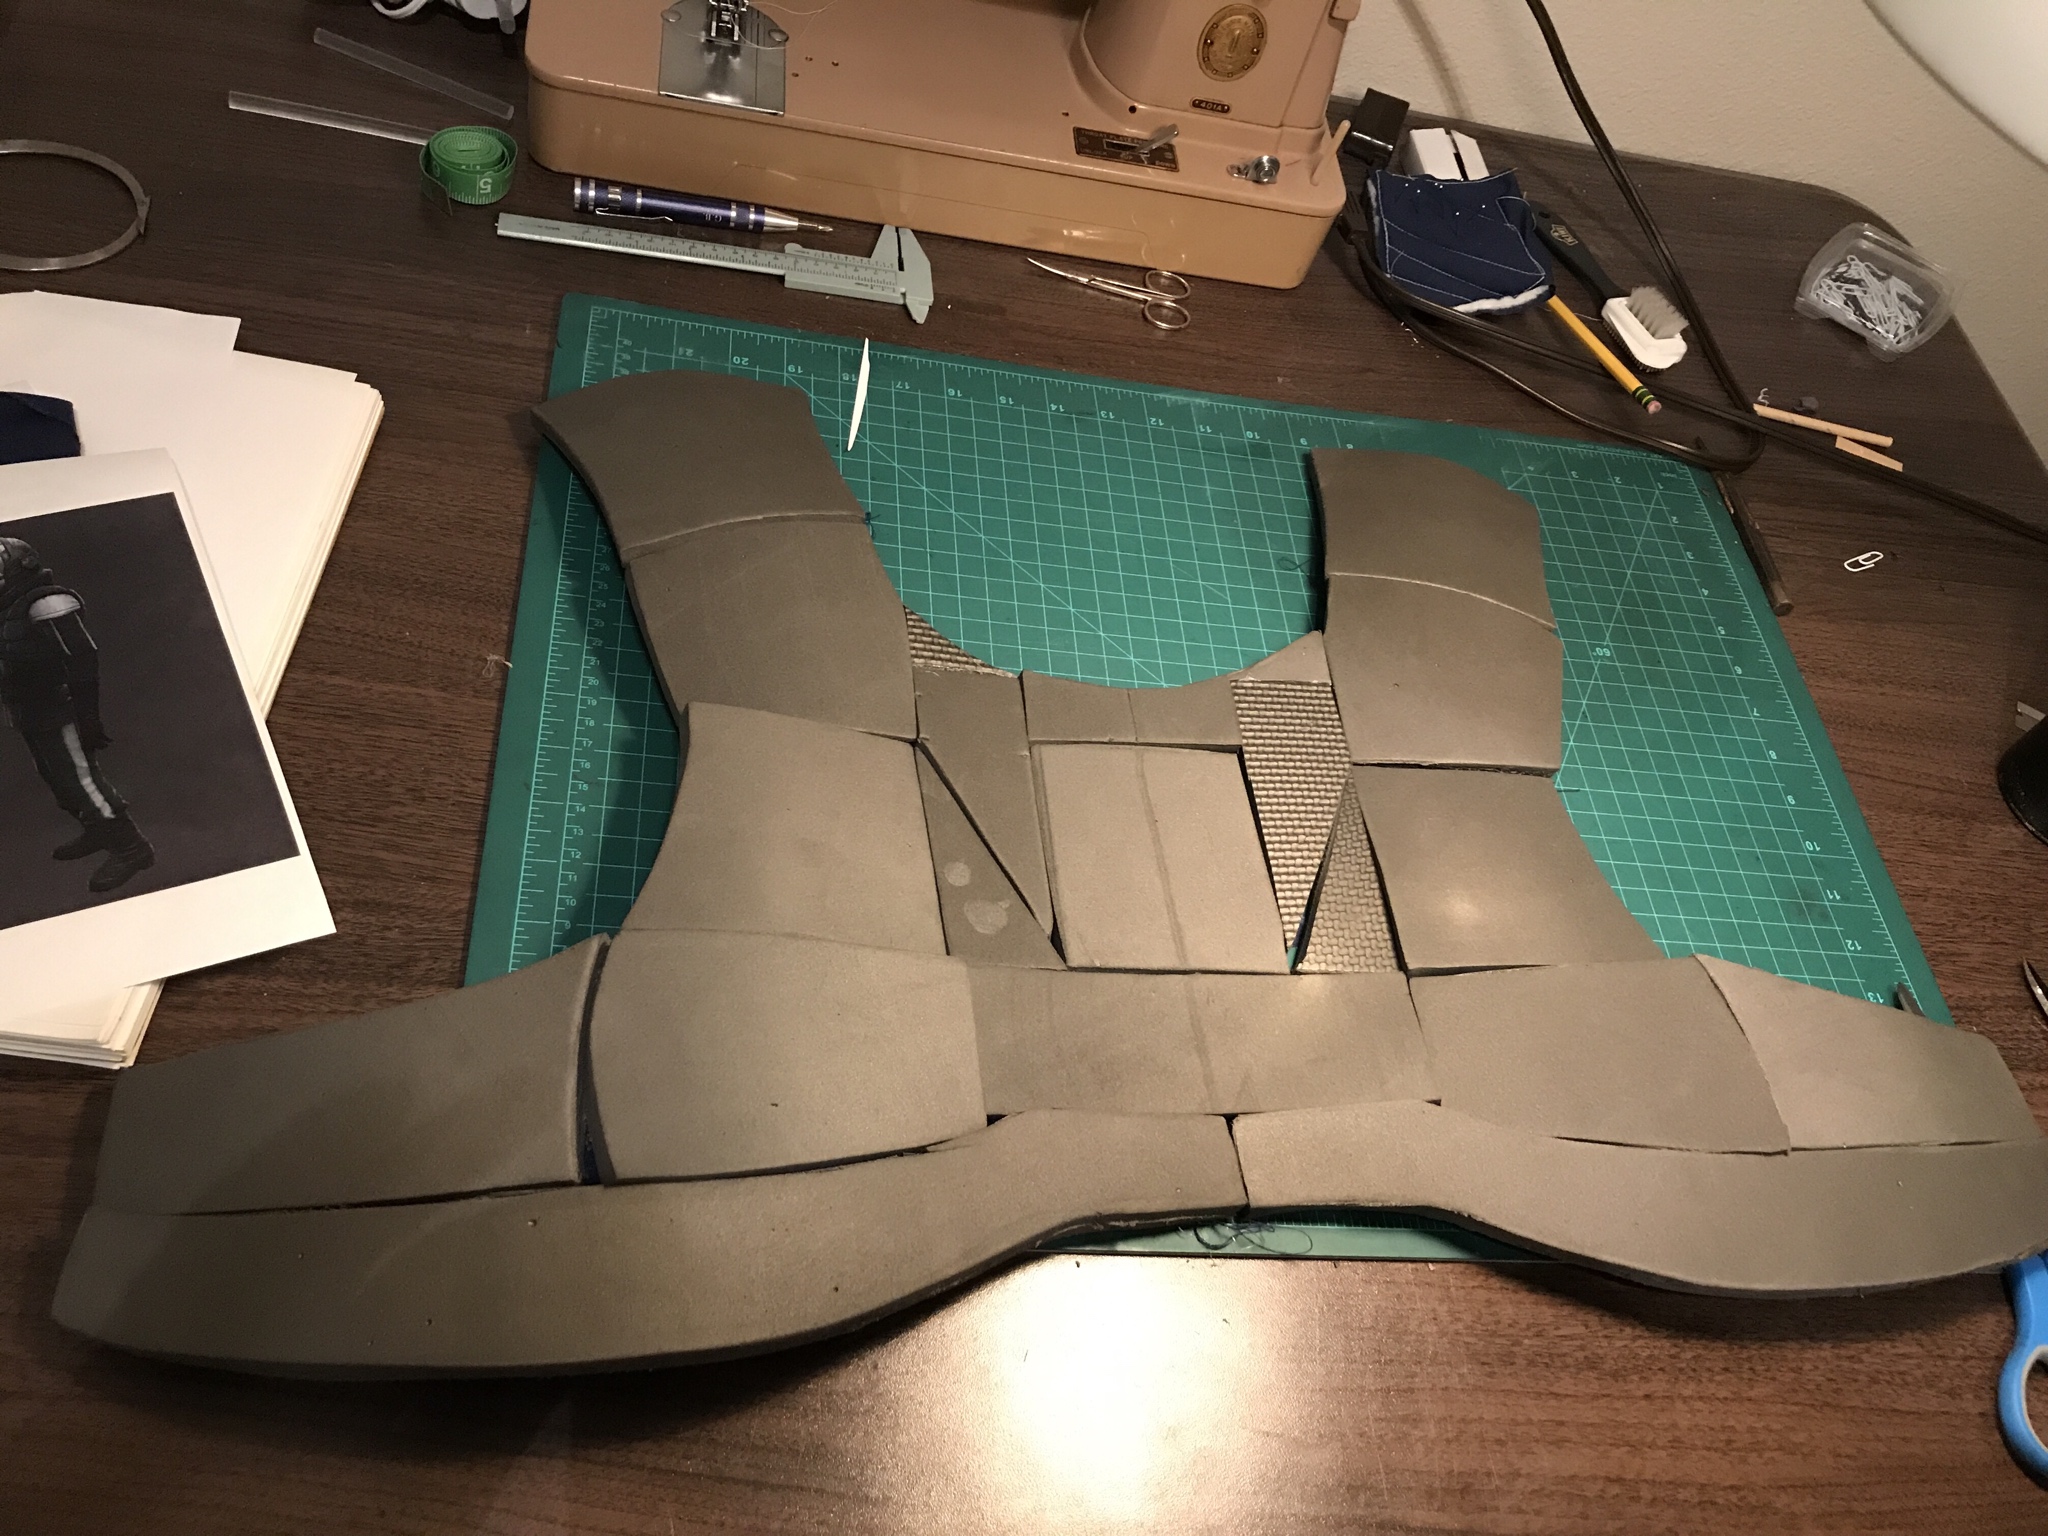
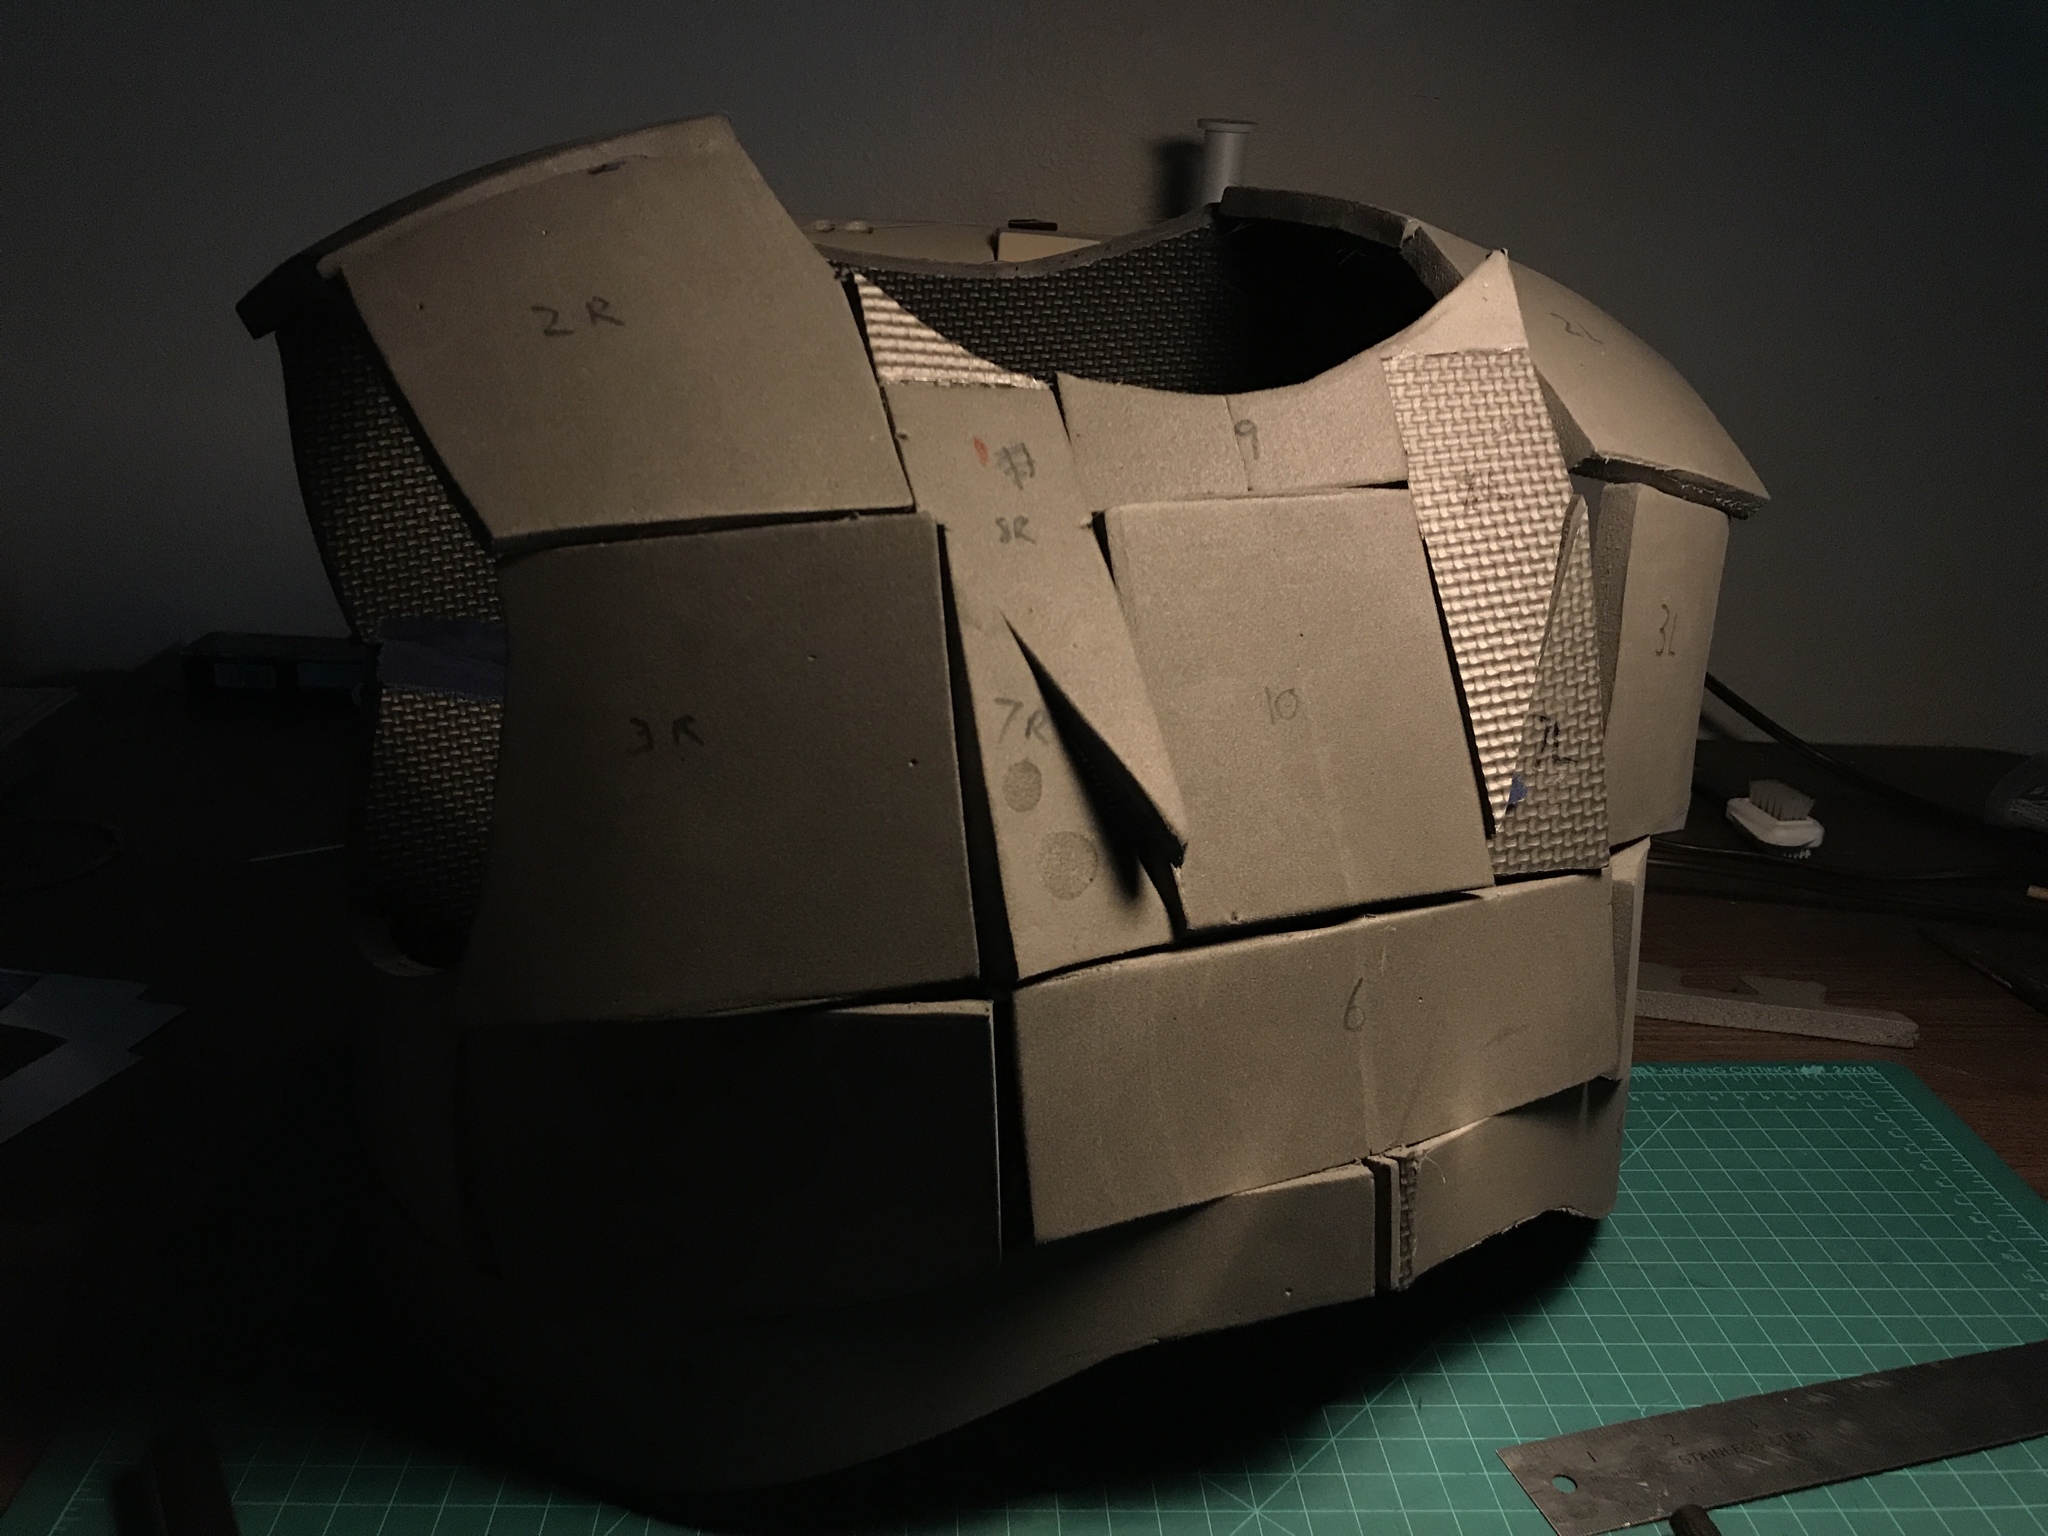
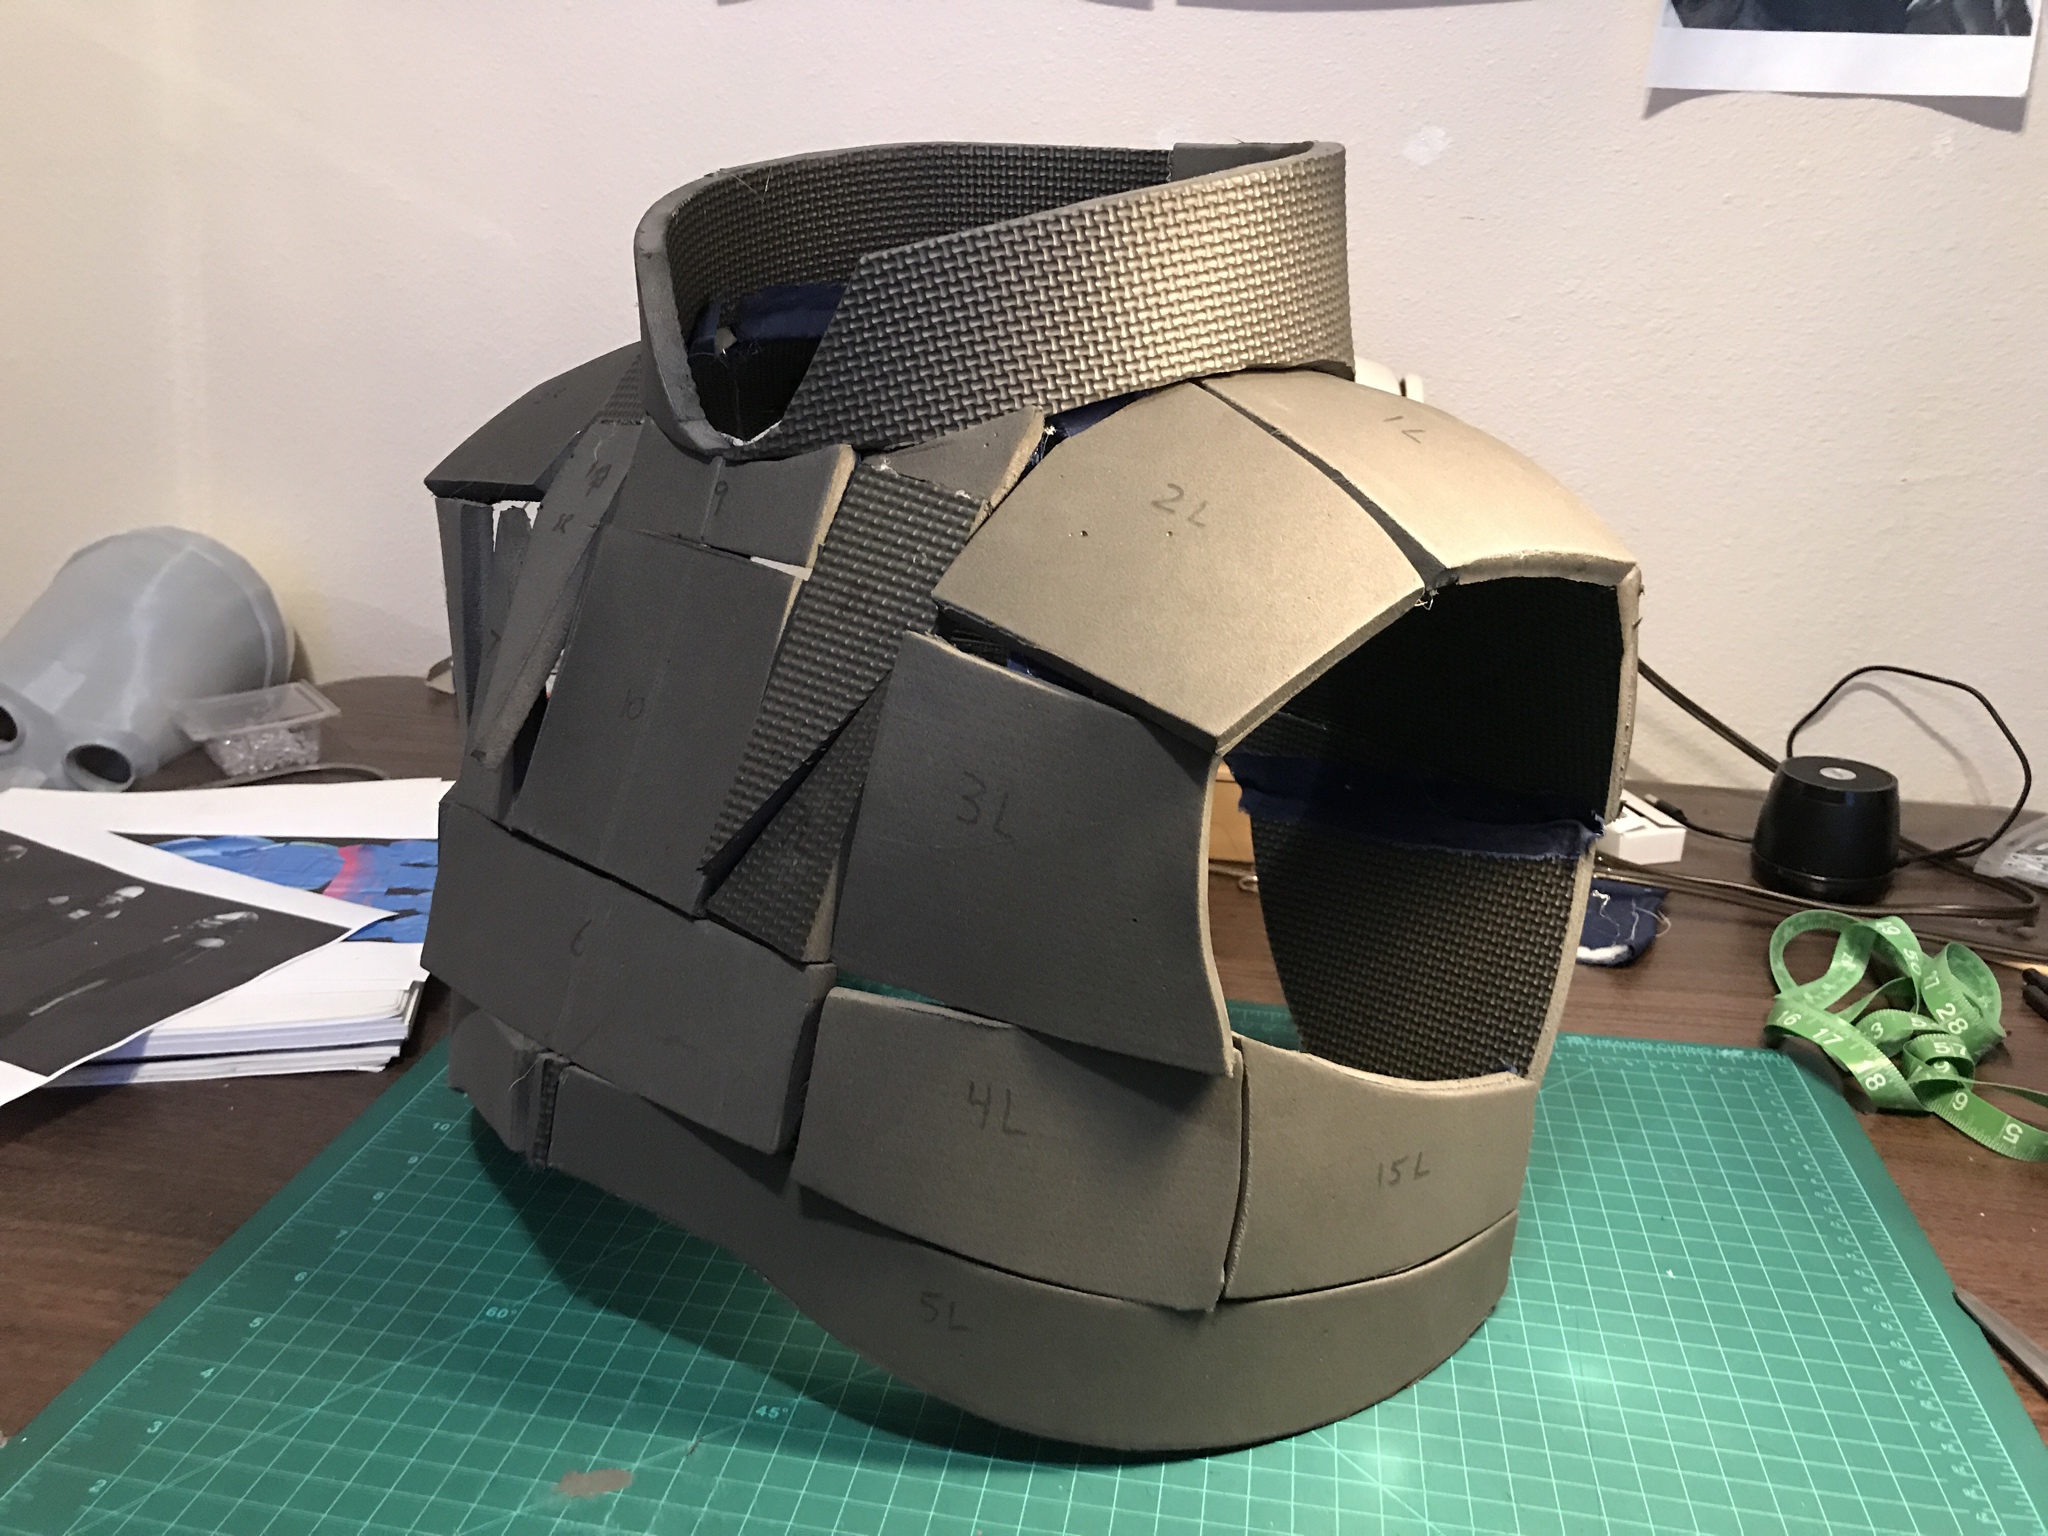
My approach is to make each raised panel from foam, wrap the panels individually, and connect them from behind. That should give the vest the definition of armor rather than the softness of a quilted jacket.
Suggests a foam-based vest with individually covered panels and concealed fastening.
· Erik Reiner
Choosing the construction method
I'm deliberately avoiding sewing through a thick layer of batting for the vest. It isn't about avoiding the sewing machine; that construction simply wouldn't give me the defined panels I'm after.
Separate foam cores should let me control the shape of each section while keeping the connections flexible.
From the community · 1 reply
Feedback and contributions from other builders. Follow the links to read more and see their photographs.
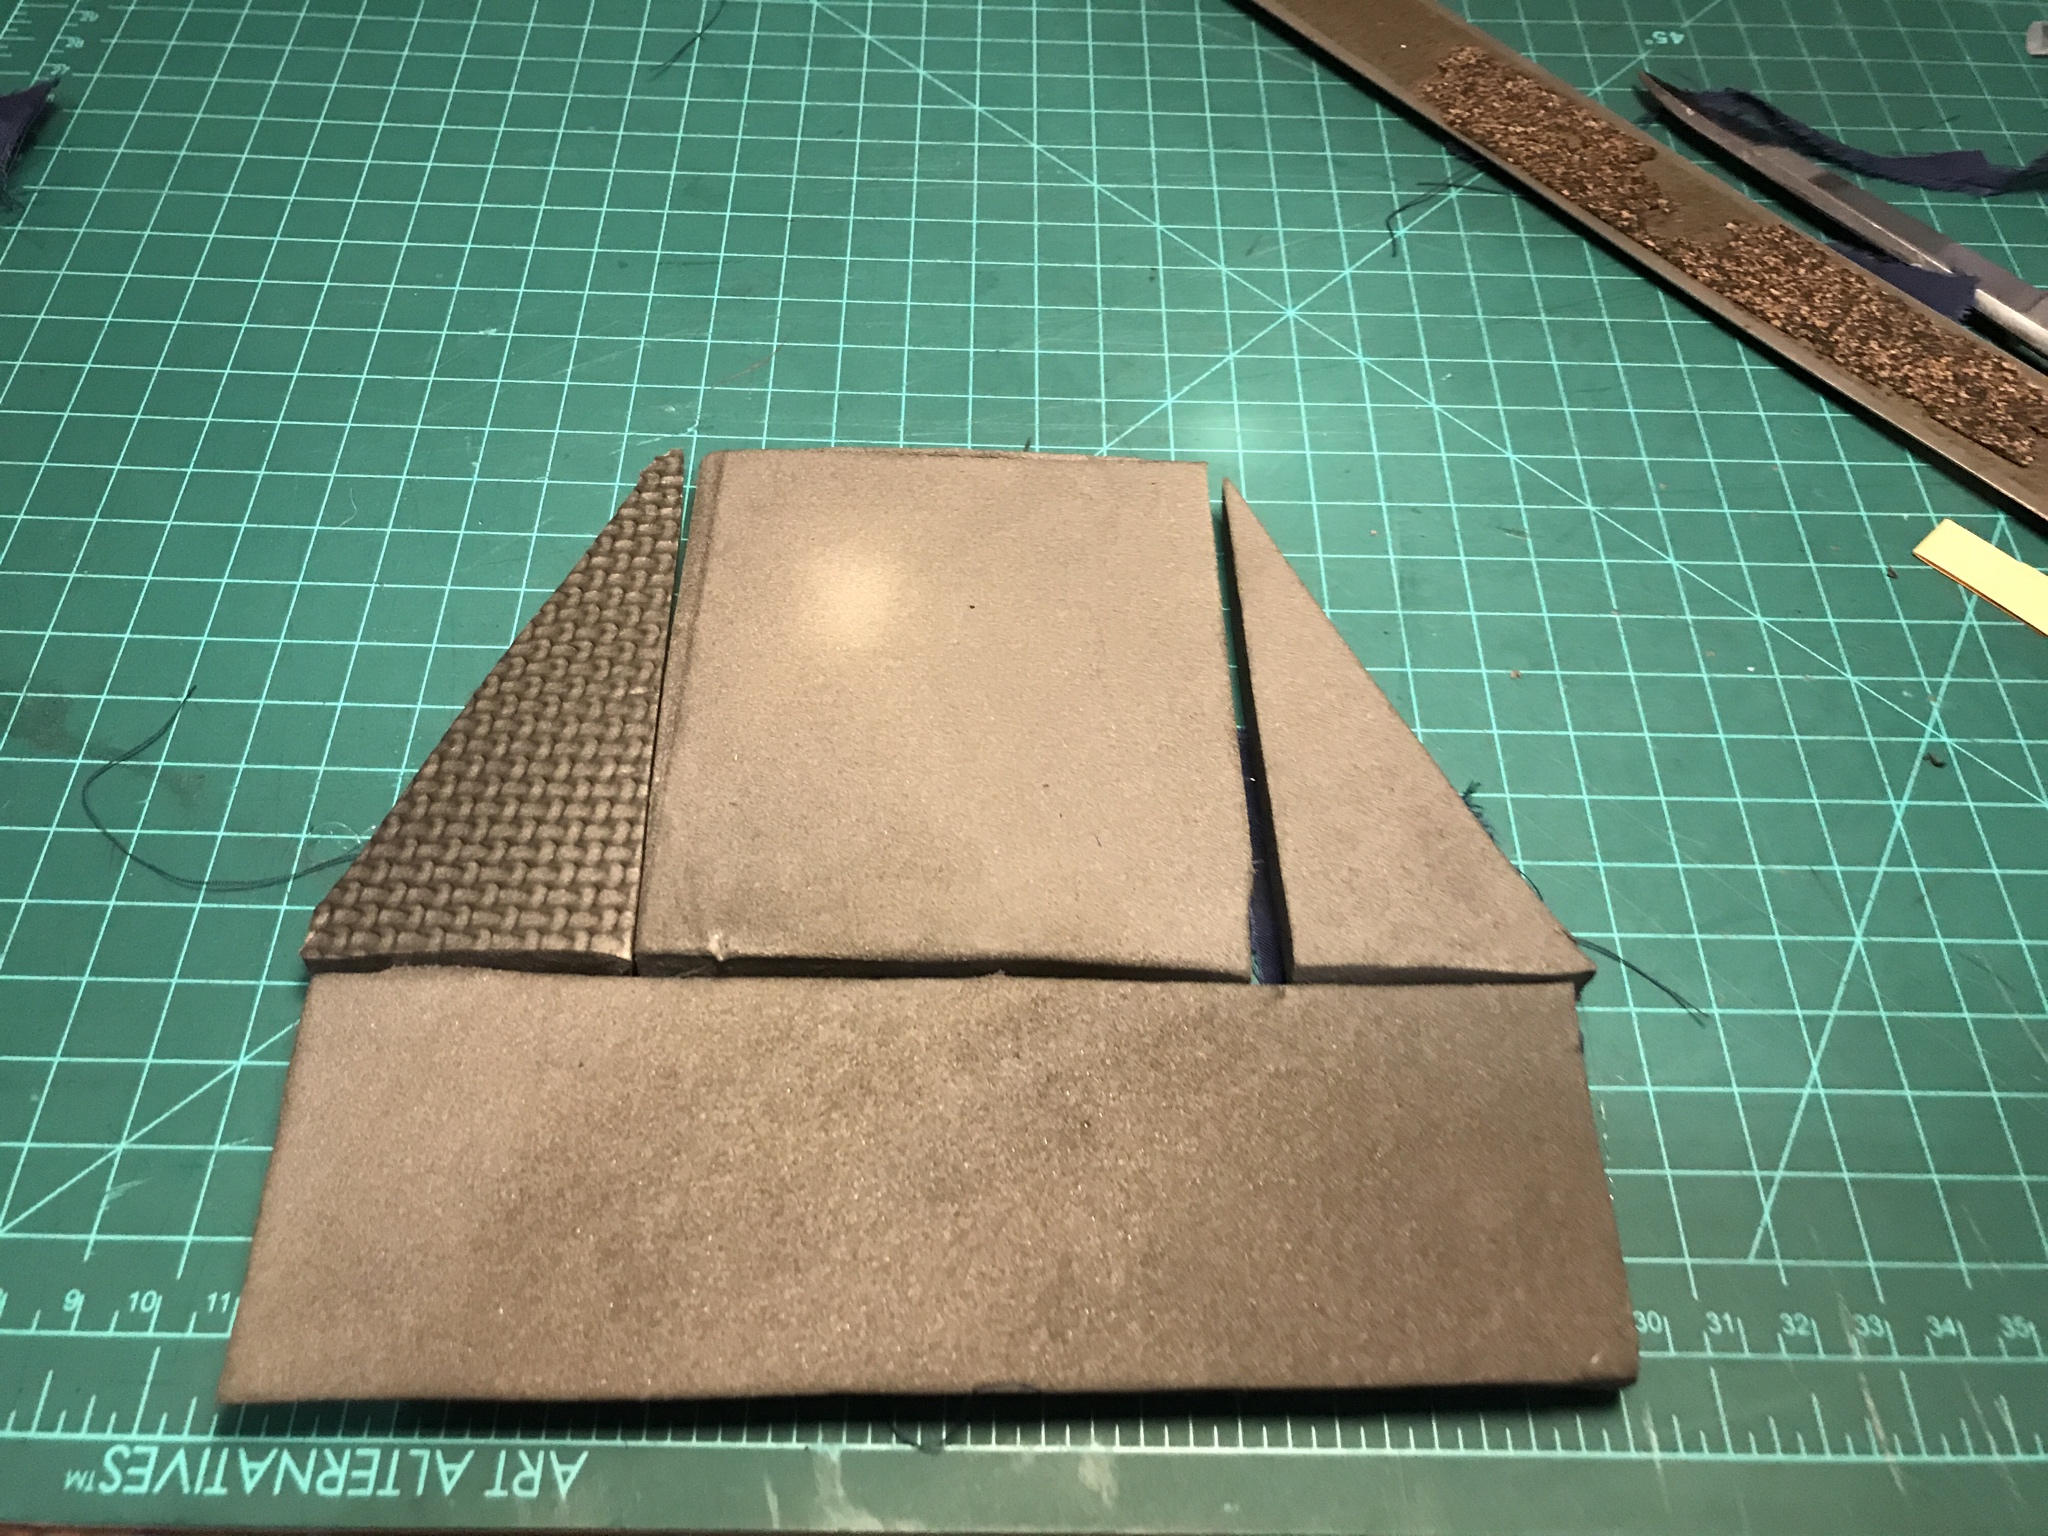
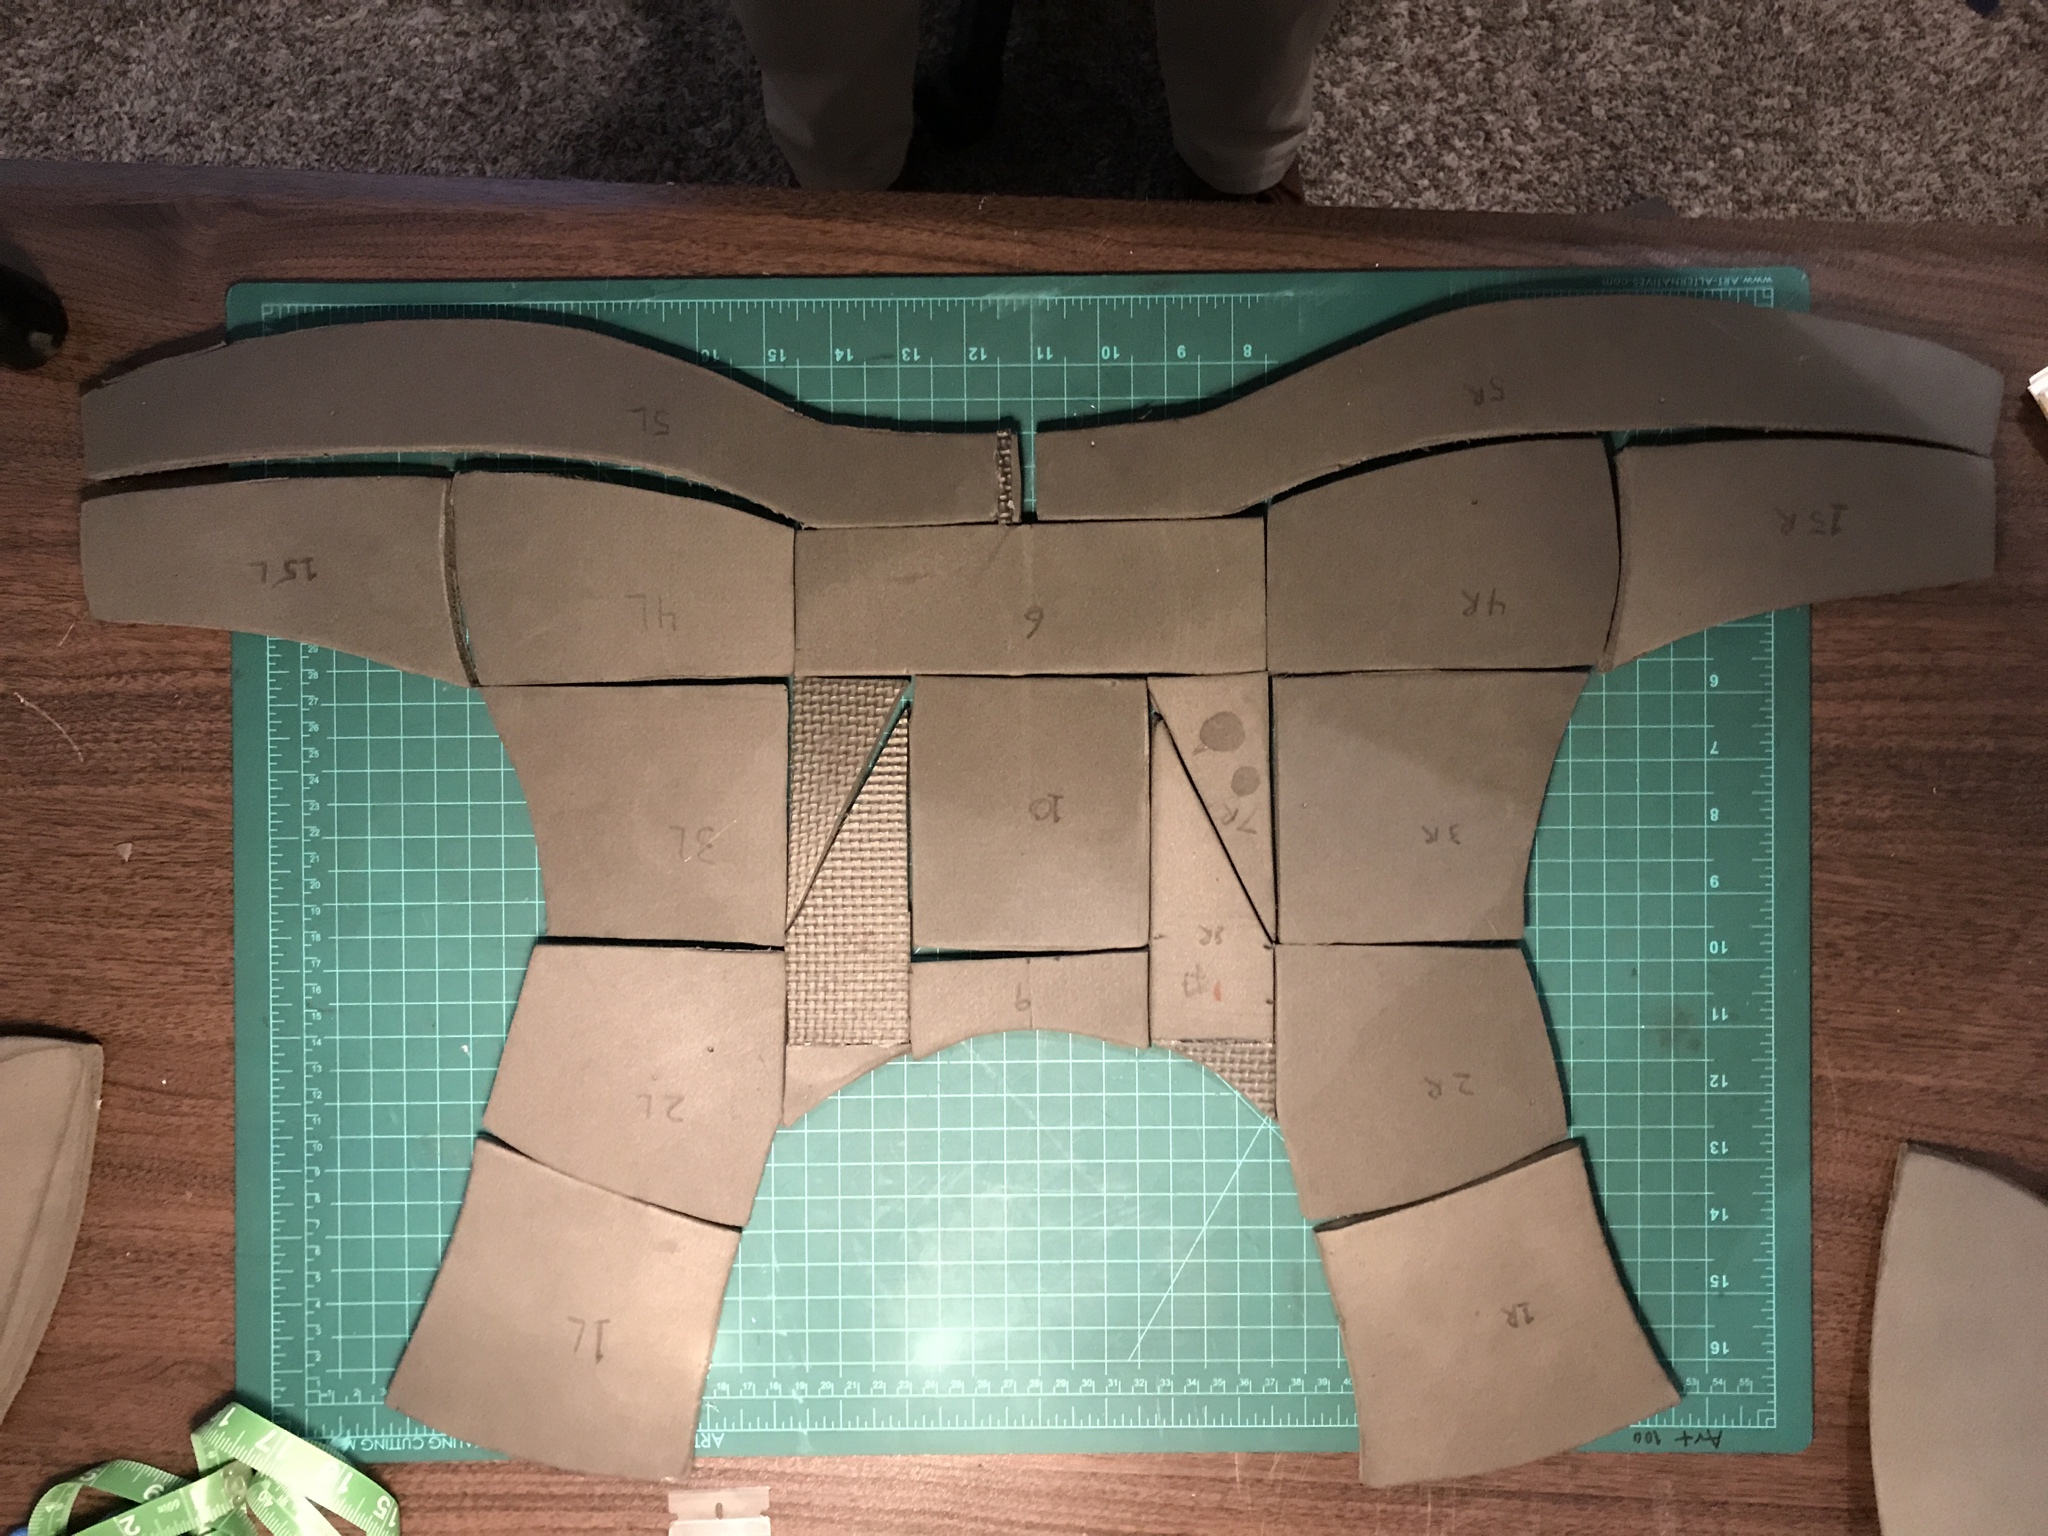
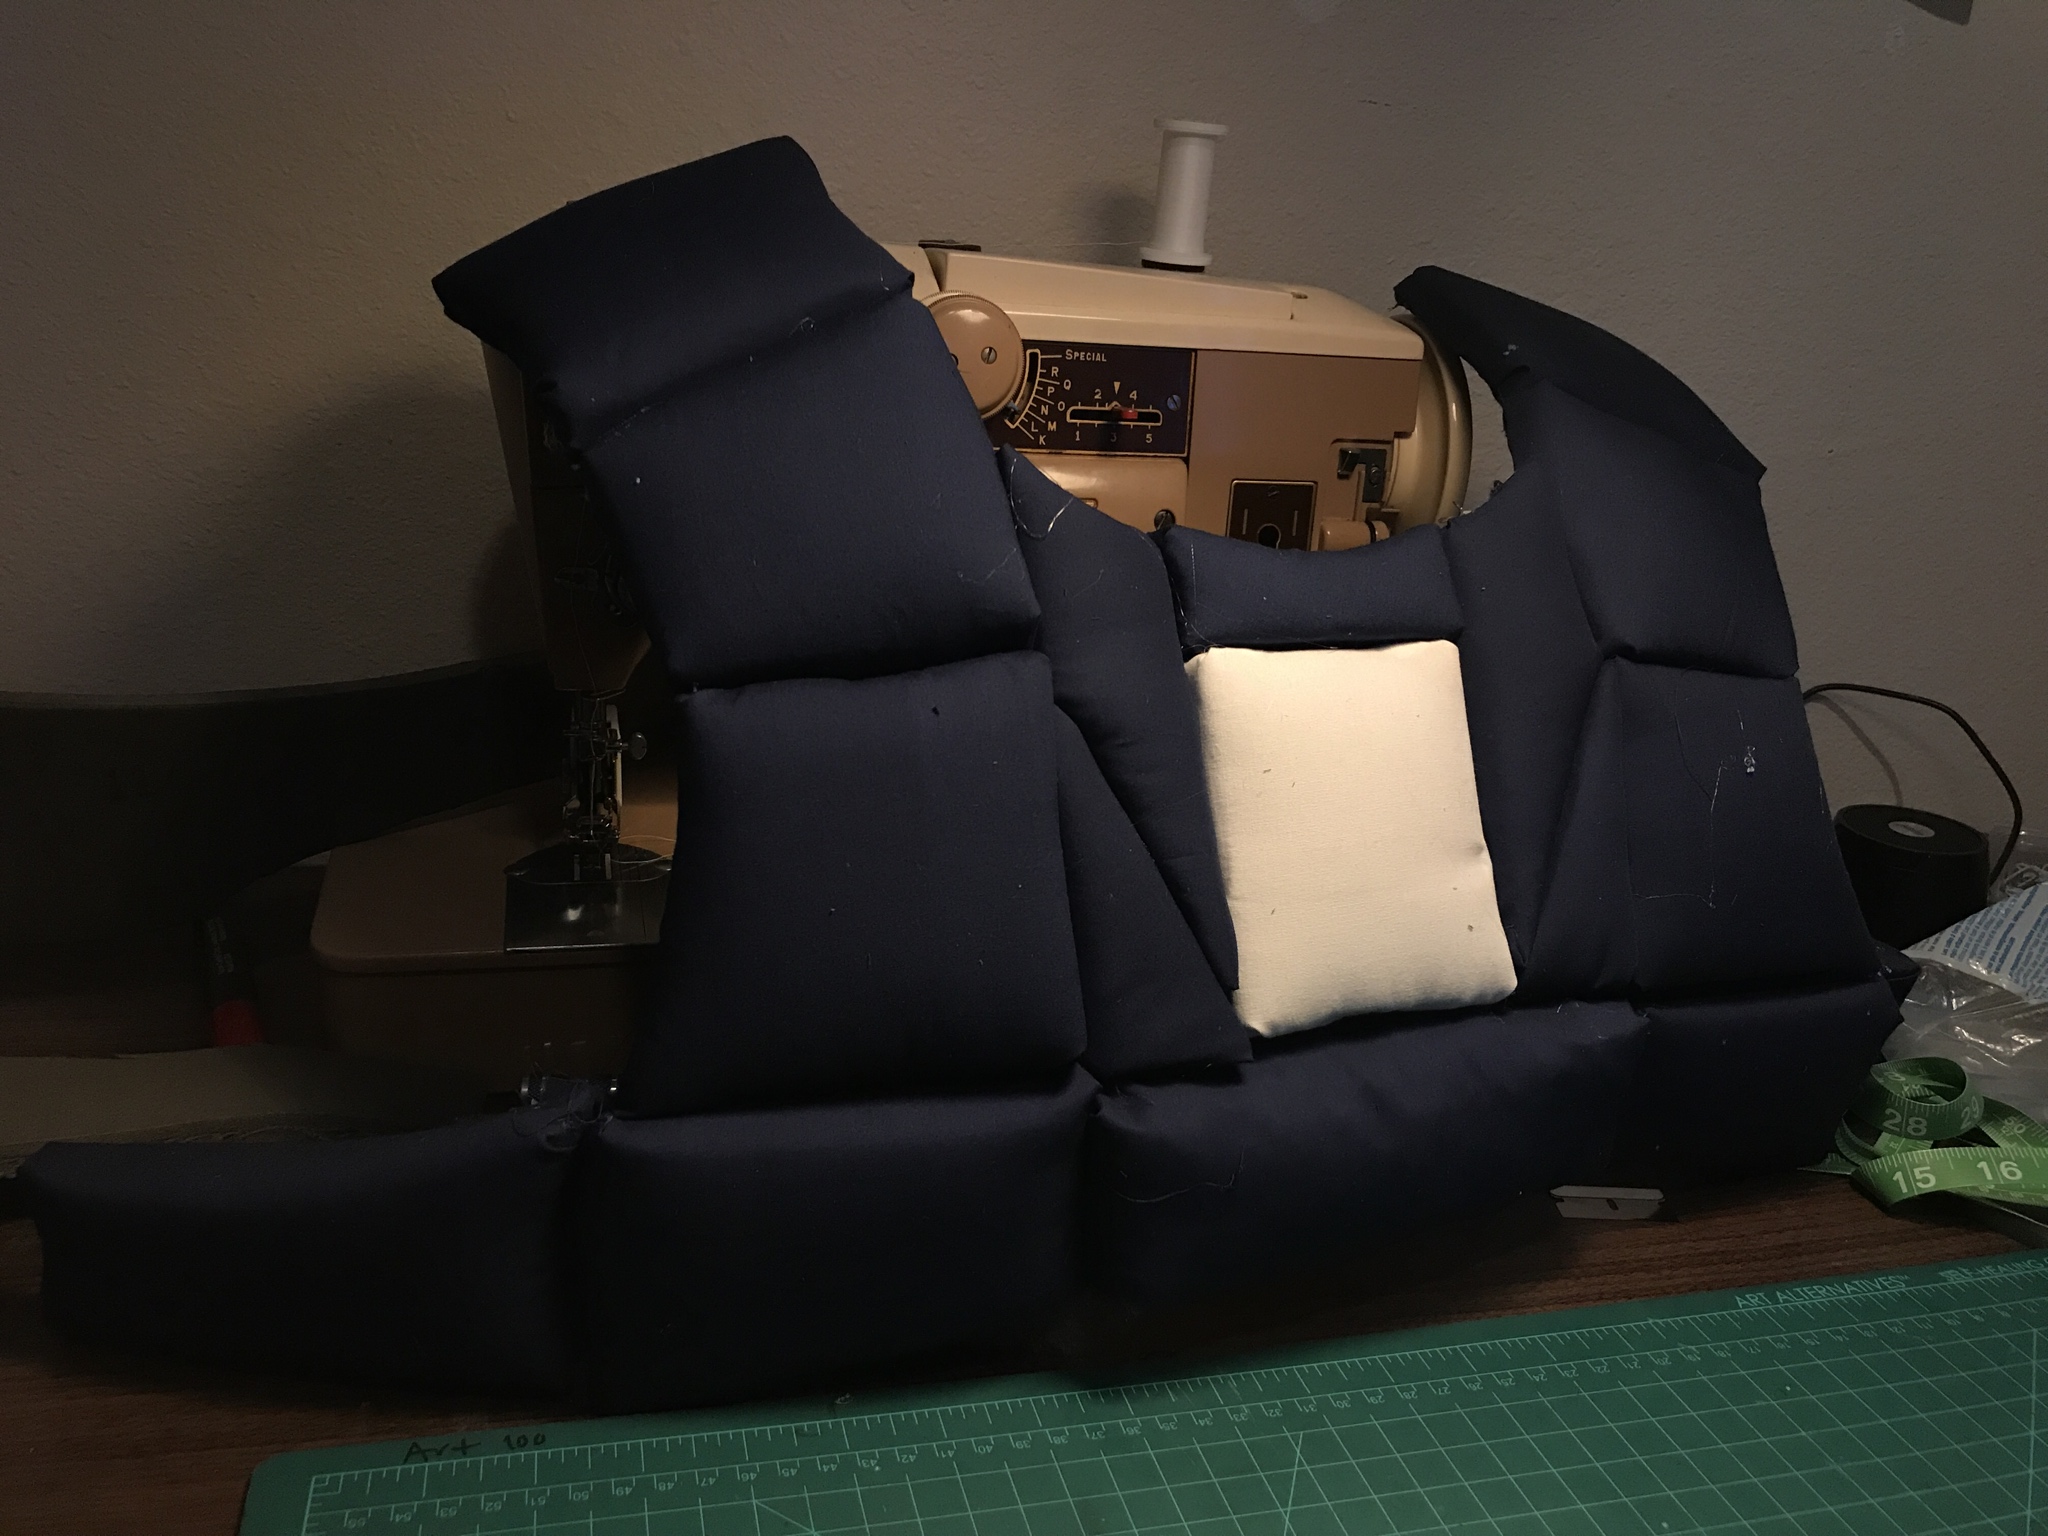
Then I took it apart again. Photographing each panel on the cutting mat gave me a record I could eventually turn into templates.
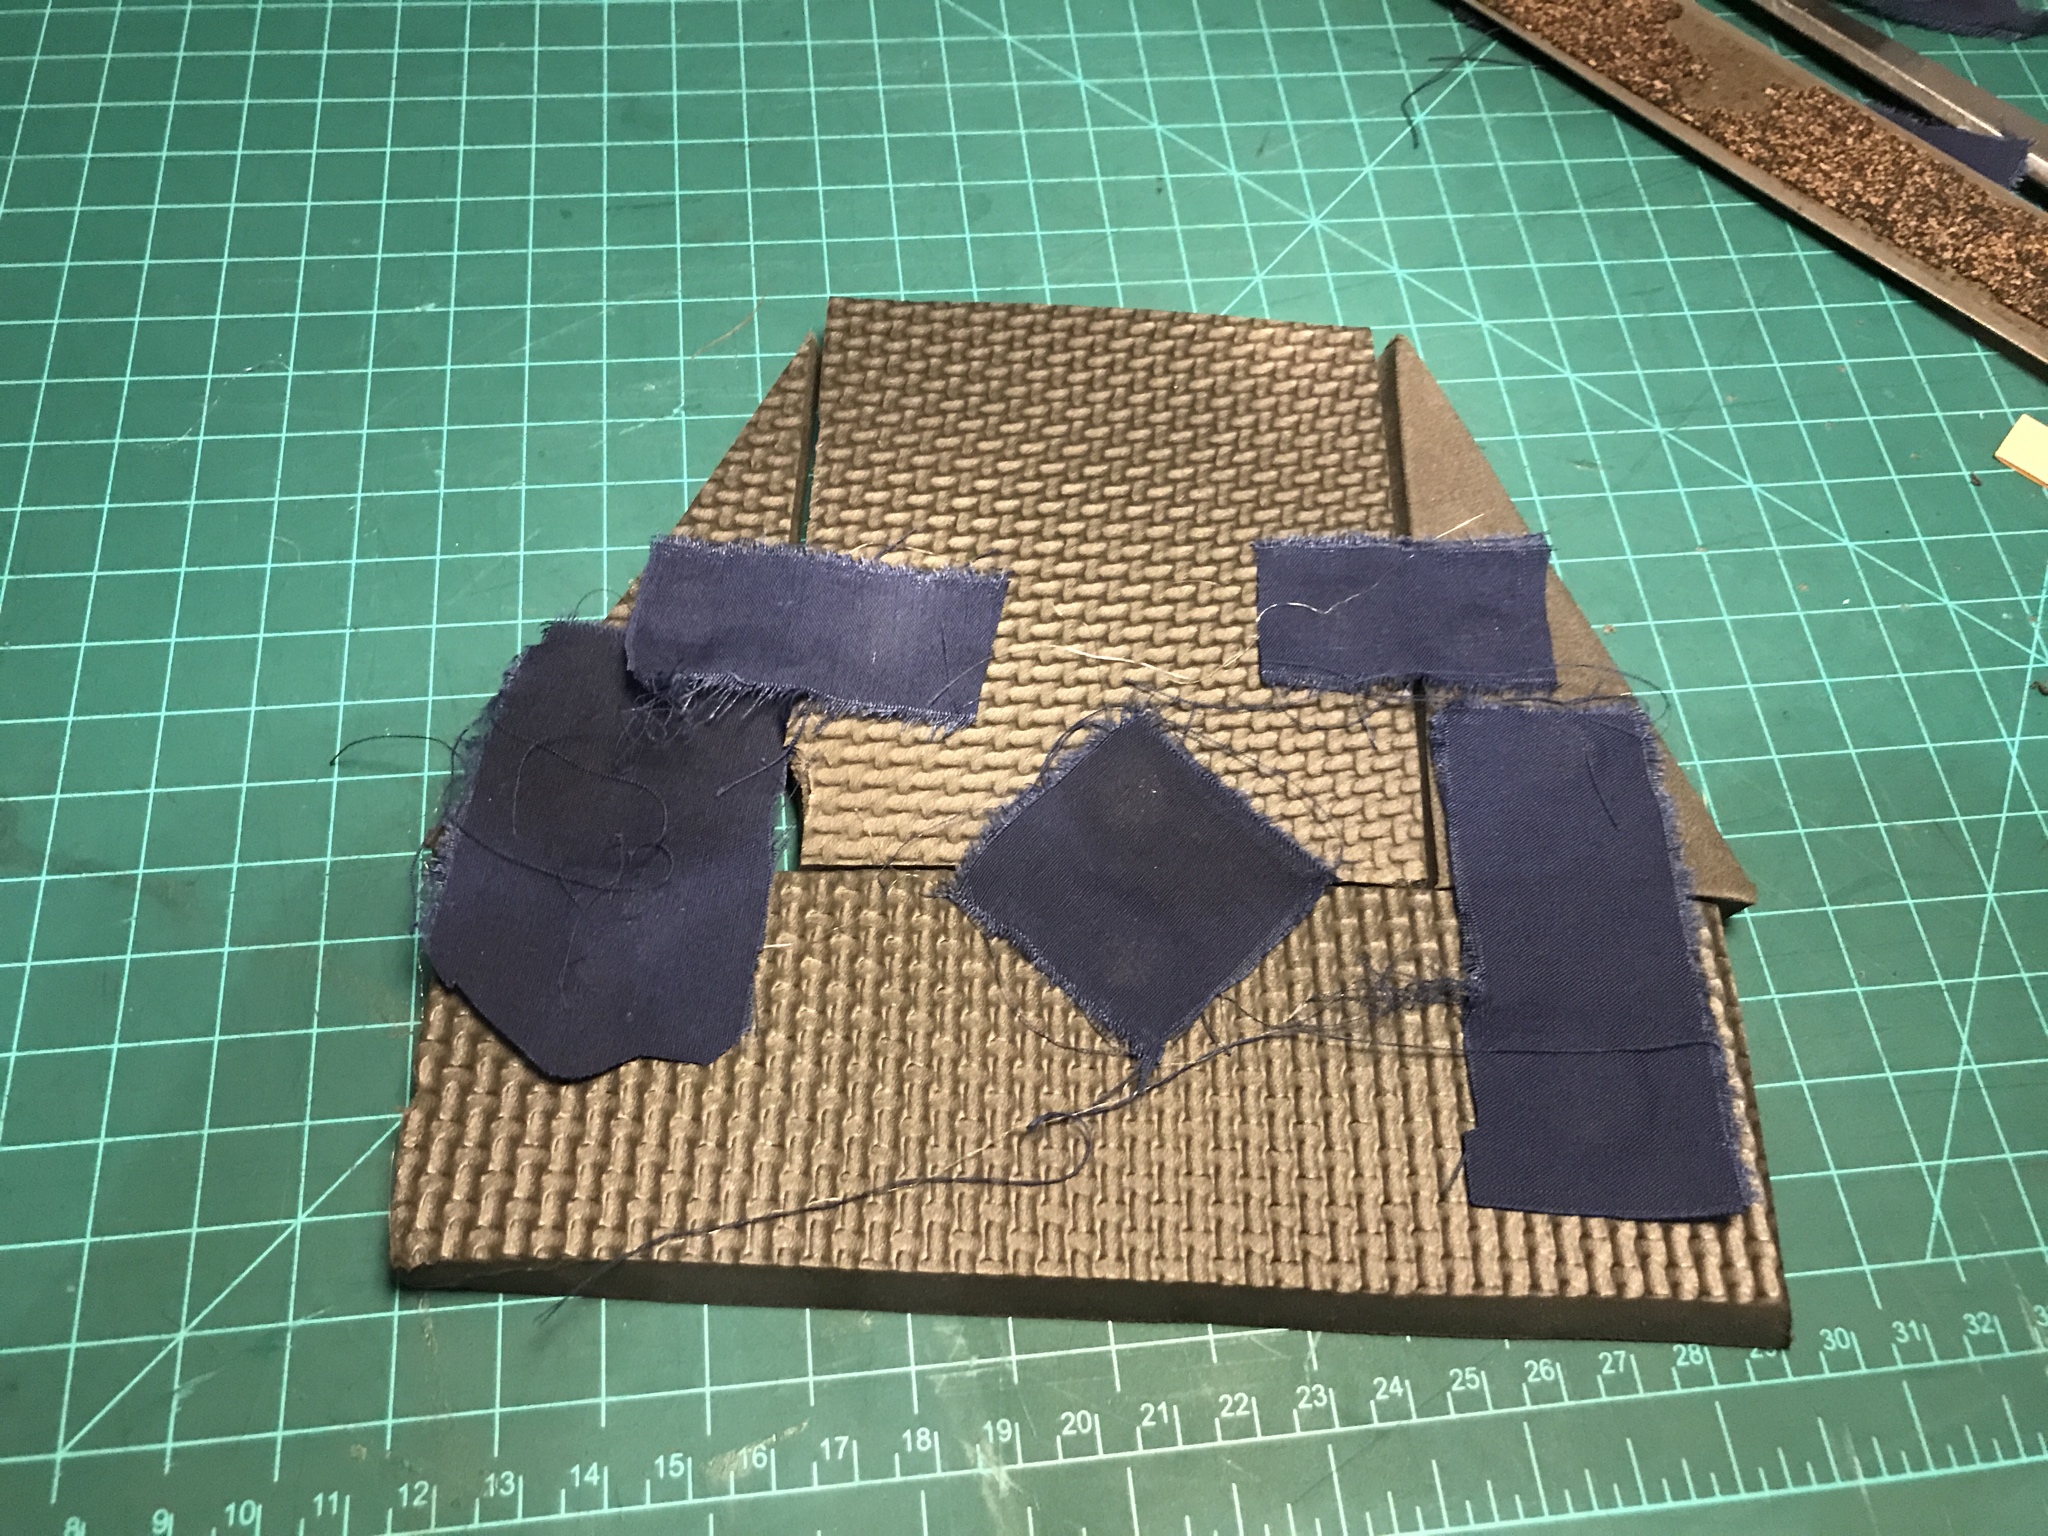
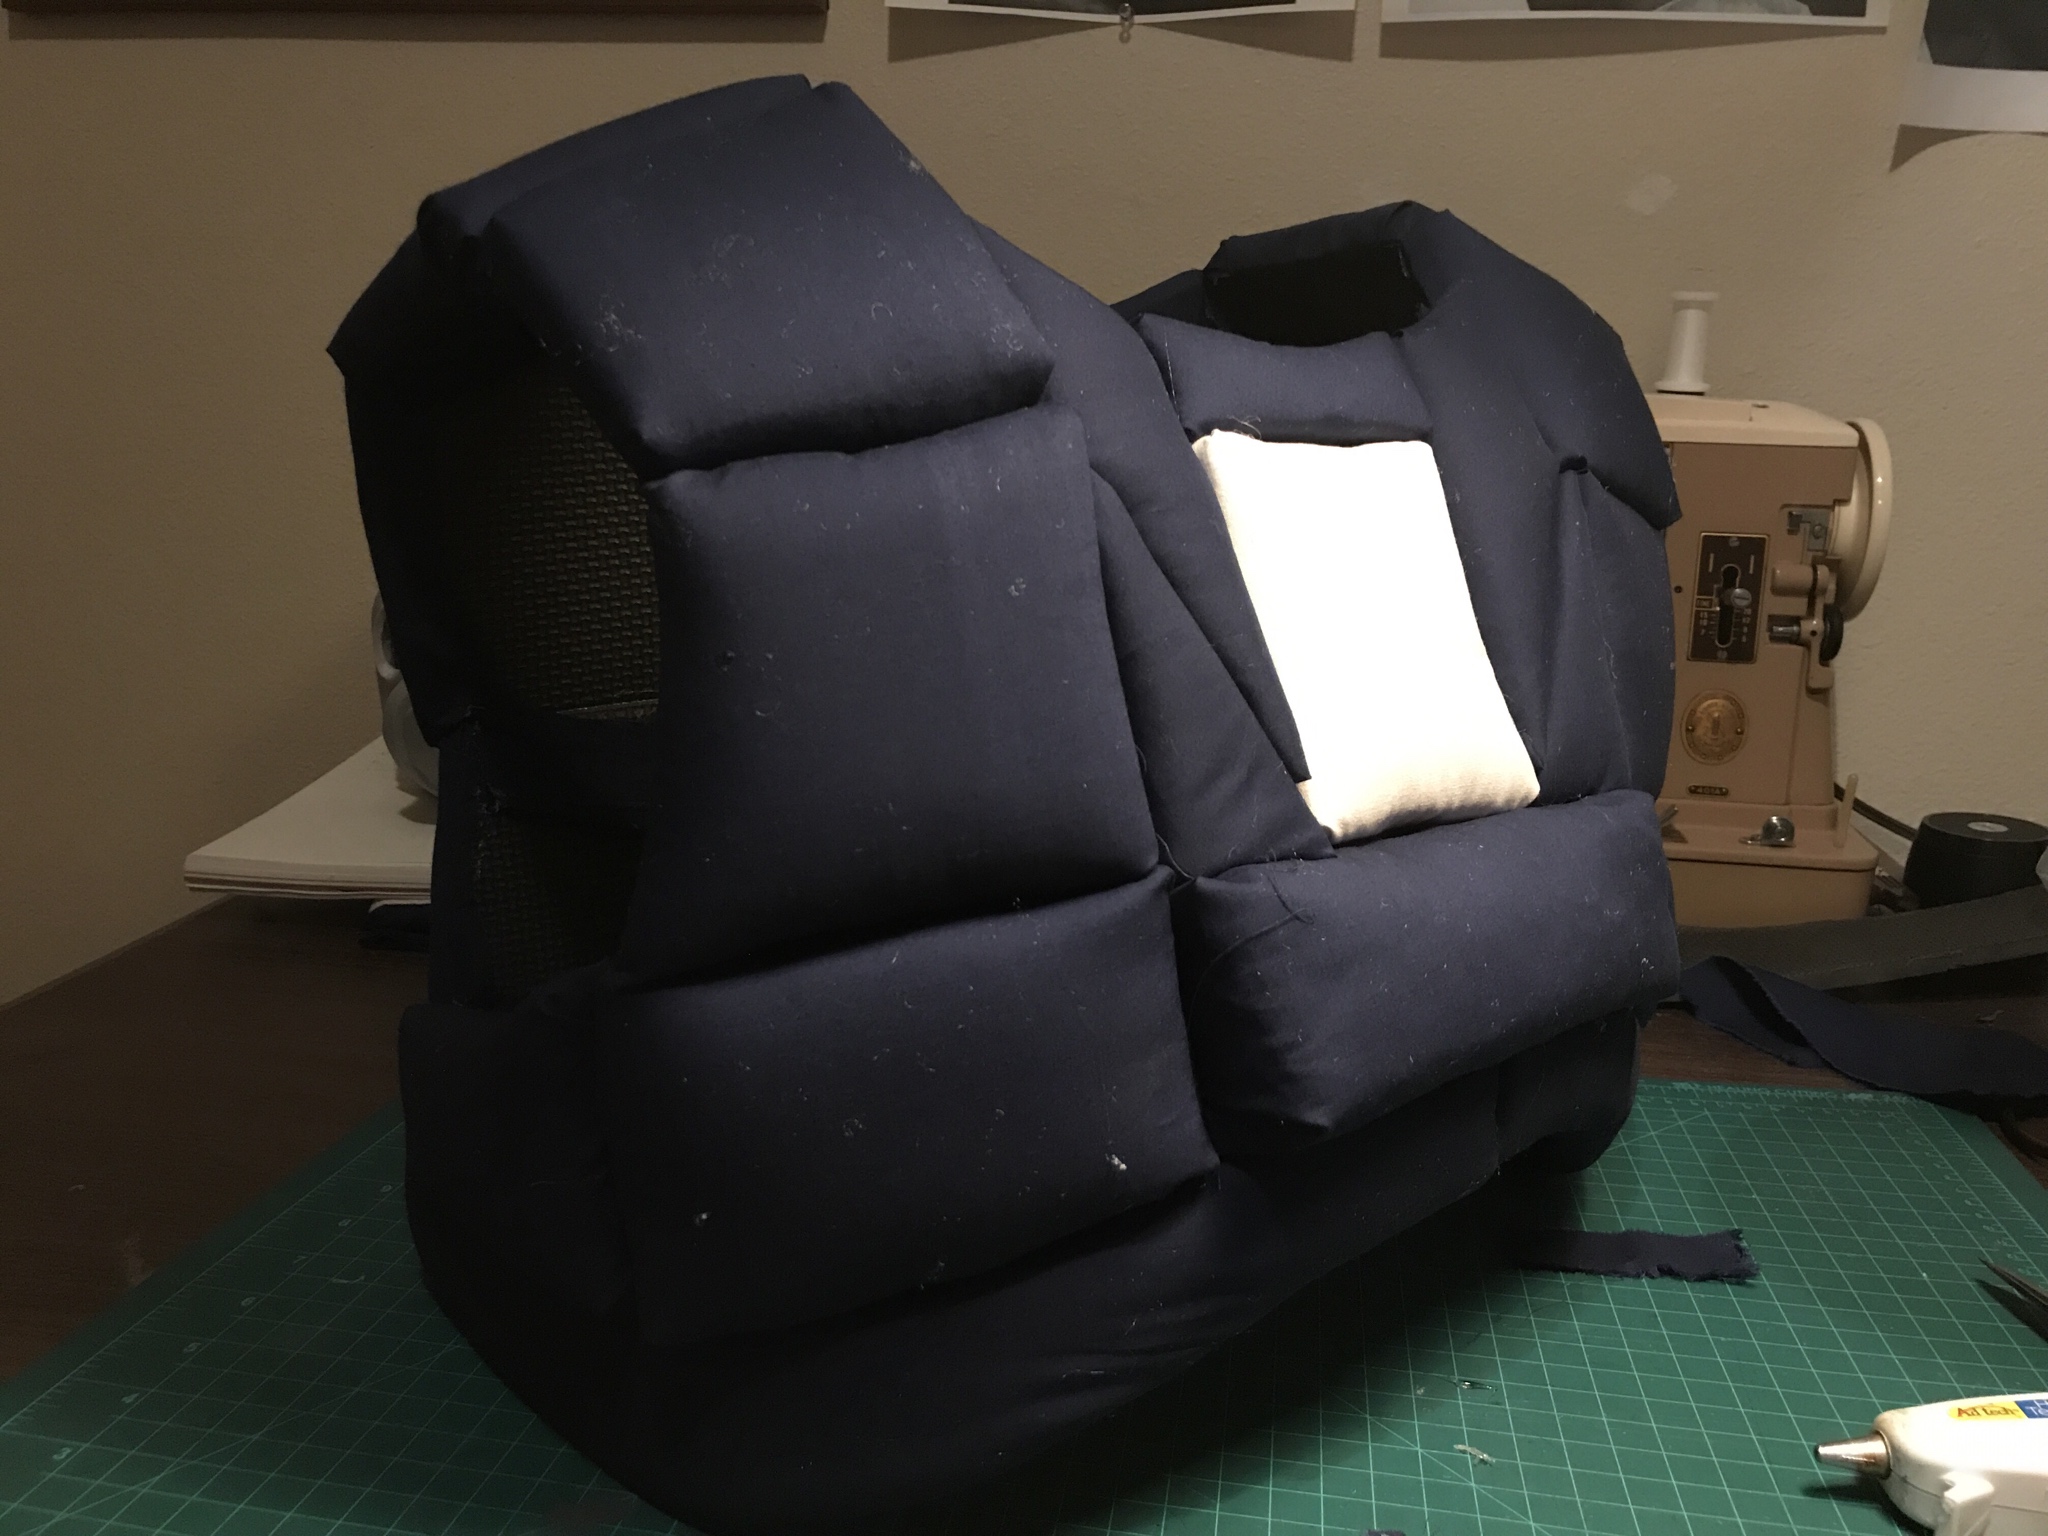
For the next experiment, I salvaged upholstery foam from a discarded chair and used it to pad the panels before wrapping them. This is much closer to the surface I had in mind.
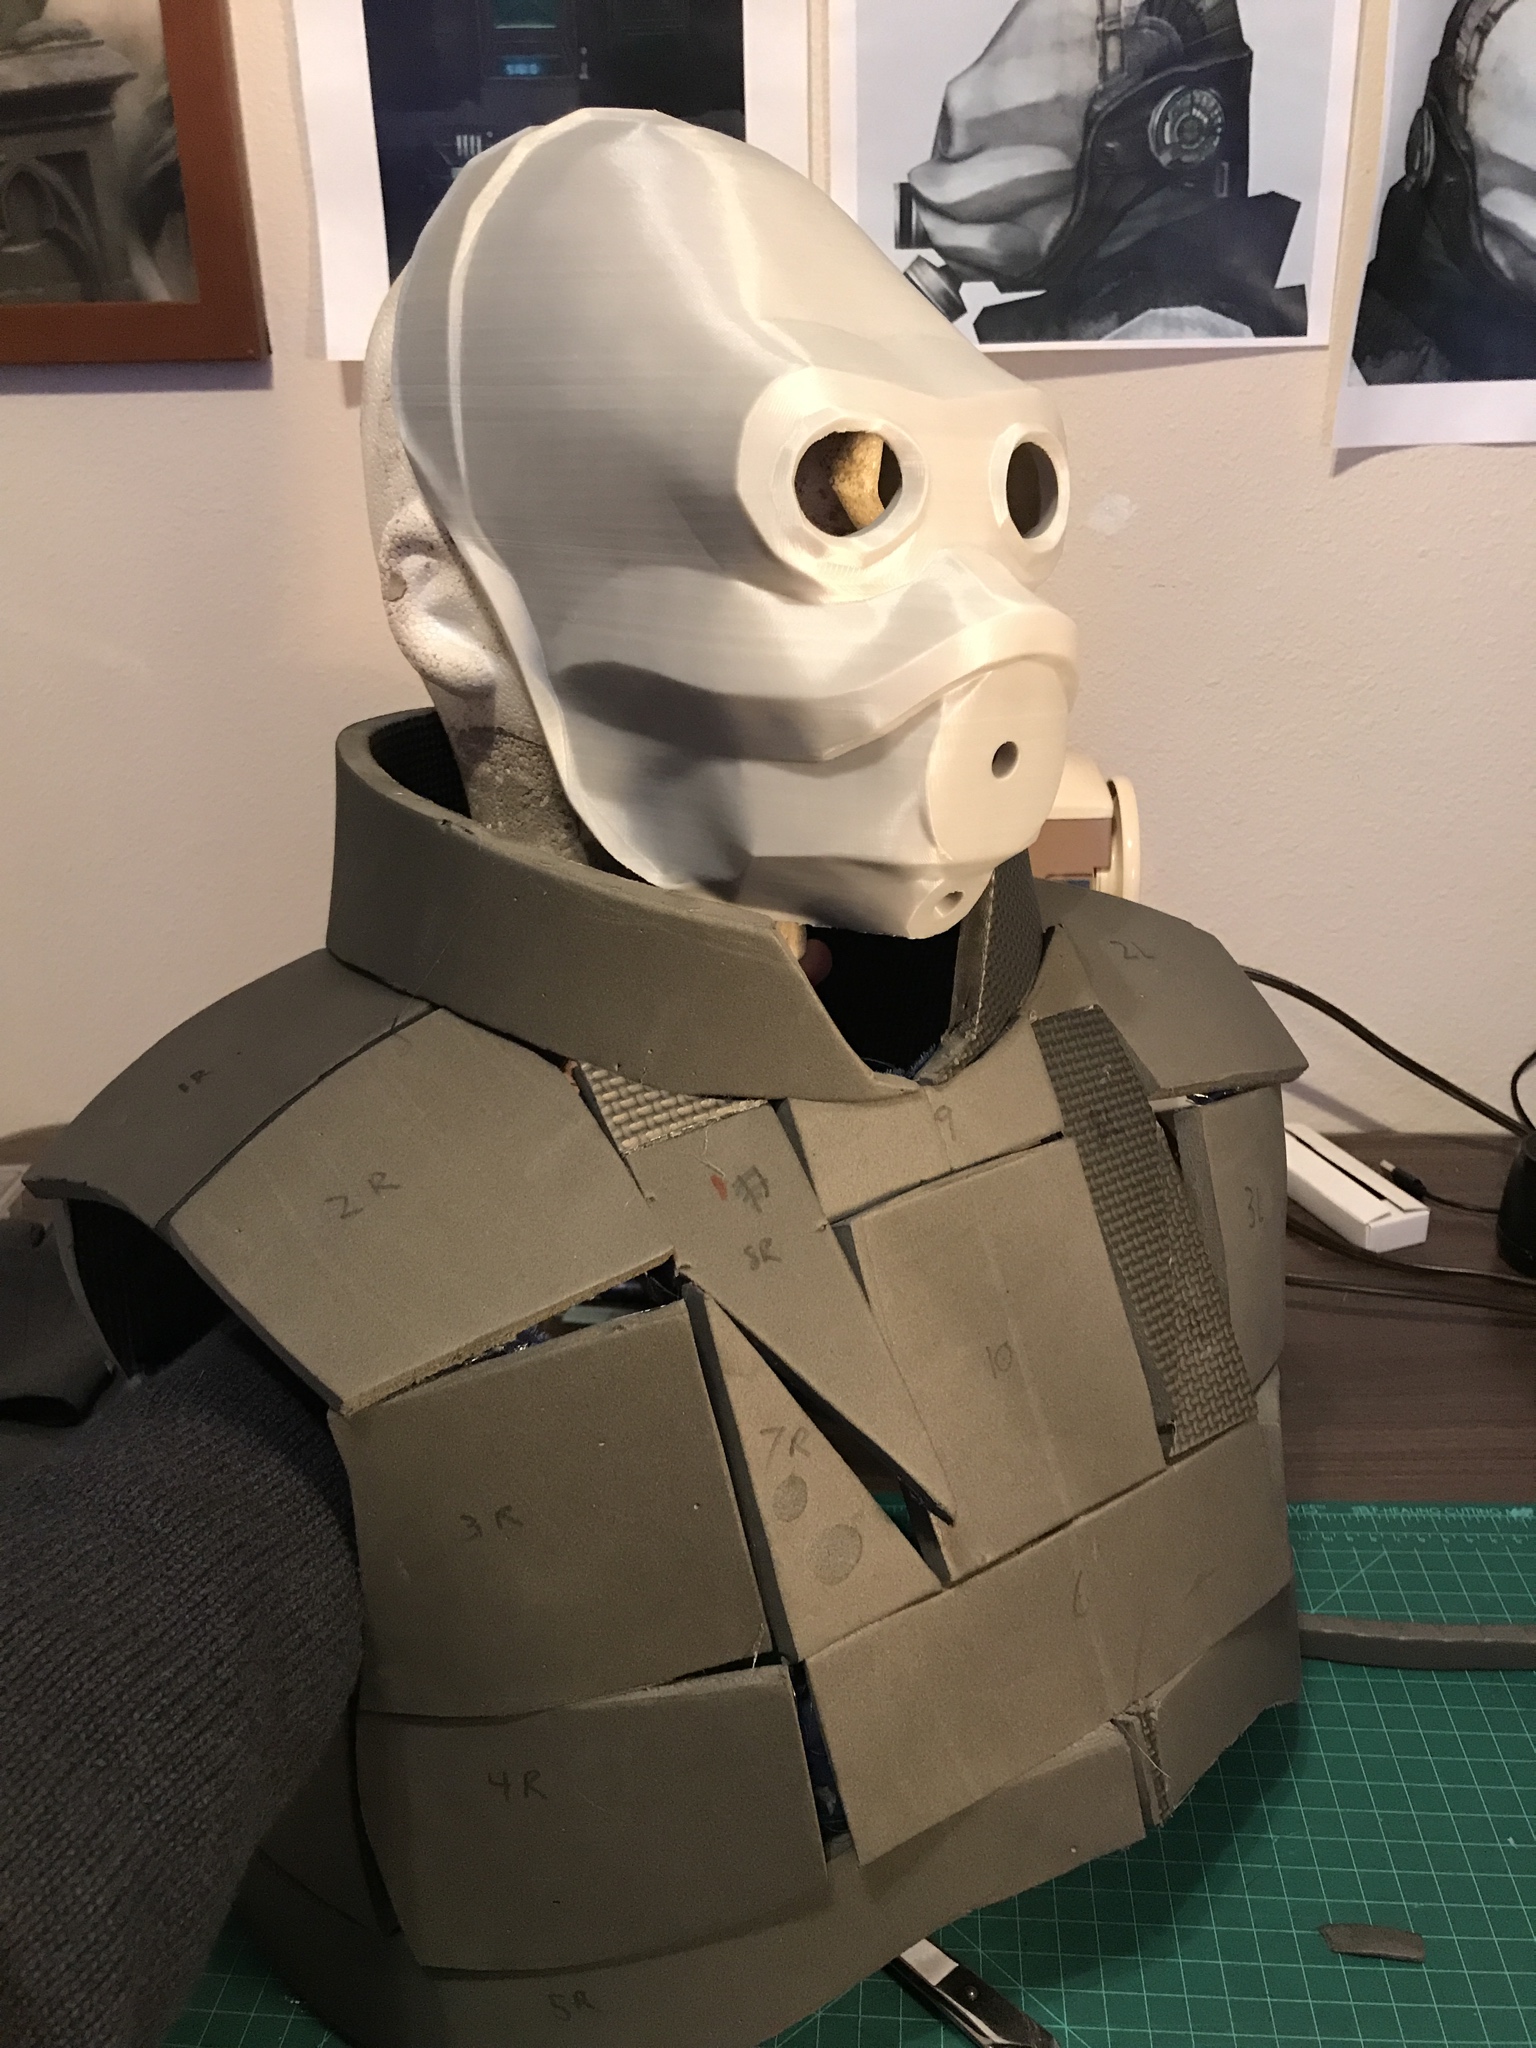
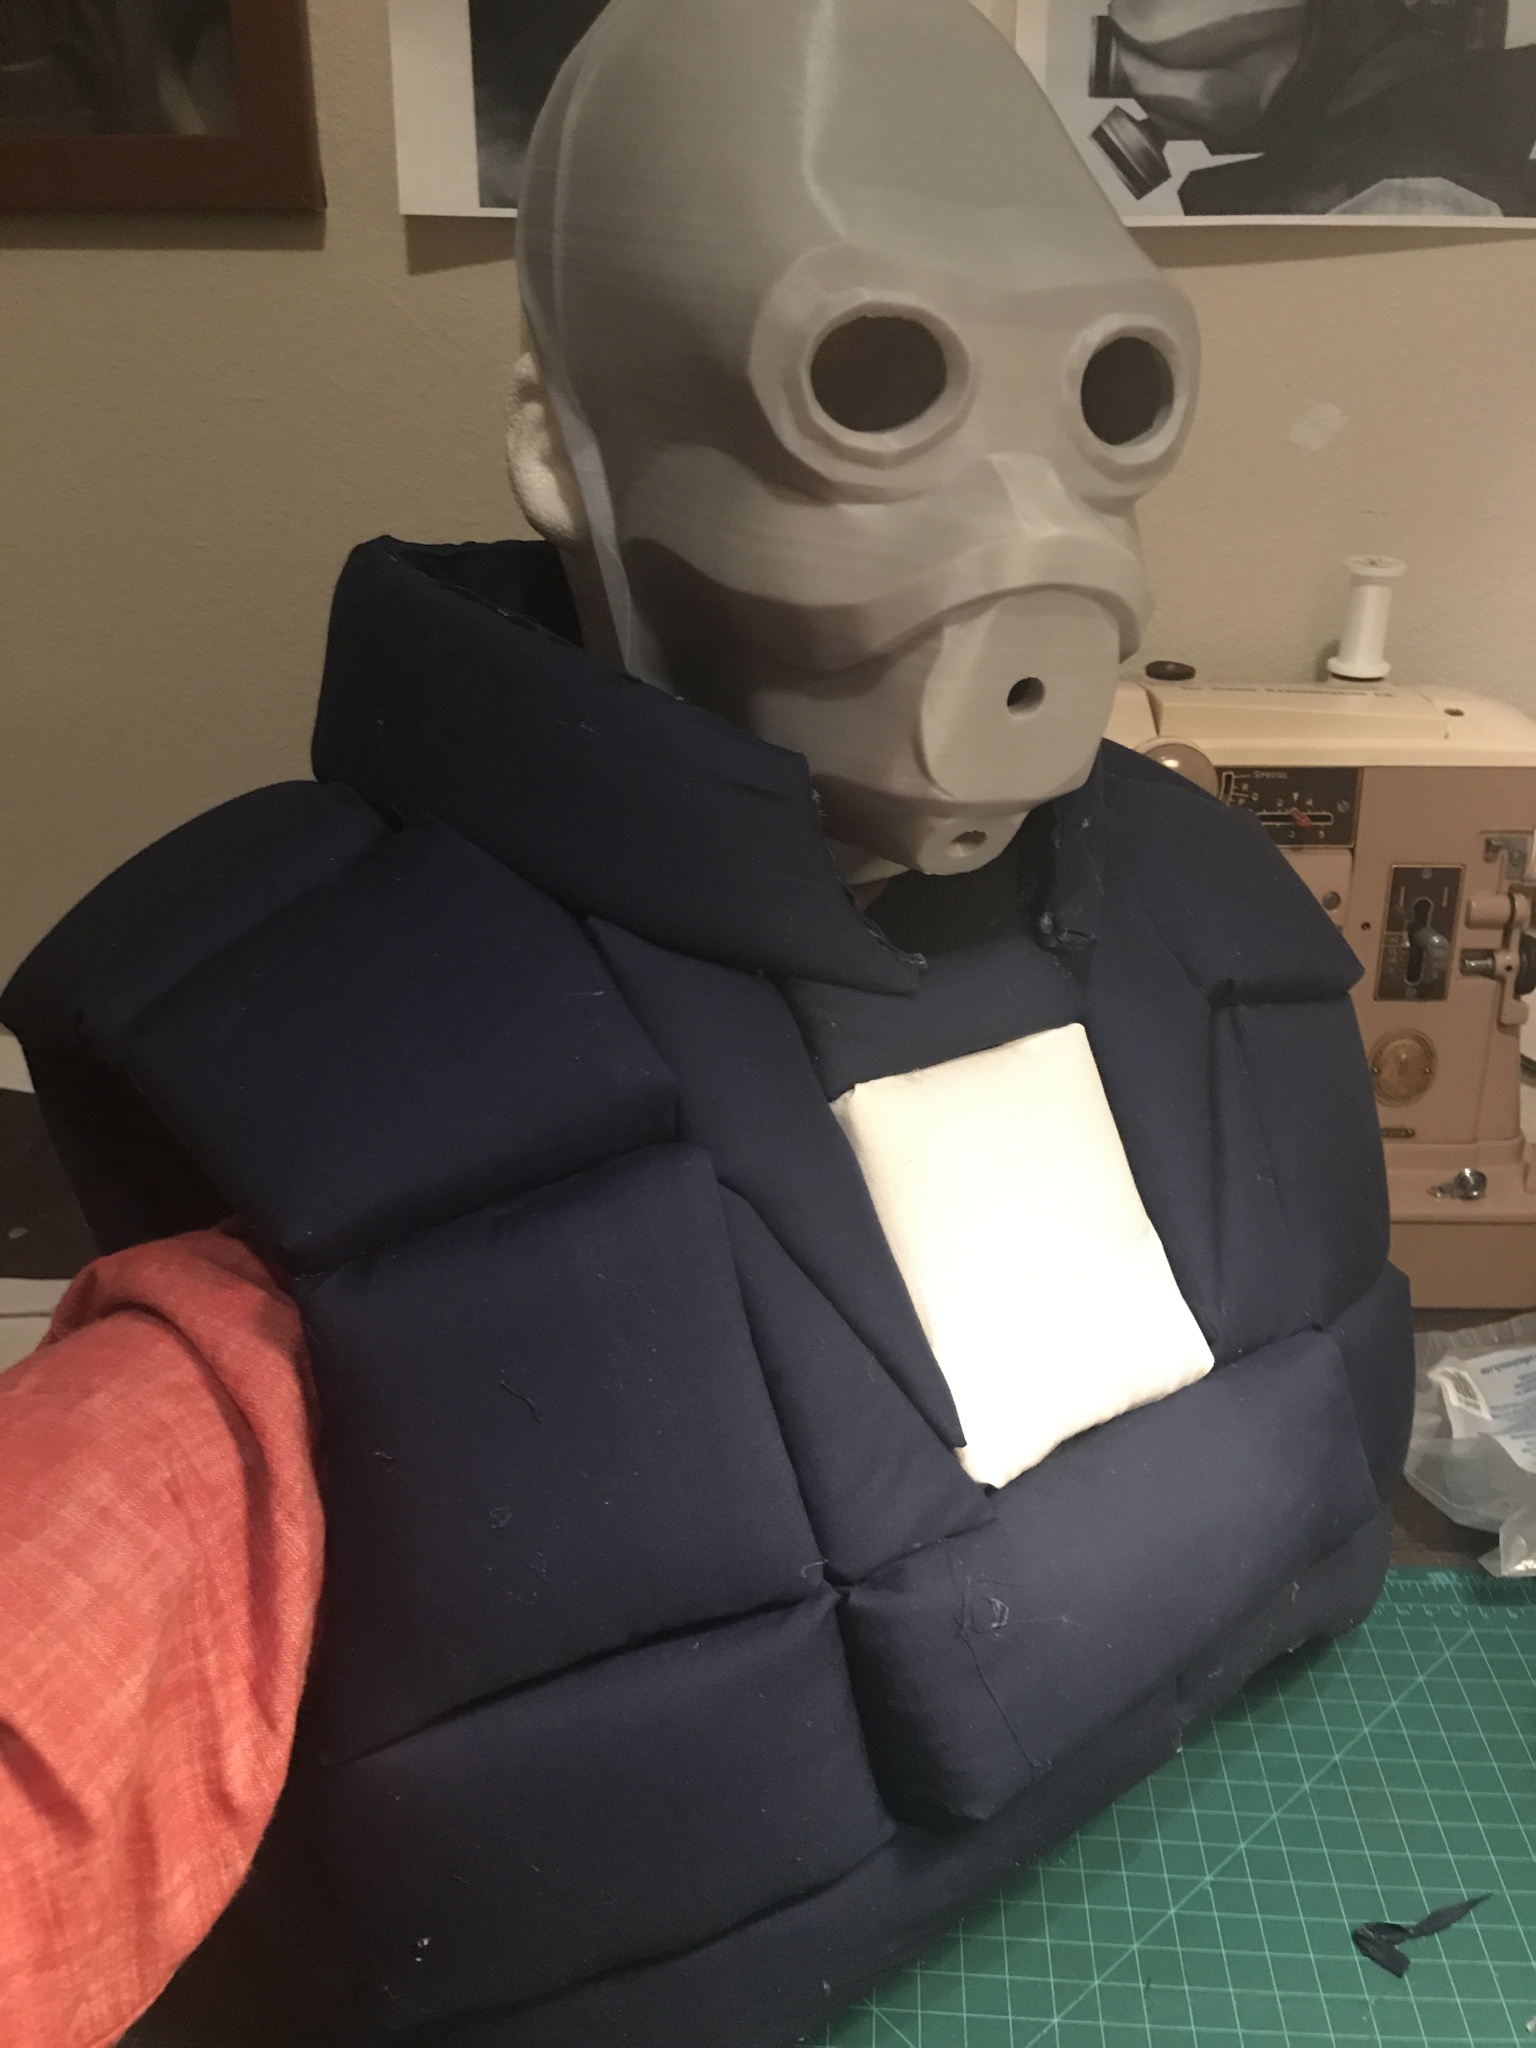
The fit was a little lucky. Rather than measuring everything against myself, I scaled the panels by eye, comparing the width of the reference's center chest panel with the helmet I'd already printed.
Next are the underjacket, trousers, boots, and printed accessories. I'm considering adding a white stripe to a pair of green pants I already have, but the overall proportions will decide whether they stay.
From the community · 1 reply
Feedback and contributions from other builders. Follow the links to read more and see their photographs.
Suggests using airbrushing to emphasize the gaps between armor panels.
· Erik Reiner
References and proportions
I'm working almost exclusively from mb814's render. Sketching the vest helped me understand its construction.
I'll see how far I can take this prototype, but I plan to make another with proper fabric and more exact measurements. So far, almost the entire vest has been eyeballed.
From the community · 1 reply
Feedback and contributions from other builders. Follow the links to read more and see their photographs.
Makes a Back to the Future comparison and encourages the project.
· Erik Reiner
Not quite alien-space-police
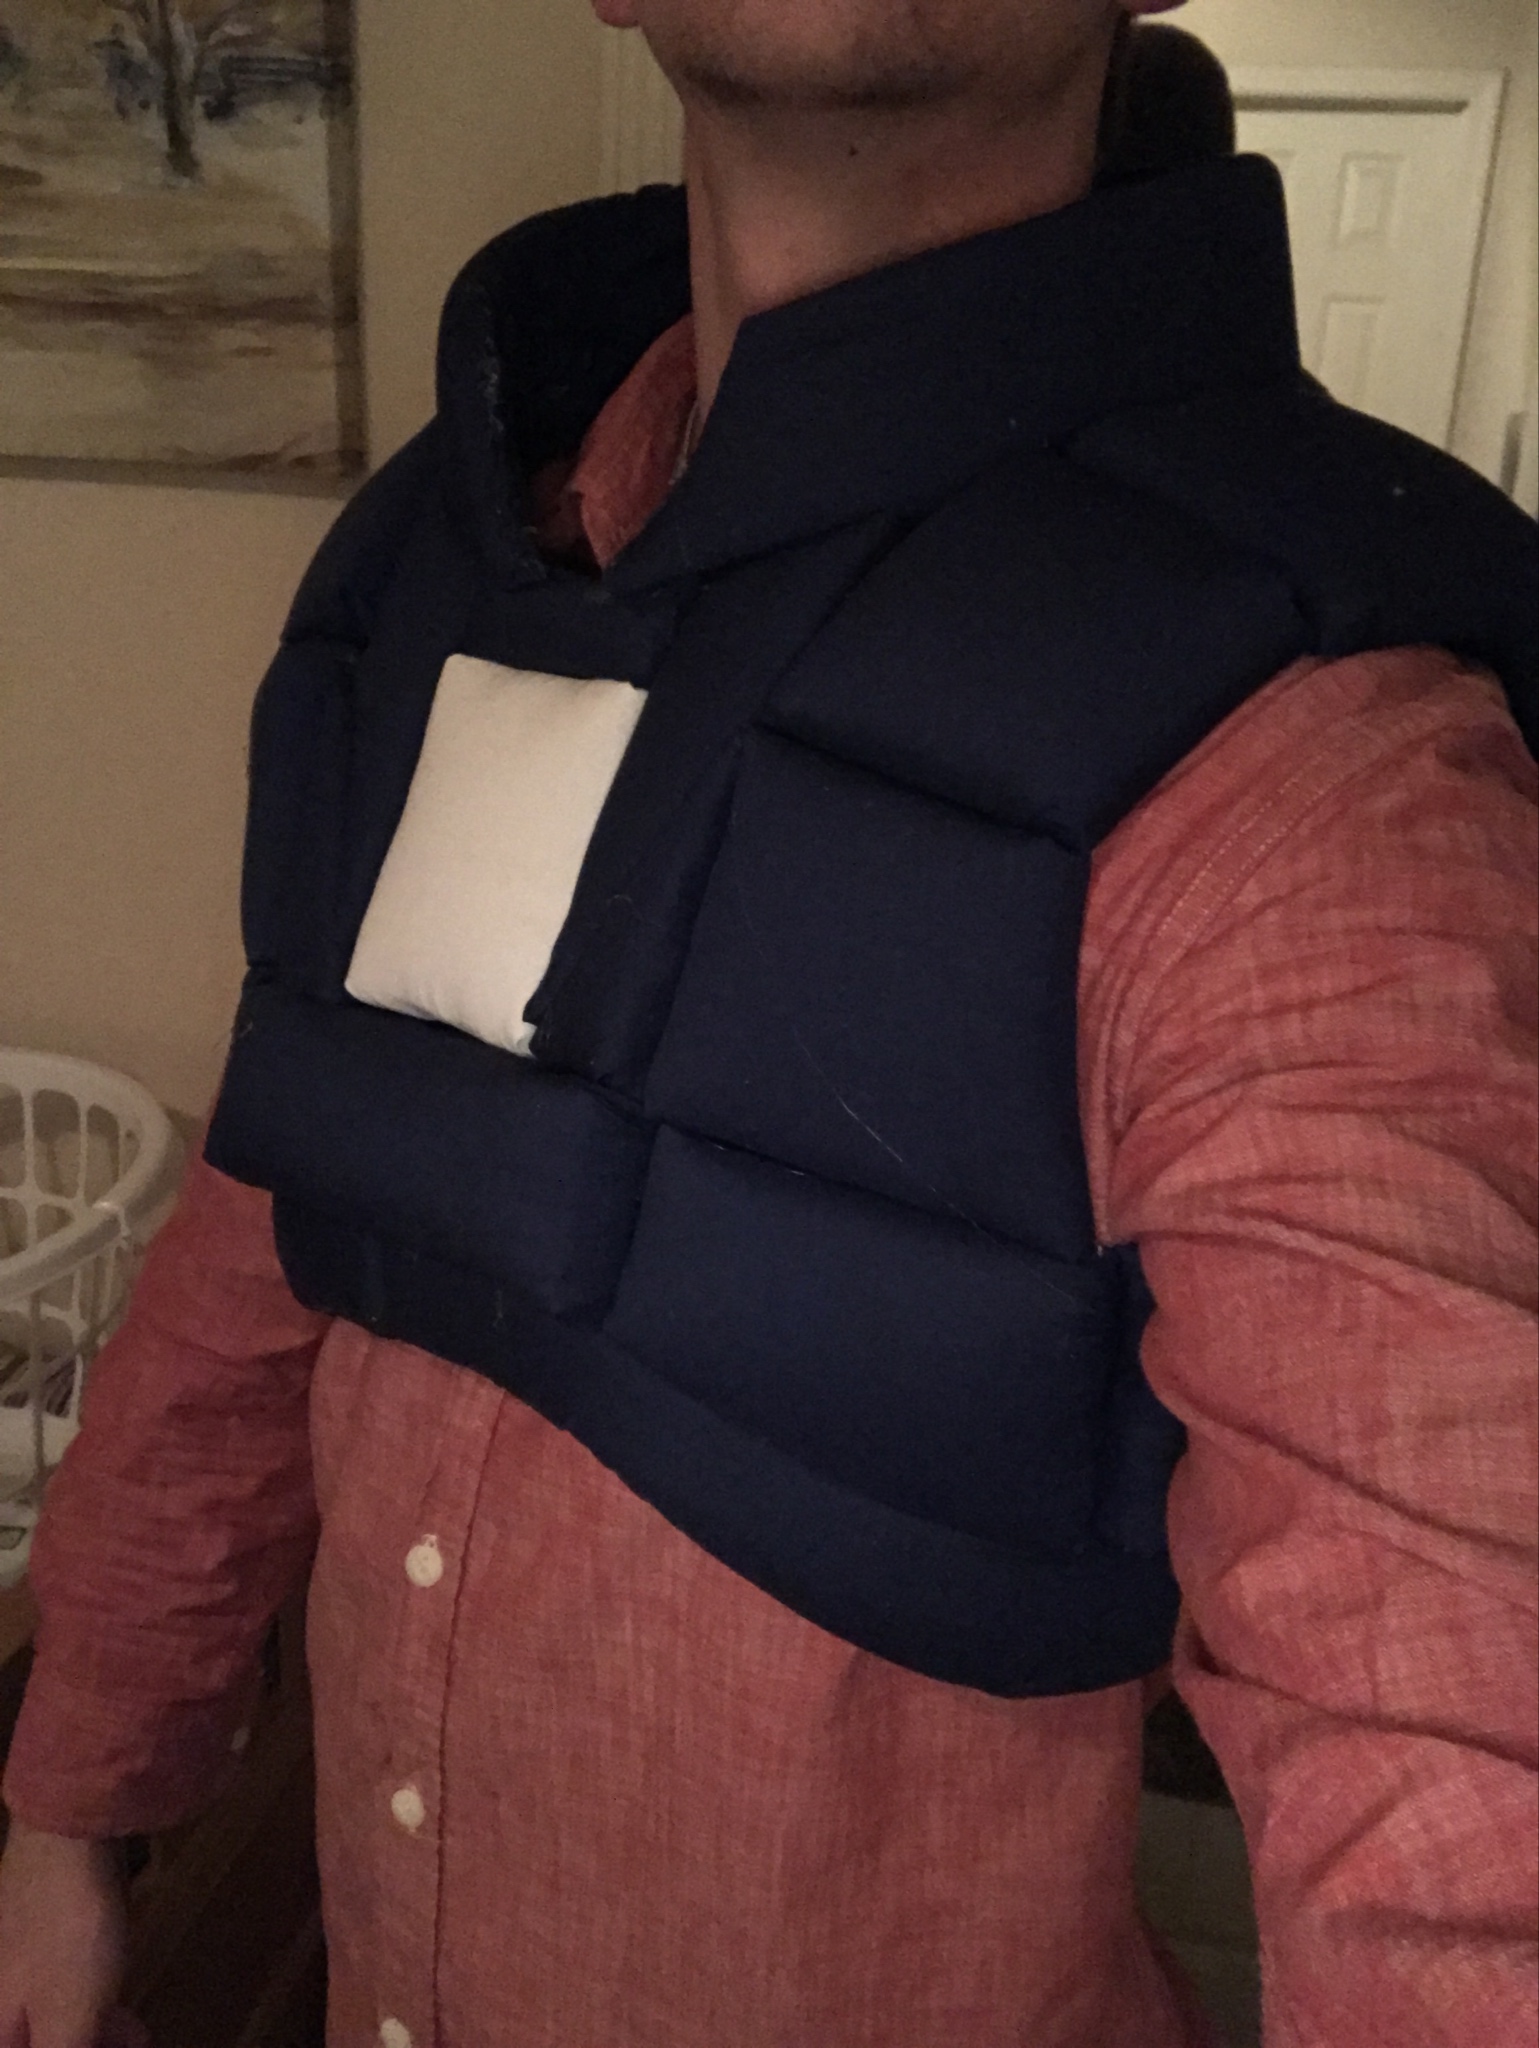
The prototype's deep blue fabric and light red shirt don't quite capture the alien-space-police look yet. These are test-fit colors, not the final palette.
2020
References, resources & a restart
· Erik Reiner
Test fits and Half-Life: Alyx references
I put together a rough outfit from clothes I had available to test the overall silhouette. The new jackboots are a little chunkier than I'd like, and these trousers are only placeholders. I'm aiming for flat-fronted pants in cotton or twill.
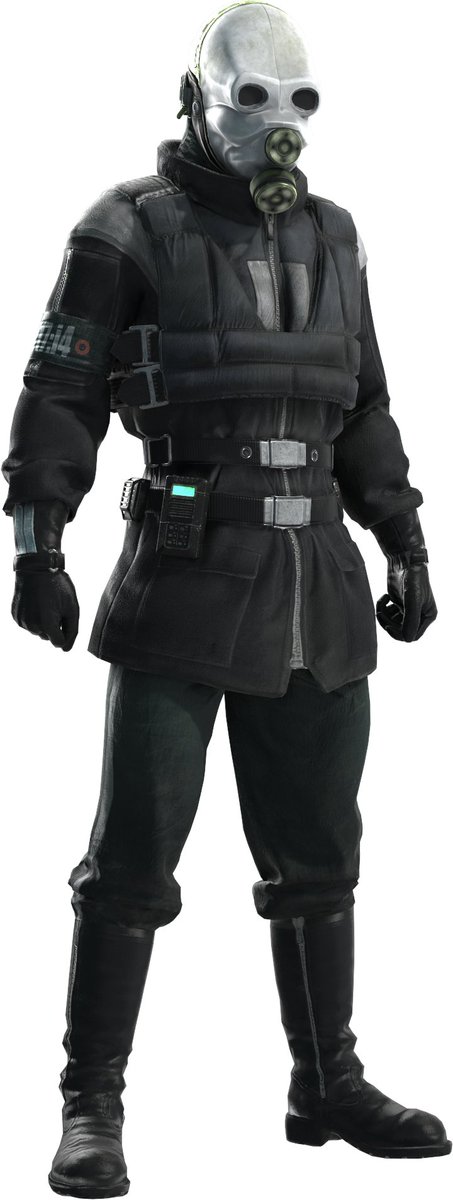
Half-Life: Alyx has given me another set of references to consider. Its Civil Protection design keeps the familiar outline but changes several details.
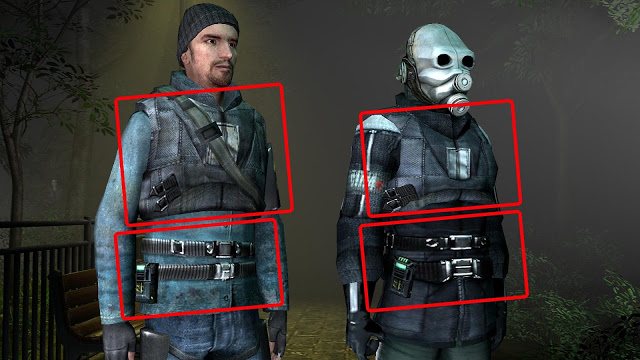
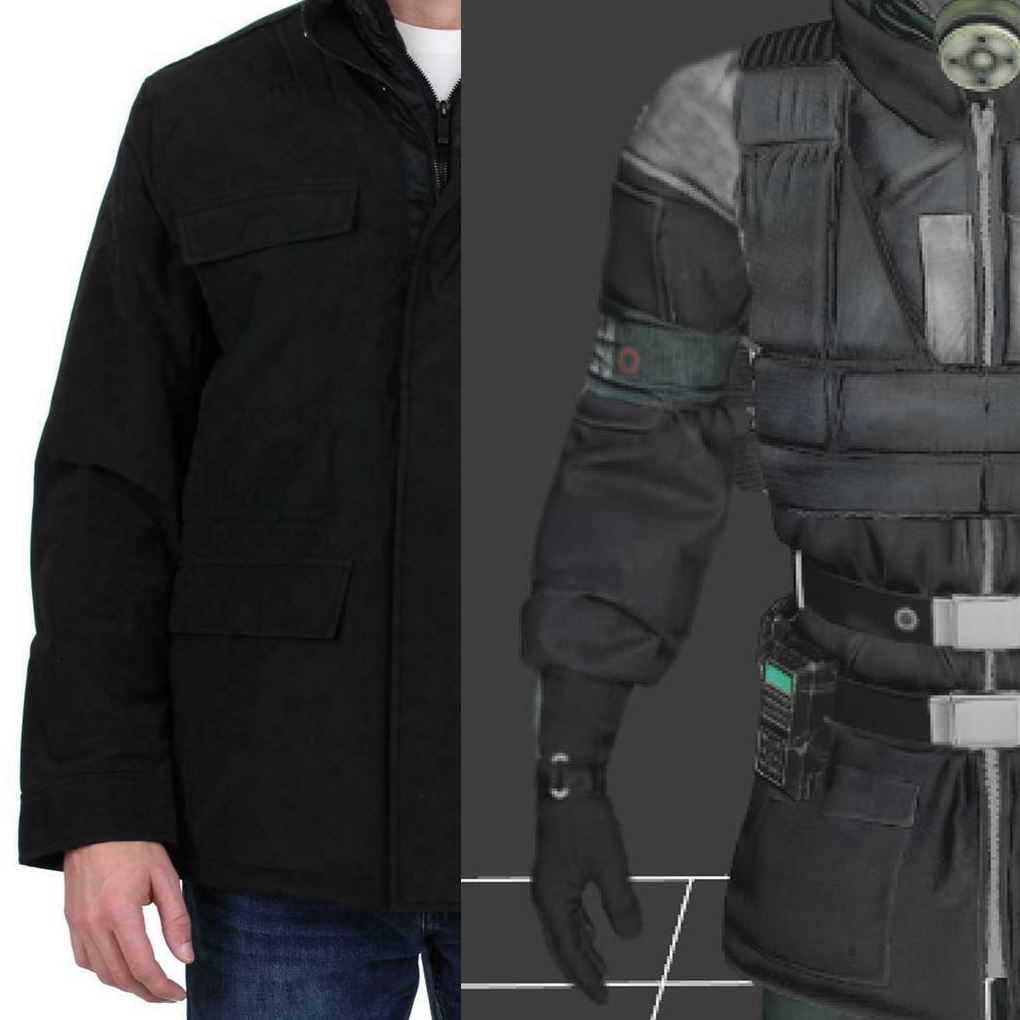
The vest appears smaller, the boots fit more closely, and the jacket looks more like something I could adapt from an existing garment. This older comparison image, sourced from msleeper's blog, helps show the difference.
The white shoulders and chest reflector still need careful planning. I'm leaning toward a combination of the original design, mb814's interpretation, and selected details from Alyx, while keeping the finished costume recognizably Half-Life 2.
From the community · 1 reply
Feedback and contributions from other builders. Follow the links to read more and see their photographs.
The biggest change is the vest. It's more streamlined, with broad straps in place of some rib and shoulder panels. The gloves have buckles and white stripes, while the boots have a closer fit, inside zippers, and white strips on the outer legs.
The mask and overall silhouette remain familiar. I like that continuity, although I don't plan to reproduce the chest cutout in the newer vest. For this costume, the older chest layout still feels like the right choice.
From the community · 1 reply
Feedback and contributions from other builders. Follow the links to read more and see their photographs.
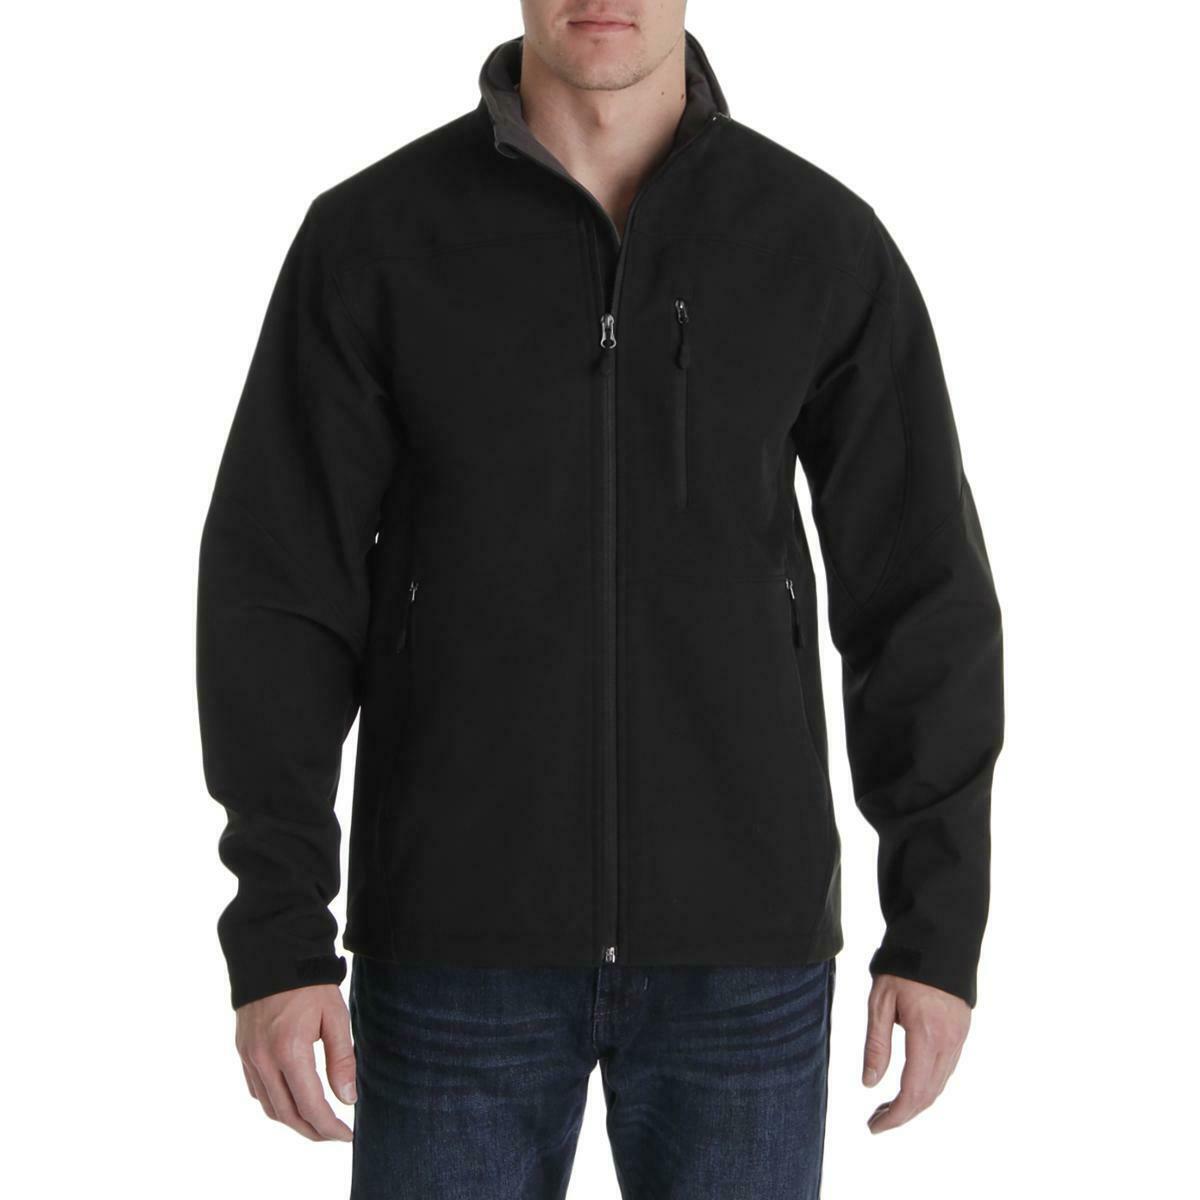
Finding the right jacket is a balance of material, length, pocket placement, and price. Some soft-shell options have the right surface but are too short in the body.
One candidate was around $30, leaving some room in the budget for tailoring. It would need the zipper flap removed and possibly a rear center vent. At 6'1", I need enough length to keep the costume's proportions convincing.
None of these is an exact match. The pockets, shoulders, and torso length all involve compromises, so I'm checking the whole silhouette before committing.
From the community · 1 reply
Feedback and contributions from other builders. Follow the links to read more and see their photographs.
I worked through an early budget to see where the money would go. The foam vest was inexpensive: an $8 pack of floor mats and fabric from my grandma. The first mask prototype added $17 for mesh work and roughly $6 in printing plastic.
My other estimates included $56.67 for boots, $32 each for gloves and a jacket, $20 for trousers, $8 for belts, $6 for printed belt boxes, and $8 for their electronics. Ribbon was another small expense.
These were planning figures, not a final cost report. Buying and adapting existing clothing looked more practical than making every garment from scratch. I could keep prototyping the helmet and accessories while spacing out the larger purchases.
The priority was to keep the build affordable without losing the character's silhouette.
From the community · 1 reply
Feedback and contributions from other builders. Follow the links to read more and see their photographs.
These are raw reference images rather than finished vector patterns. They document the prototype, including areas I'd still like to refine. The later digitized templates are a better starting point for a new build.
· Erik Reiner
Finding a suitable jacket
I found a jacket that should work well with a few modifications. It fits well, has a suitable material, and was inexpensive. The buttons and button flap need to be removed.
I'm considering having a tailor add a rear vent to give it the slight flare of the Combine jacket.
2021
Finding the silhouette
From the community · 1 reply
Feedback and contributions from other builders. Follow the links to read more and see their photographs.
Asks how the trousers were made for a similar build.
· Erik Reiner
Placeholder pants and new boots
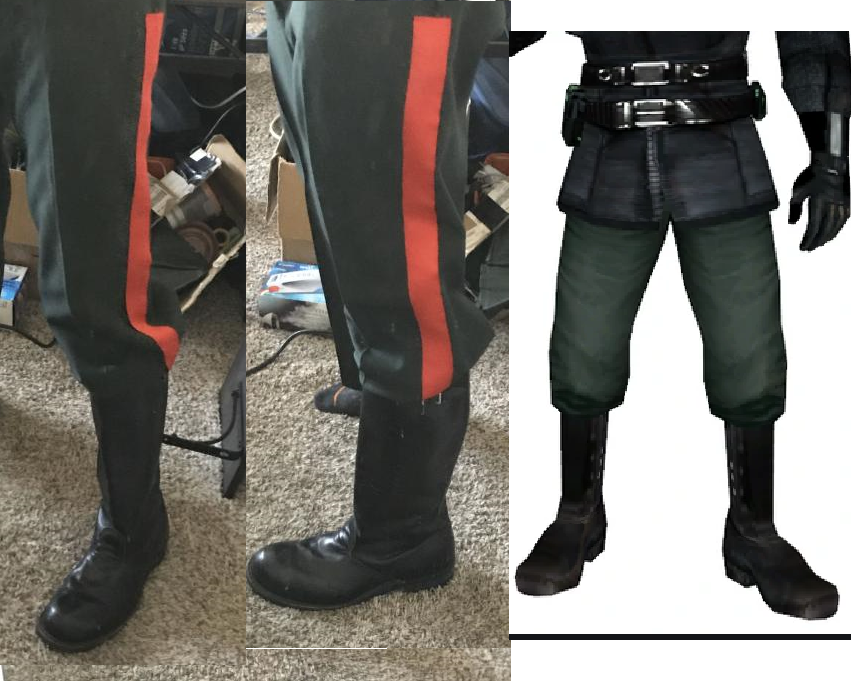
The test-fit trousers are dress slacks with ribbon sewn down the legs. They work as placeholders, but I want something less formal for the finished costume, without the pressed front crease.
I've also replaced the first pair of boots. Their chunky shape was fighting the slimmer silhouette I wanted.
From the community · 1 reply
Feedback and contributions from other builders. Follow the links to read more and see their photographs.
The way the trousers fall over the boots matters as much as the individual garments. I'm planning to blouse the legs to control that transition and keep the shape closer to the reference.
For the boots, I'm still drawn to a clean, slim profile. Finding practical footwear is one thing; finding the right outline is another.
· Erik Reiner
Testing the silhouette
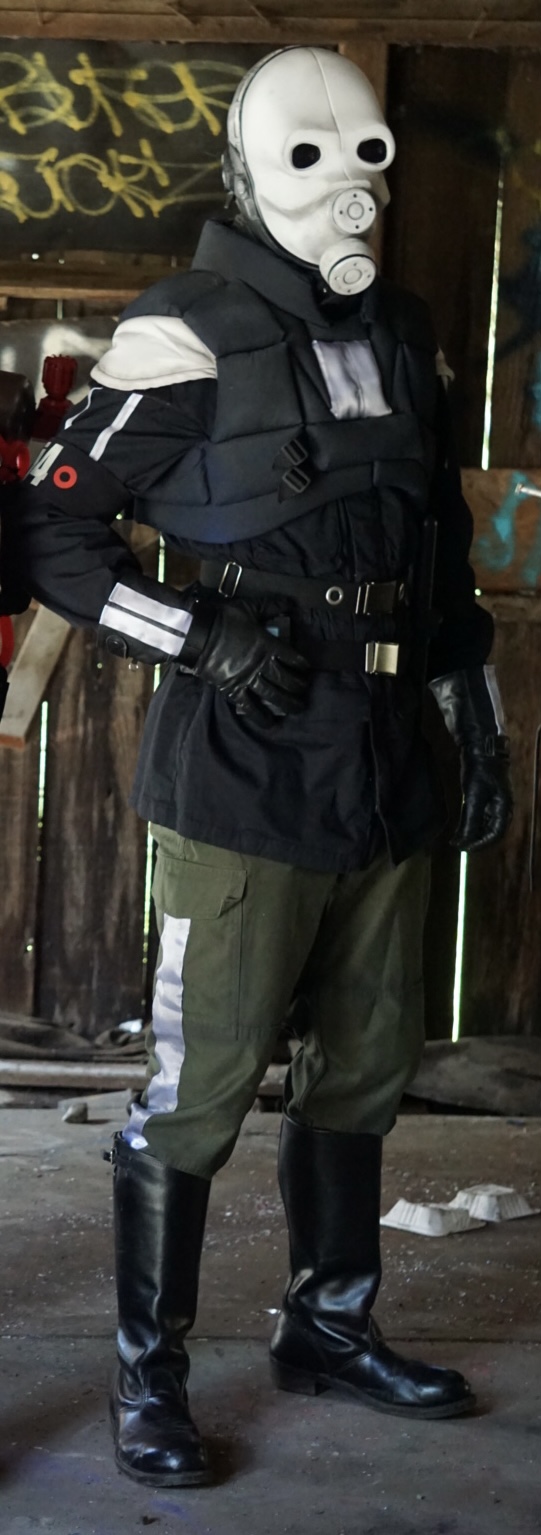
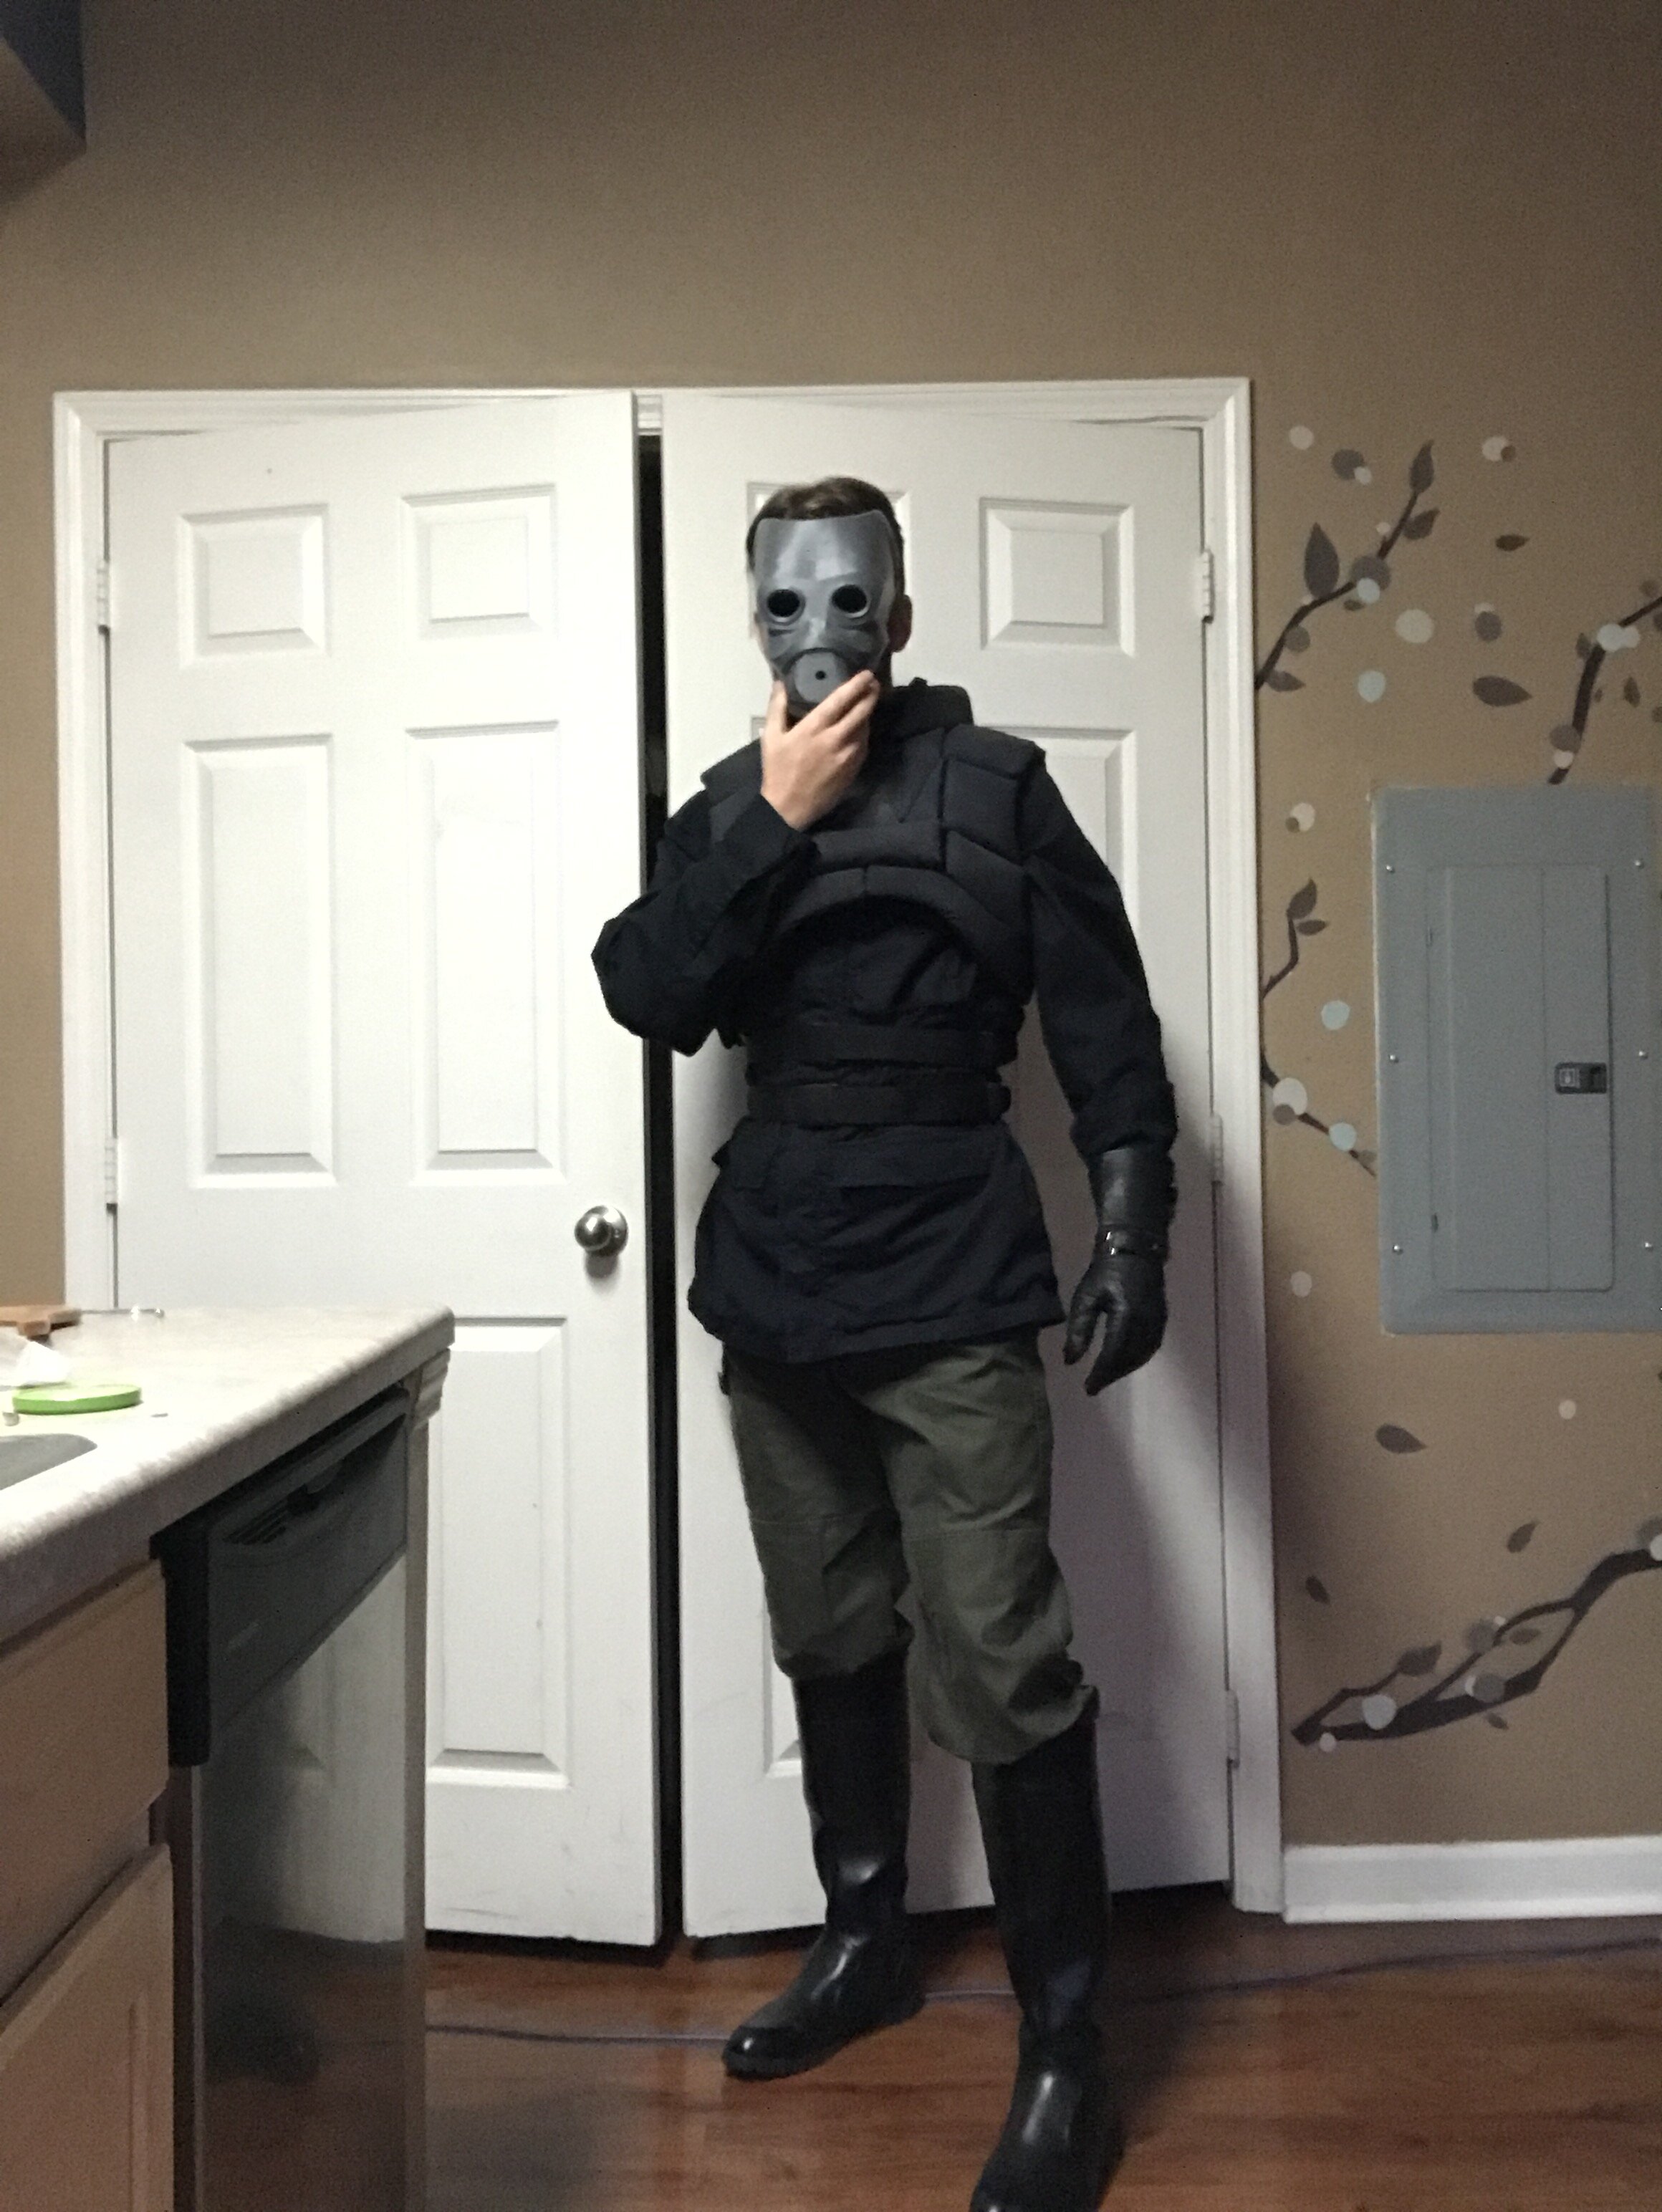
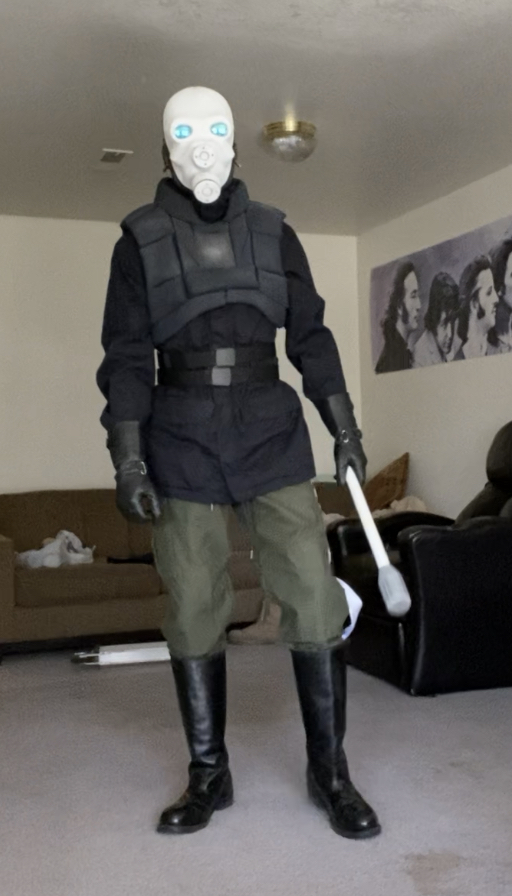
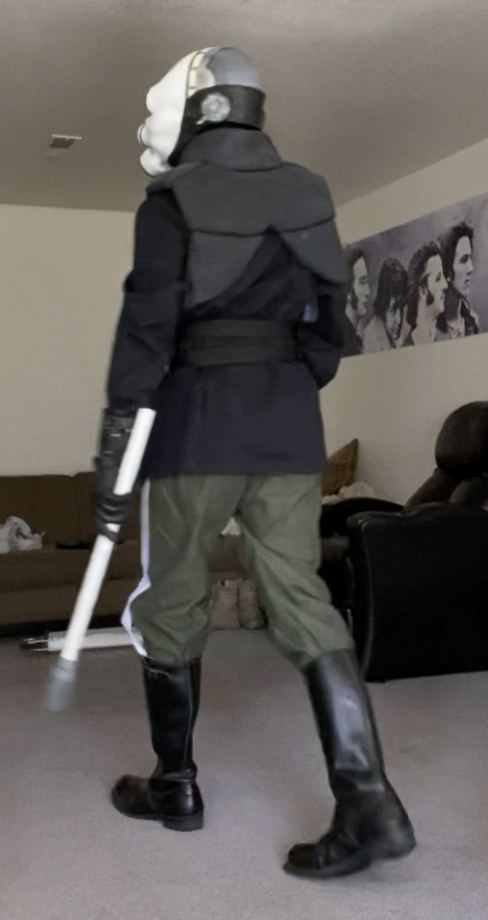
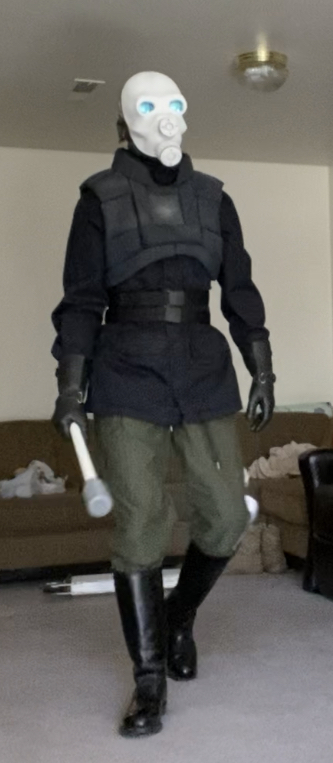
A quick test fit brings the jacket and trousers together. I'm liking the silhouette so far; seeing the layers on a body is much more useful than judging each piece on its own.
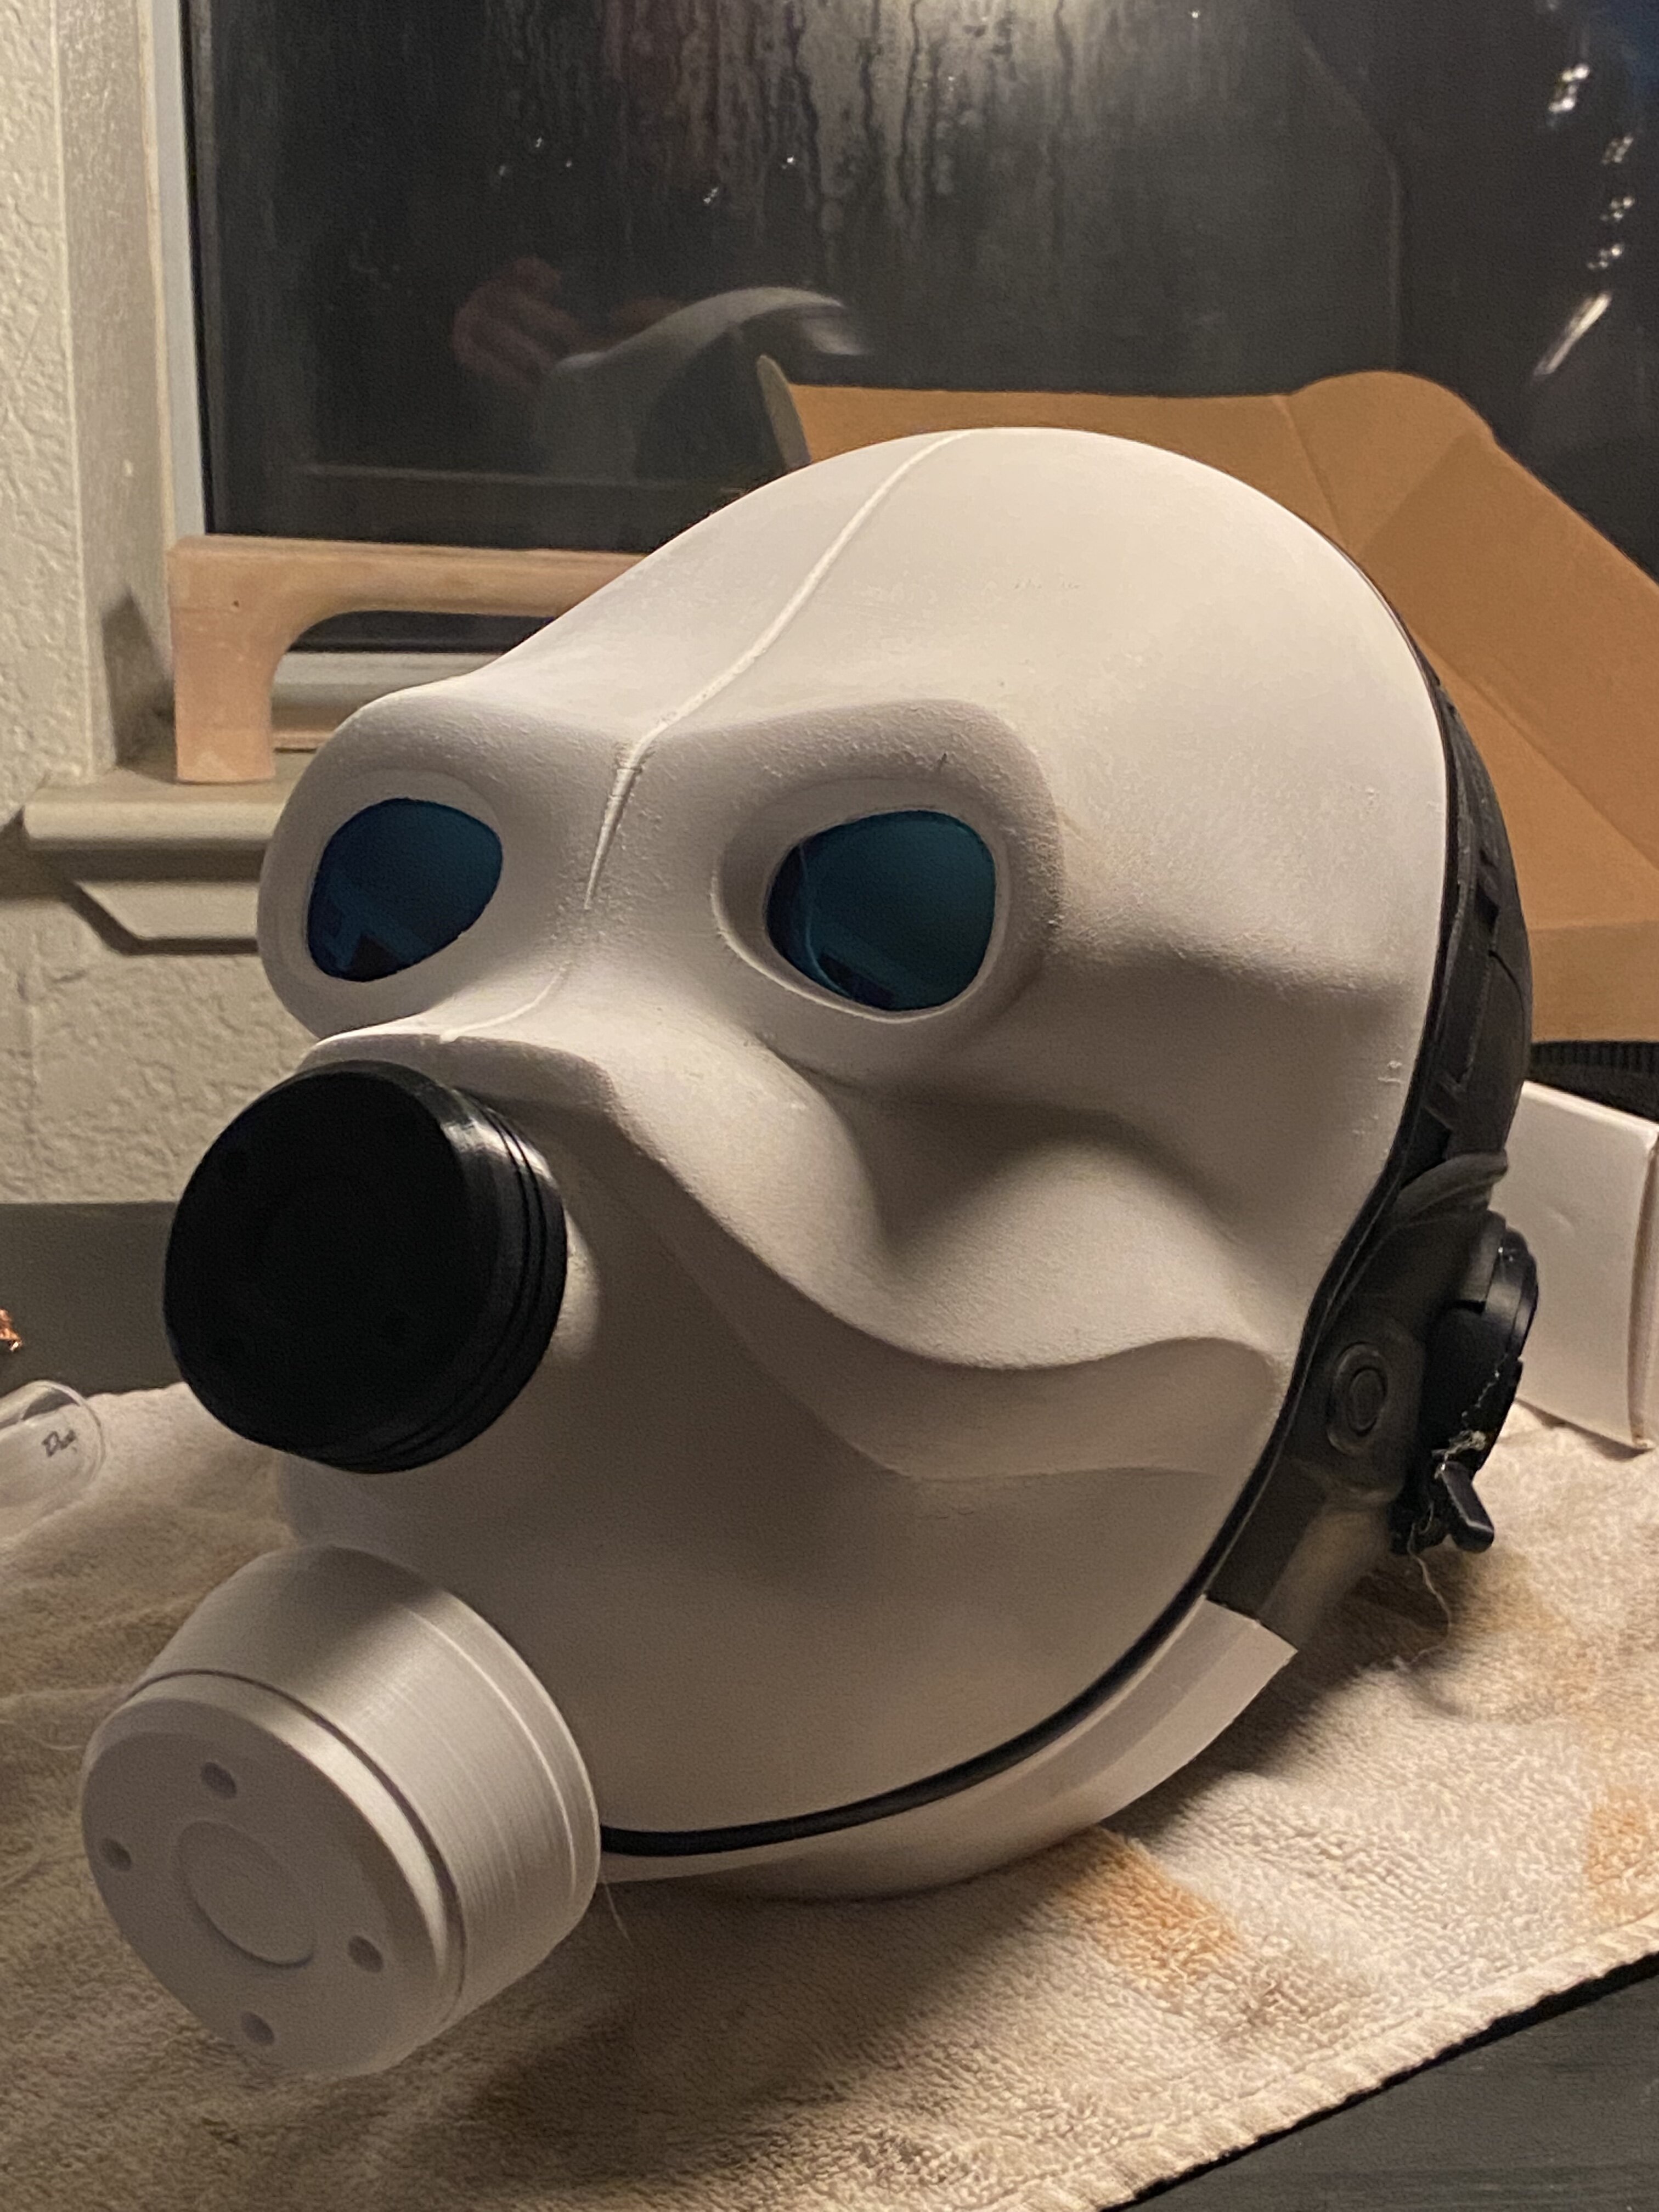
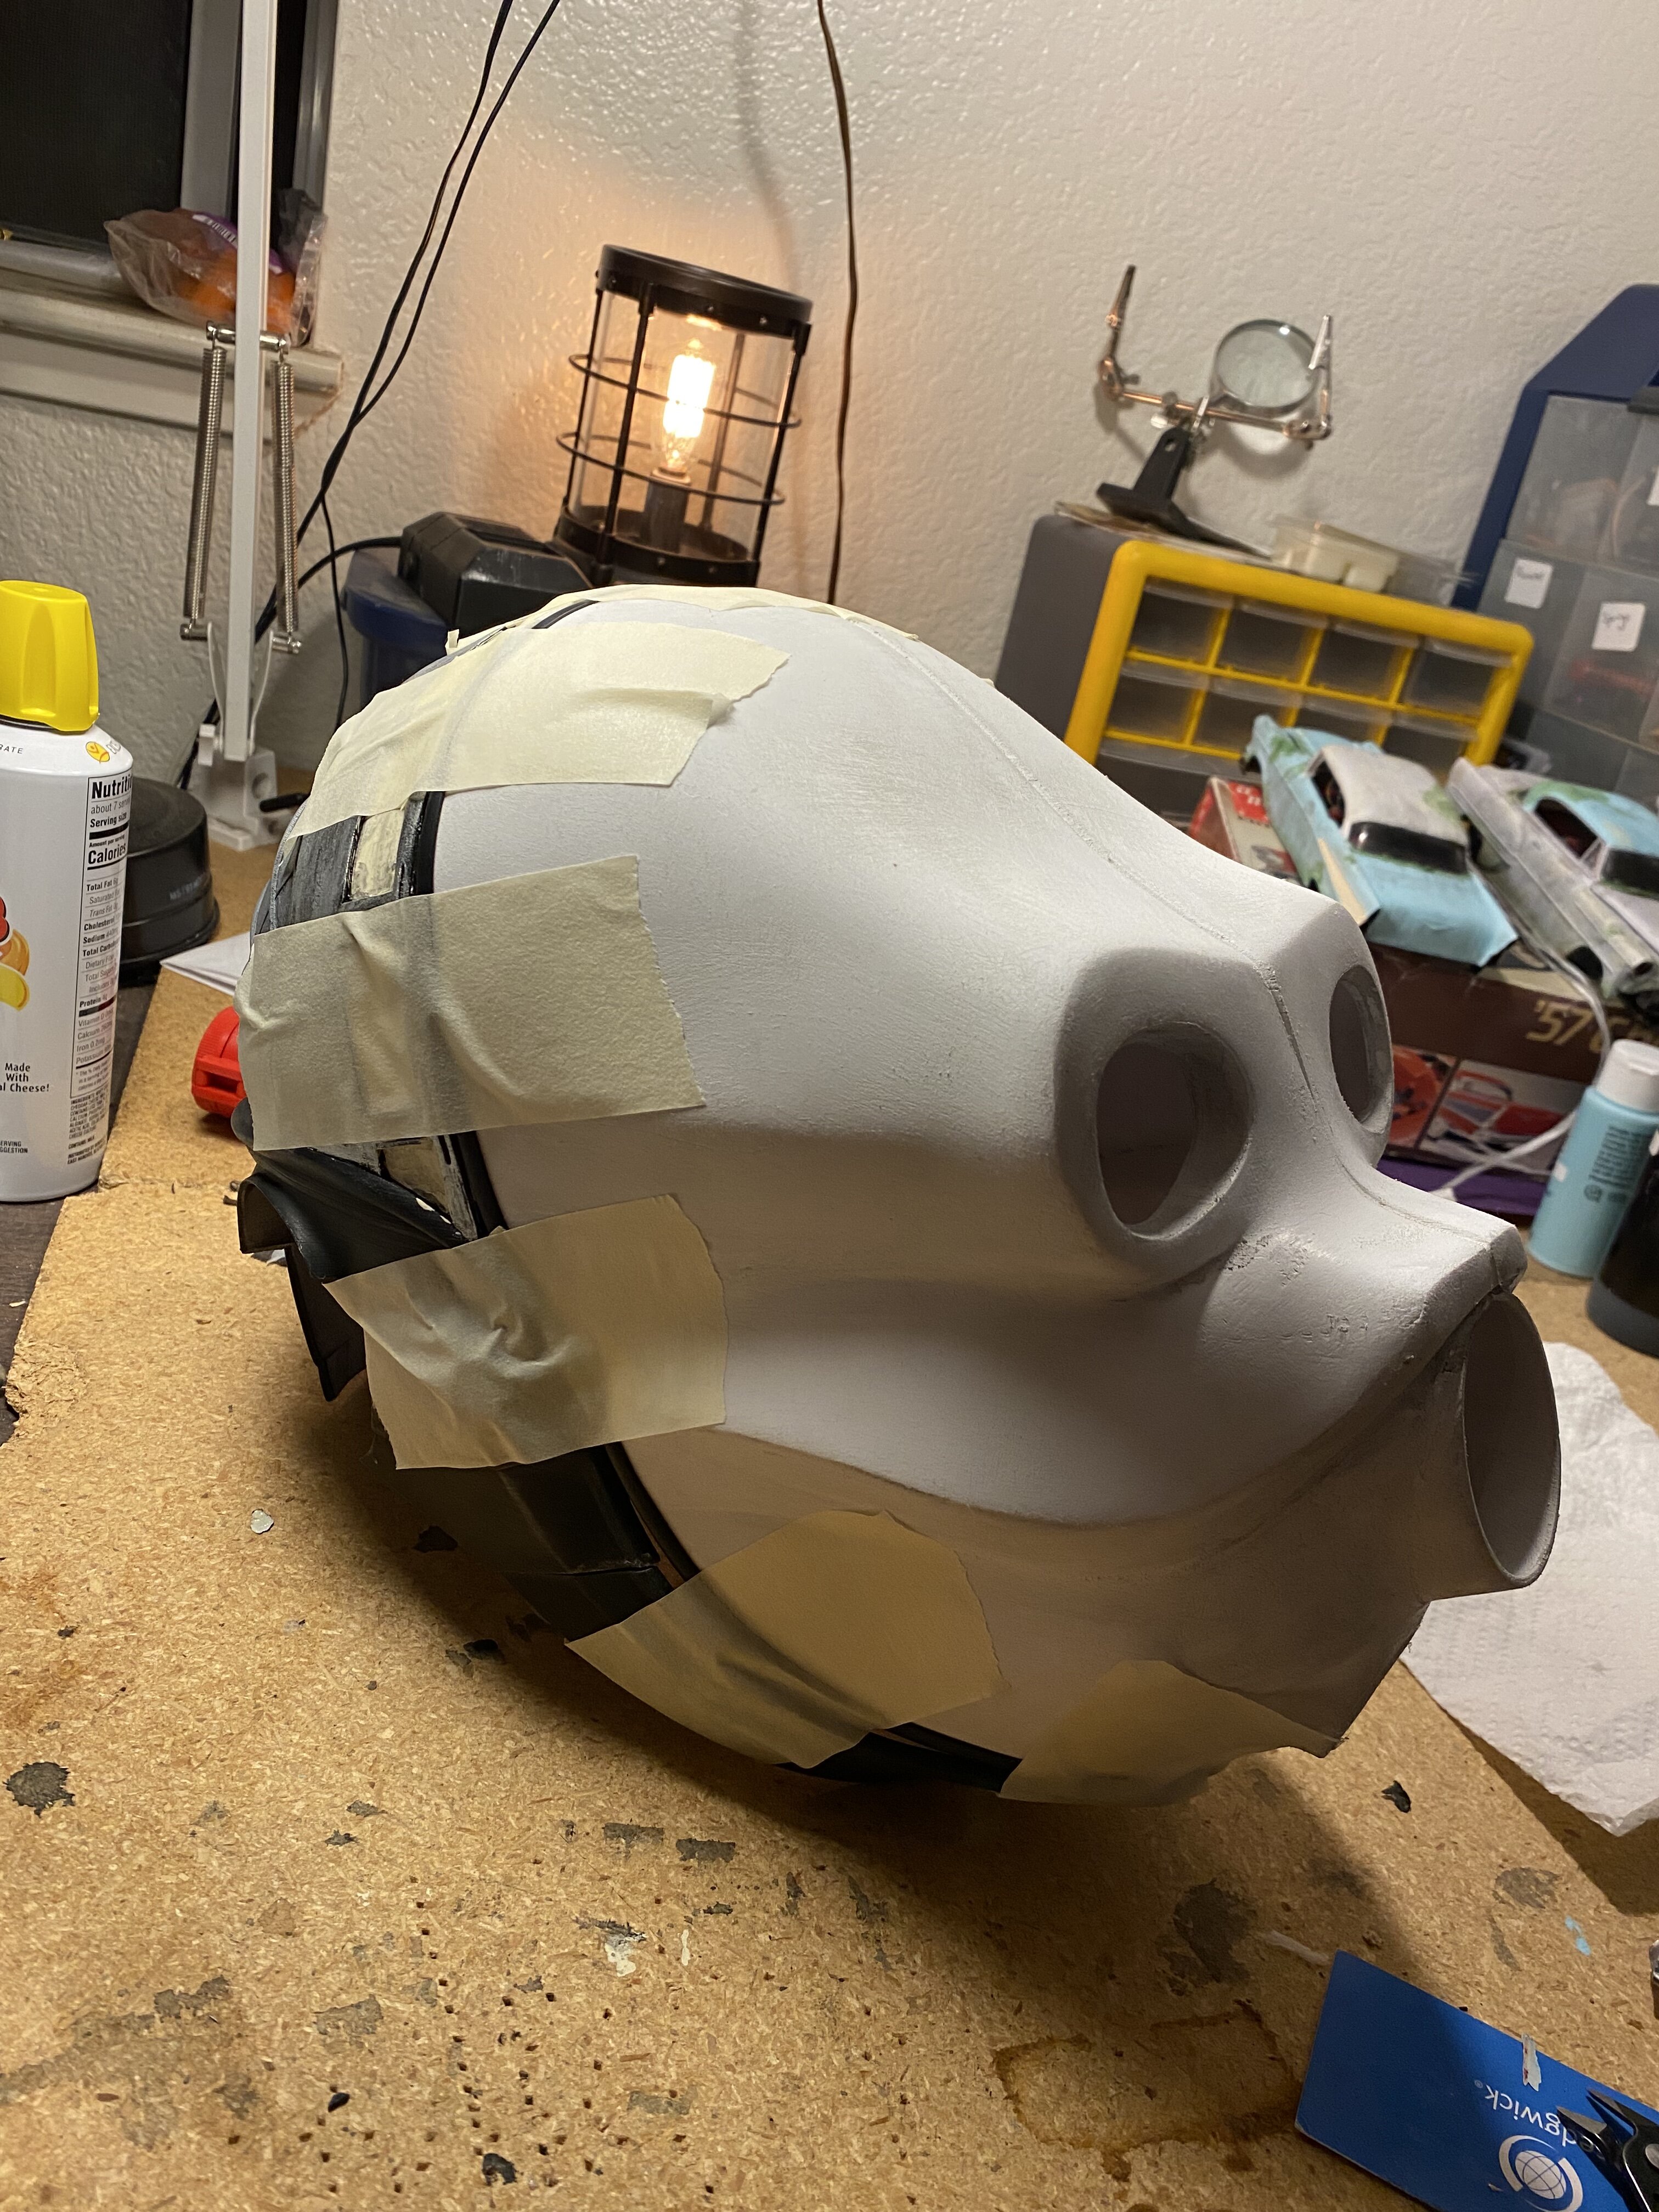
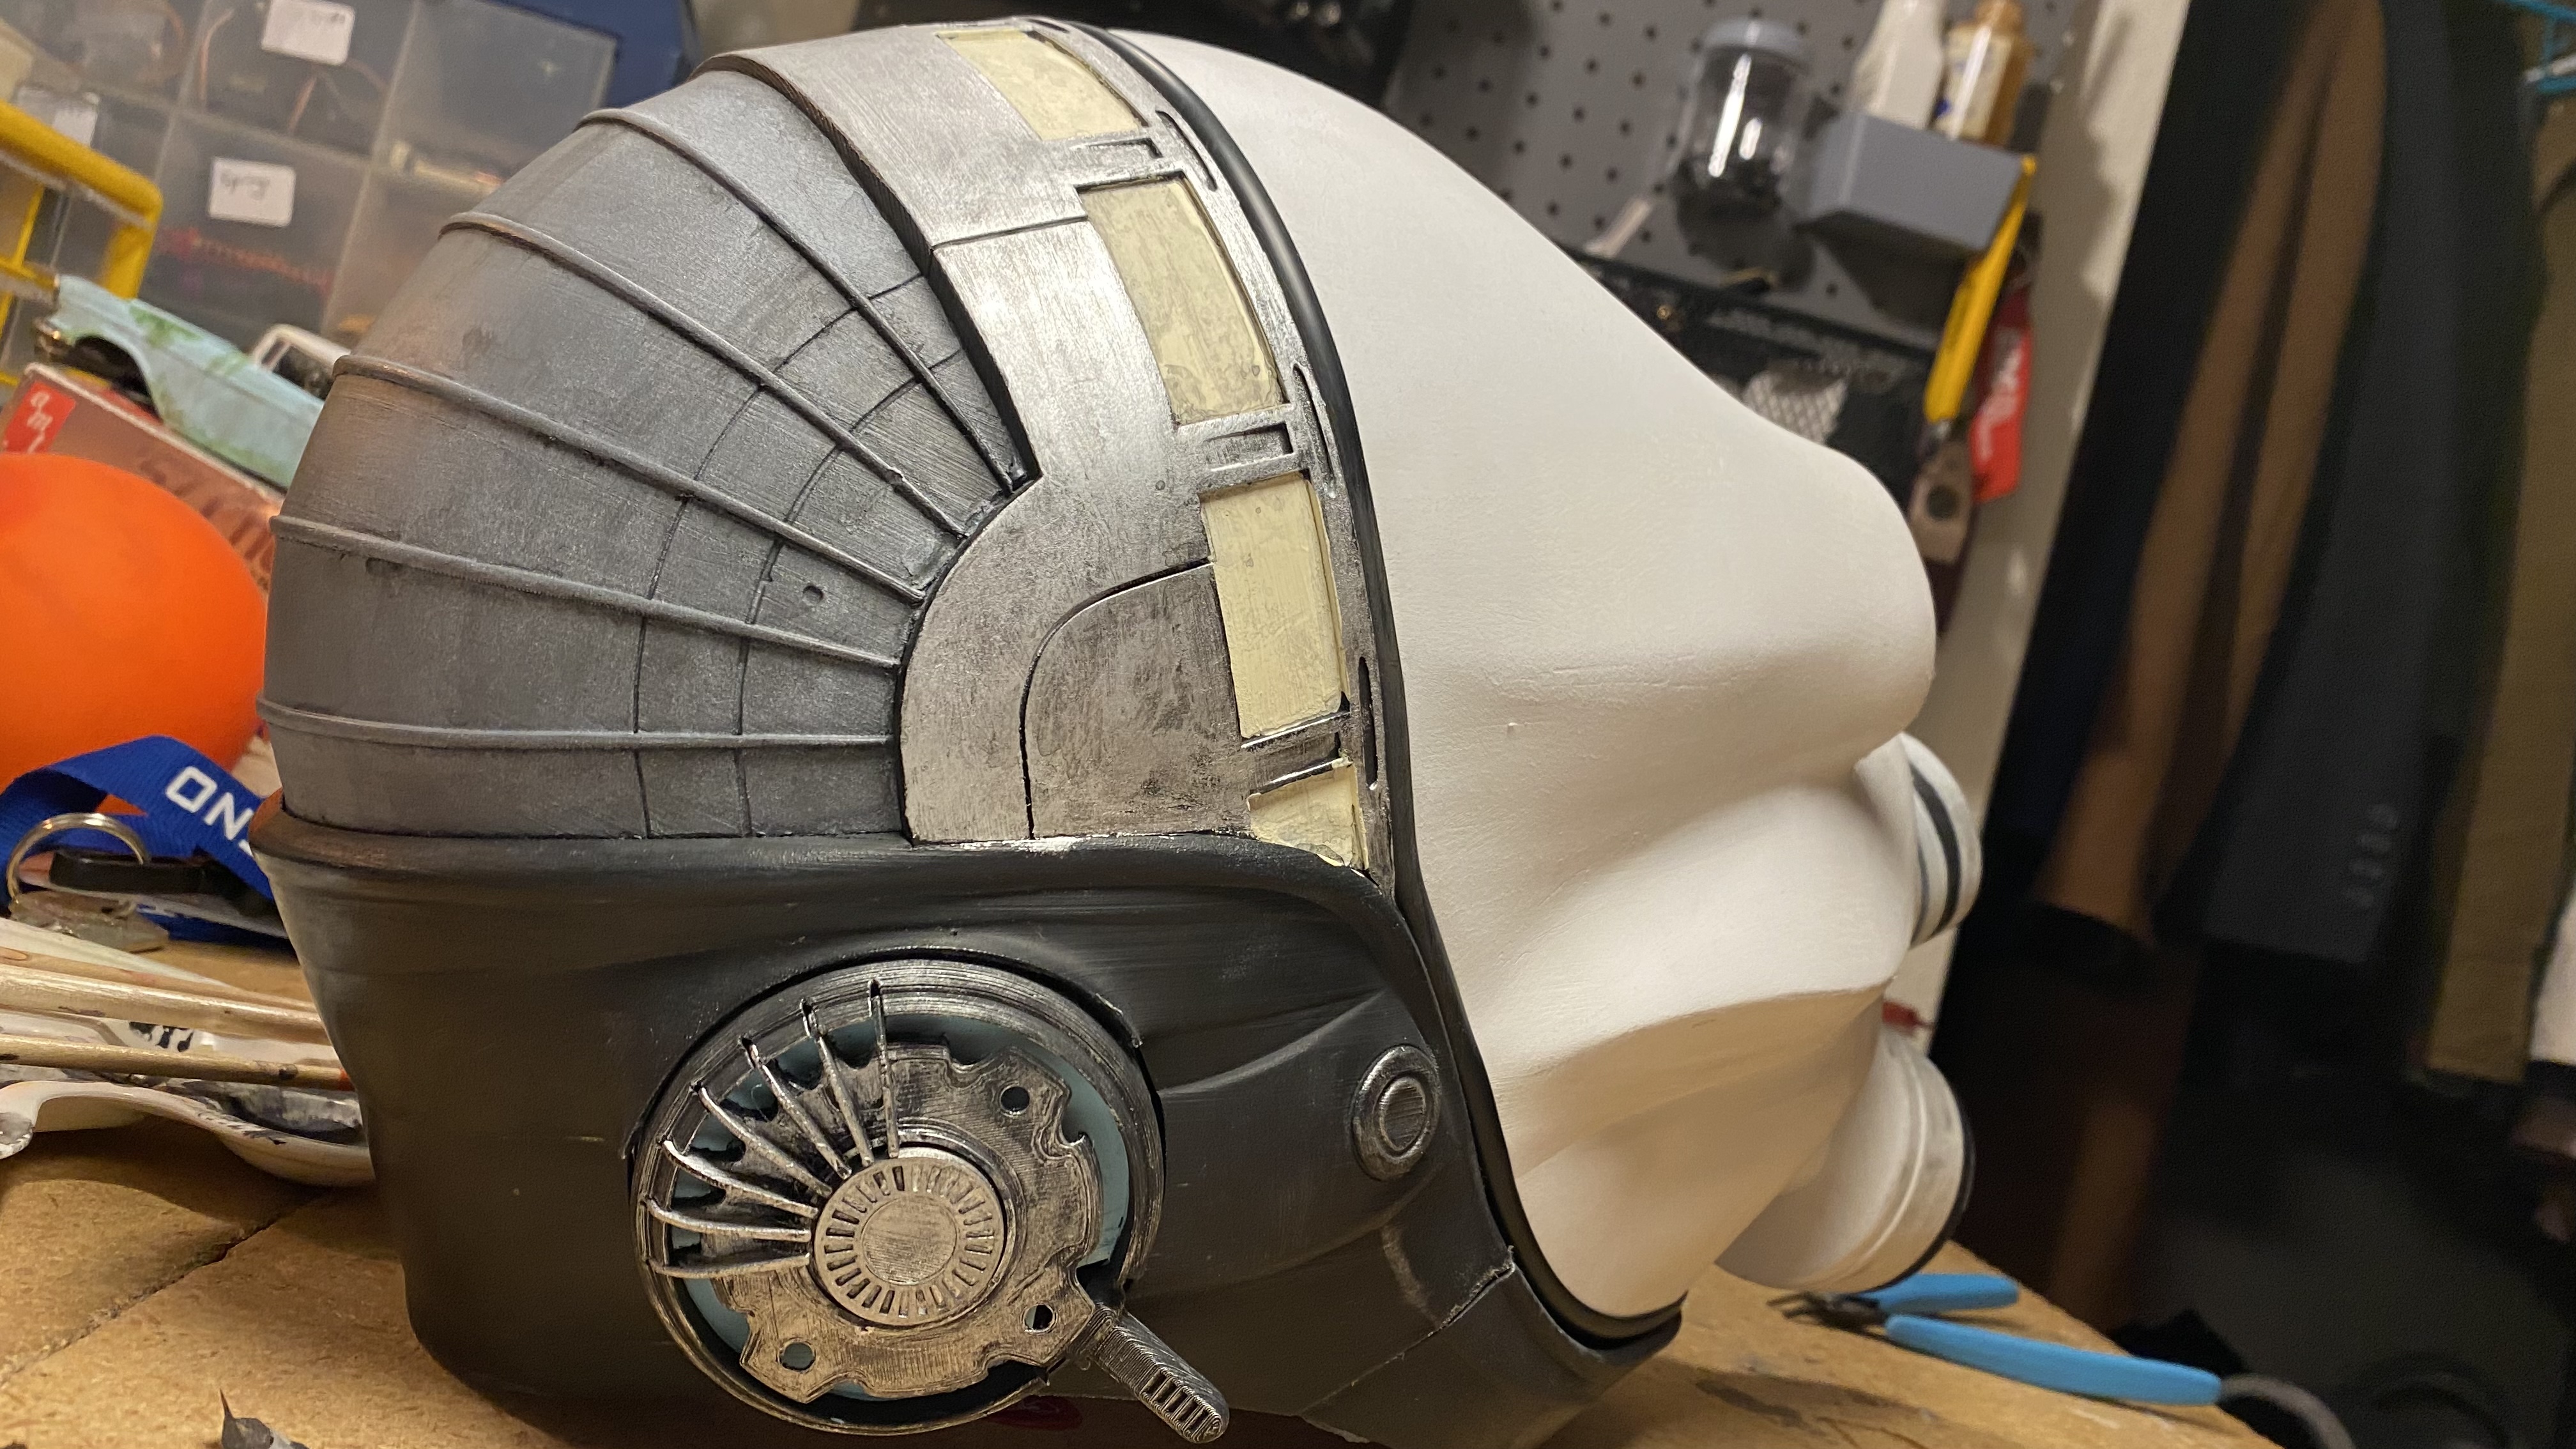
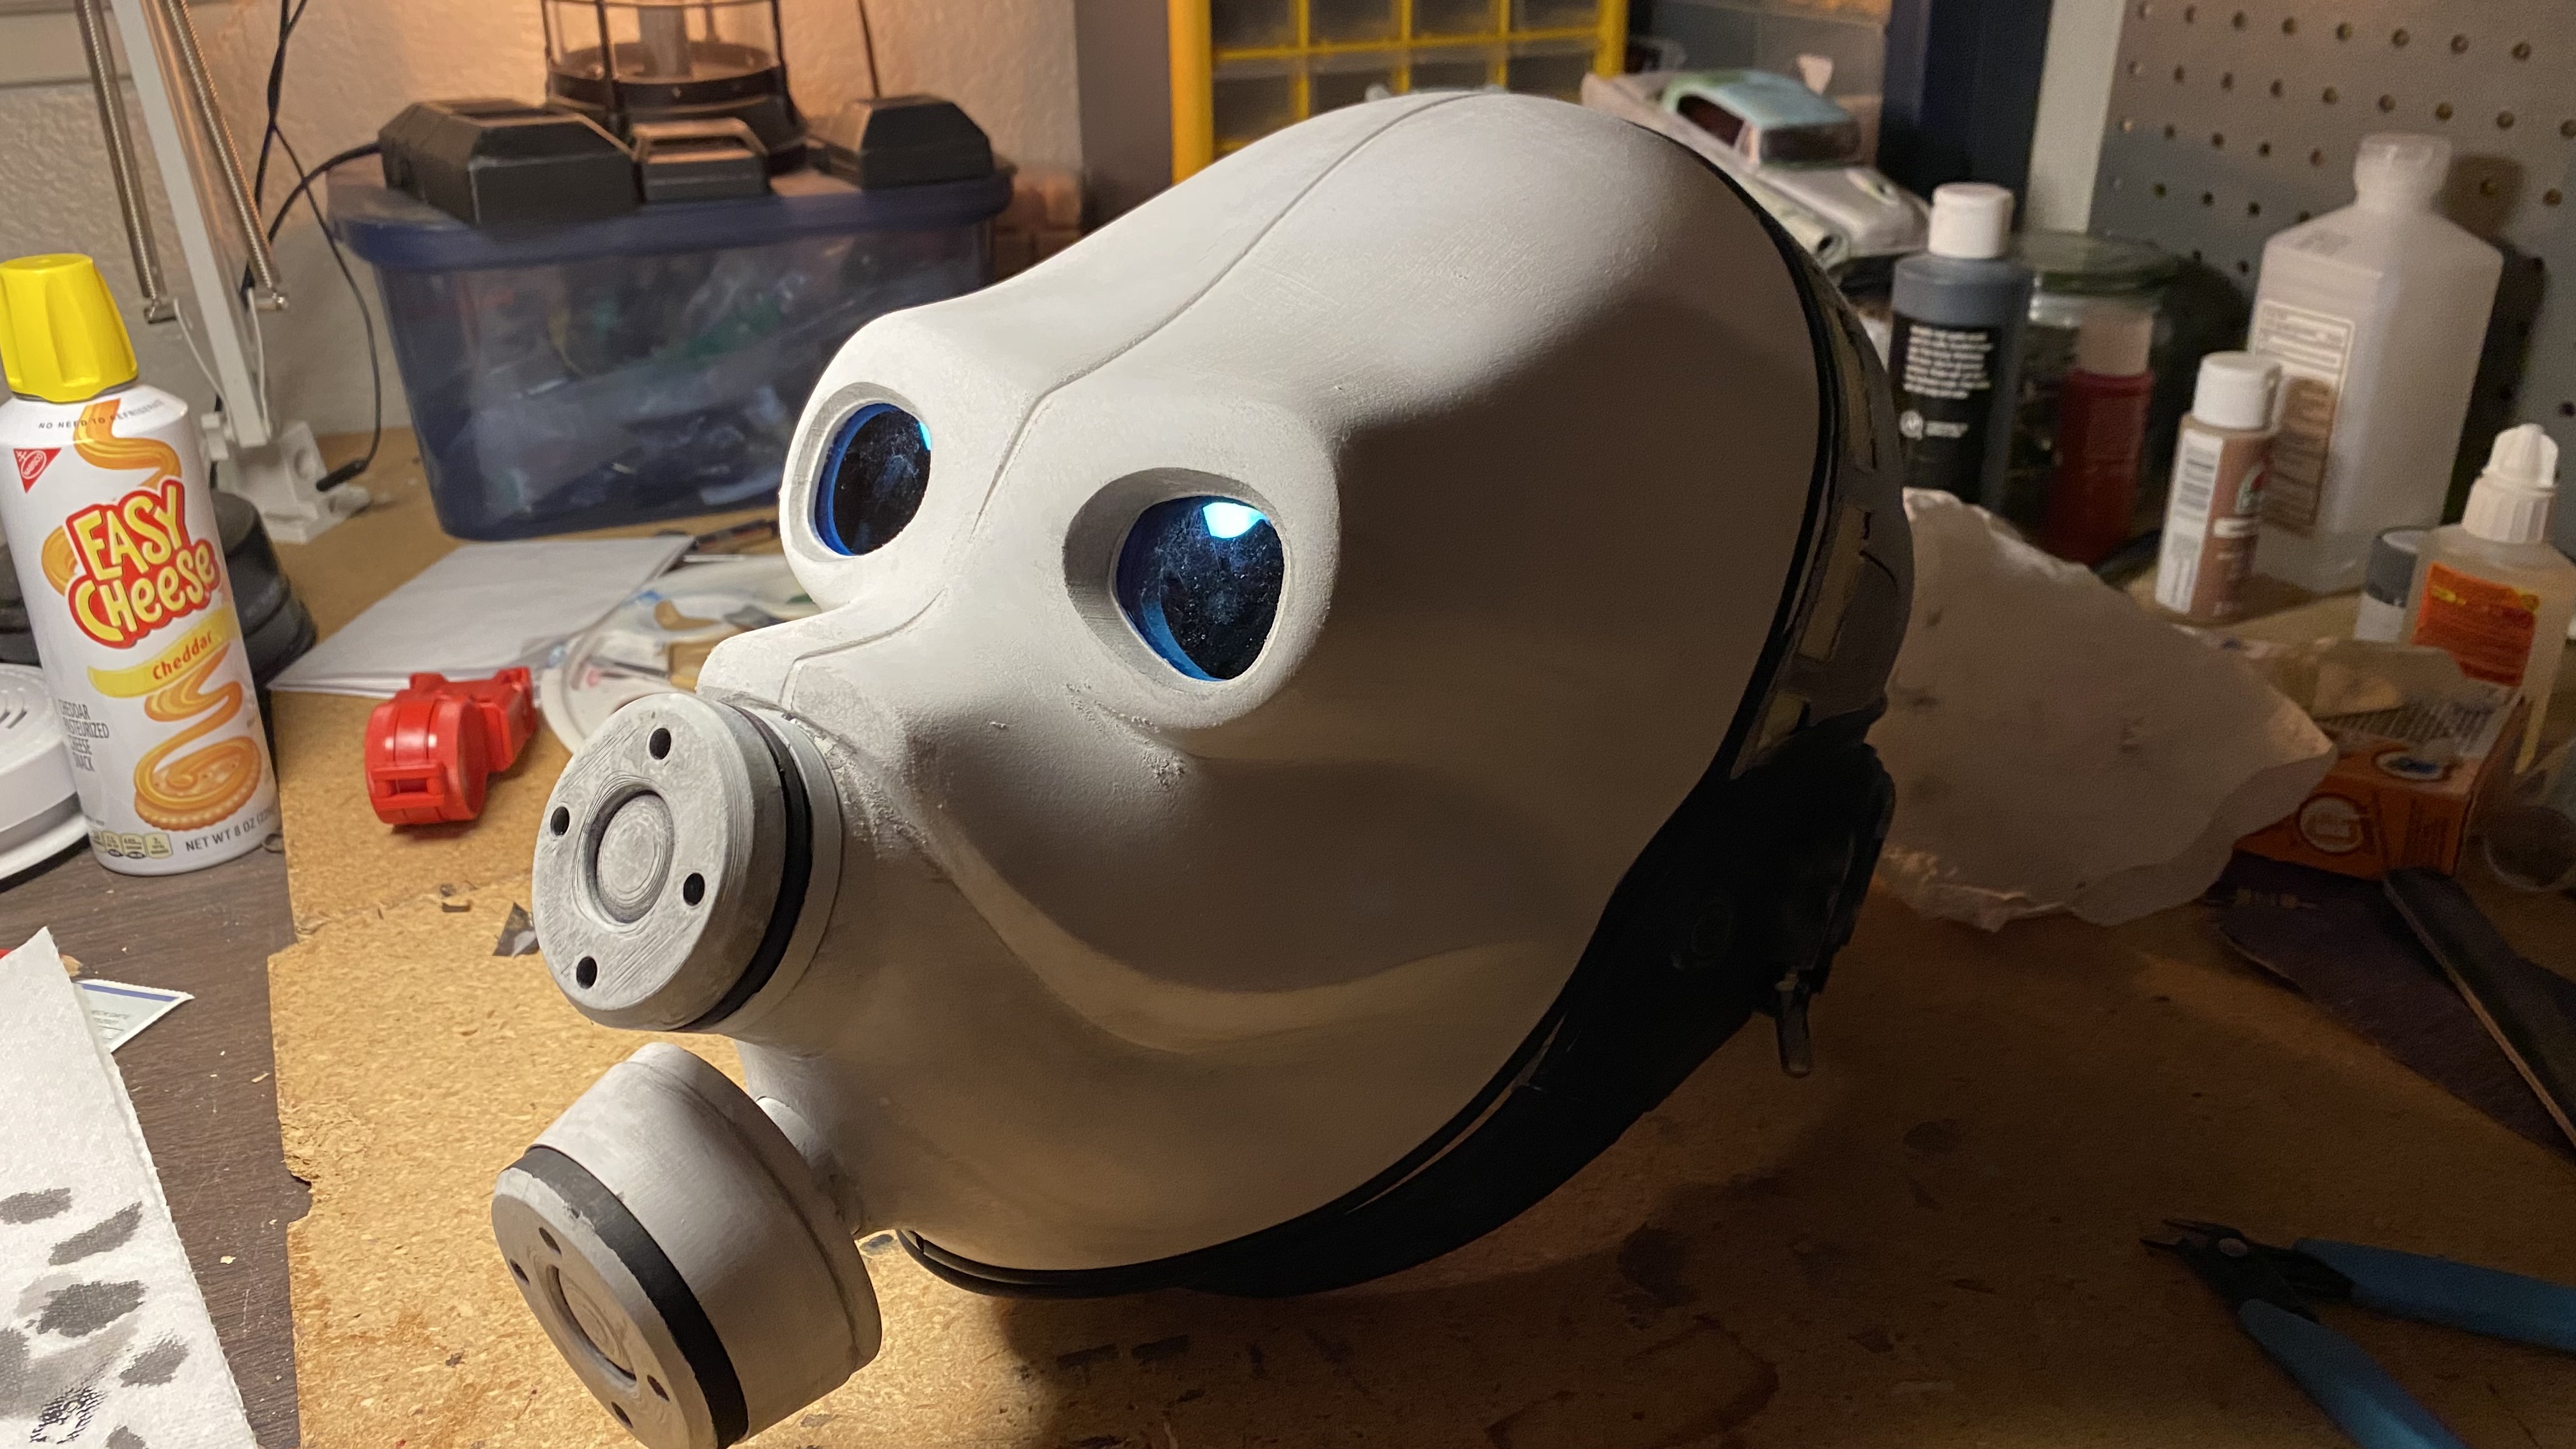
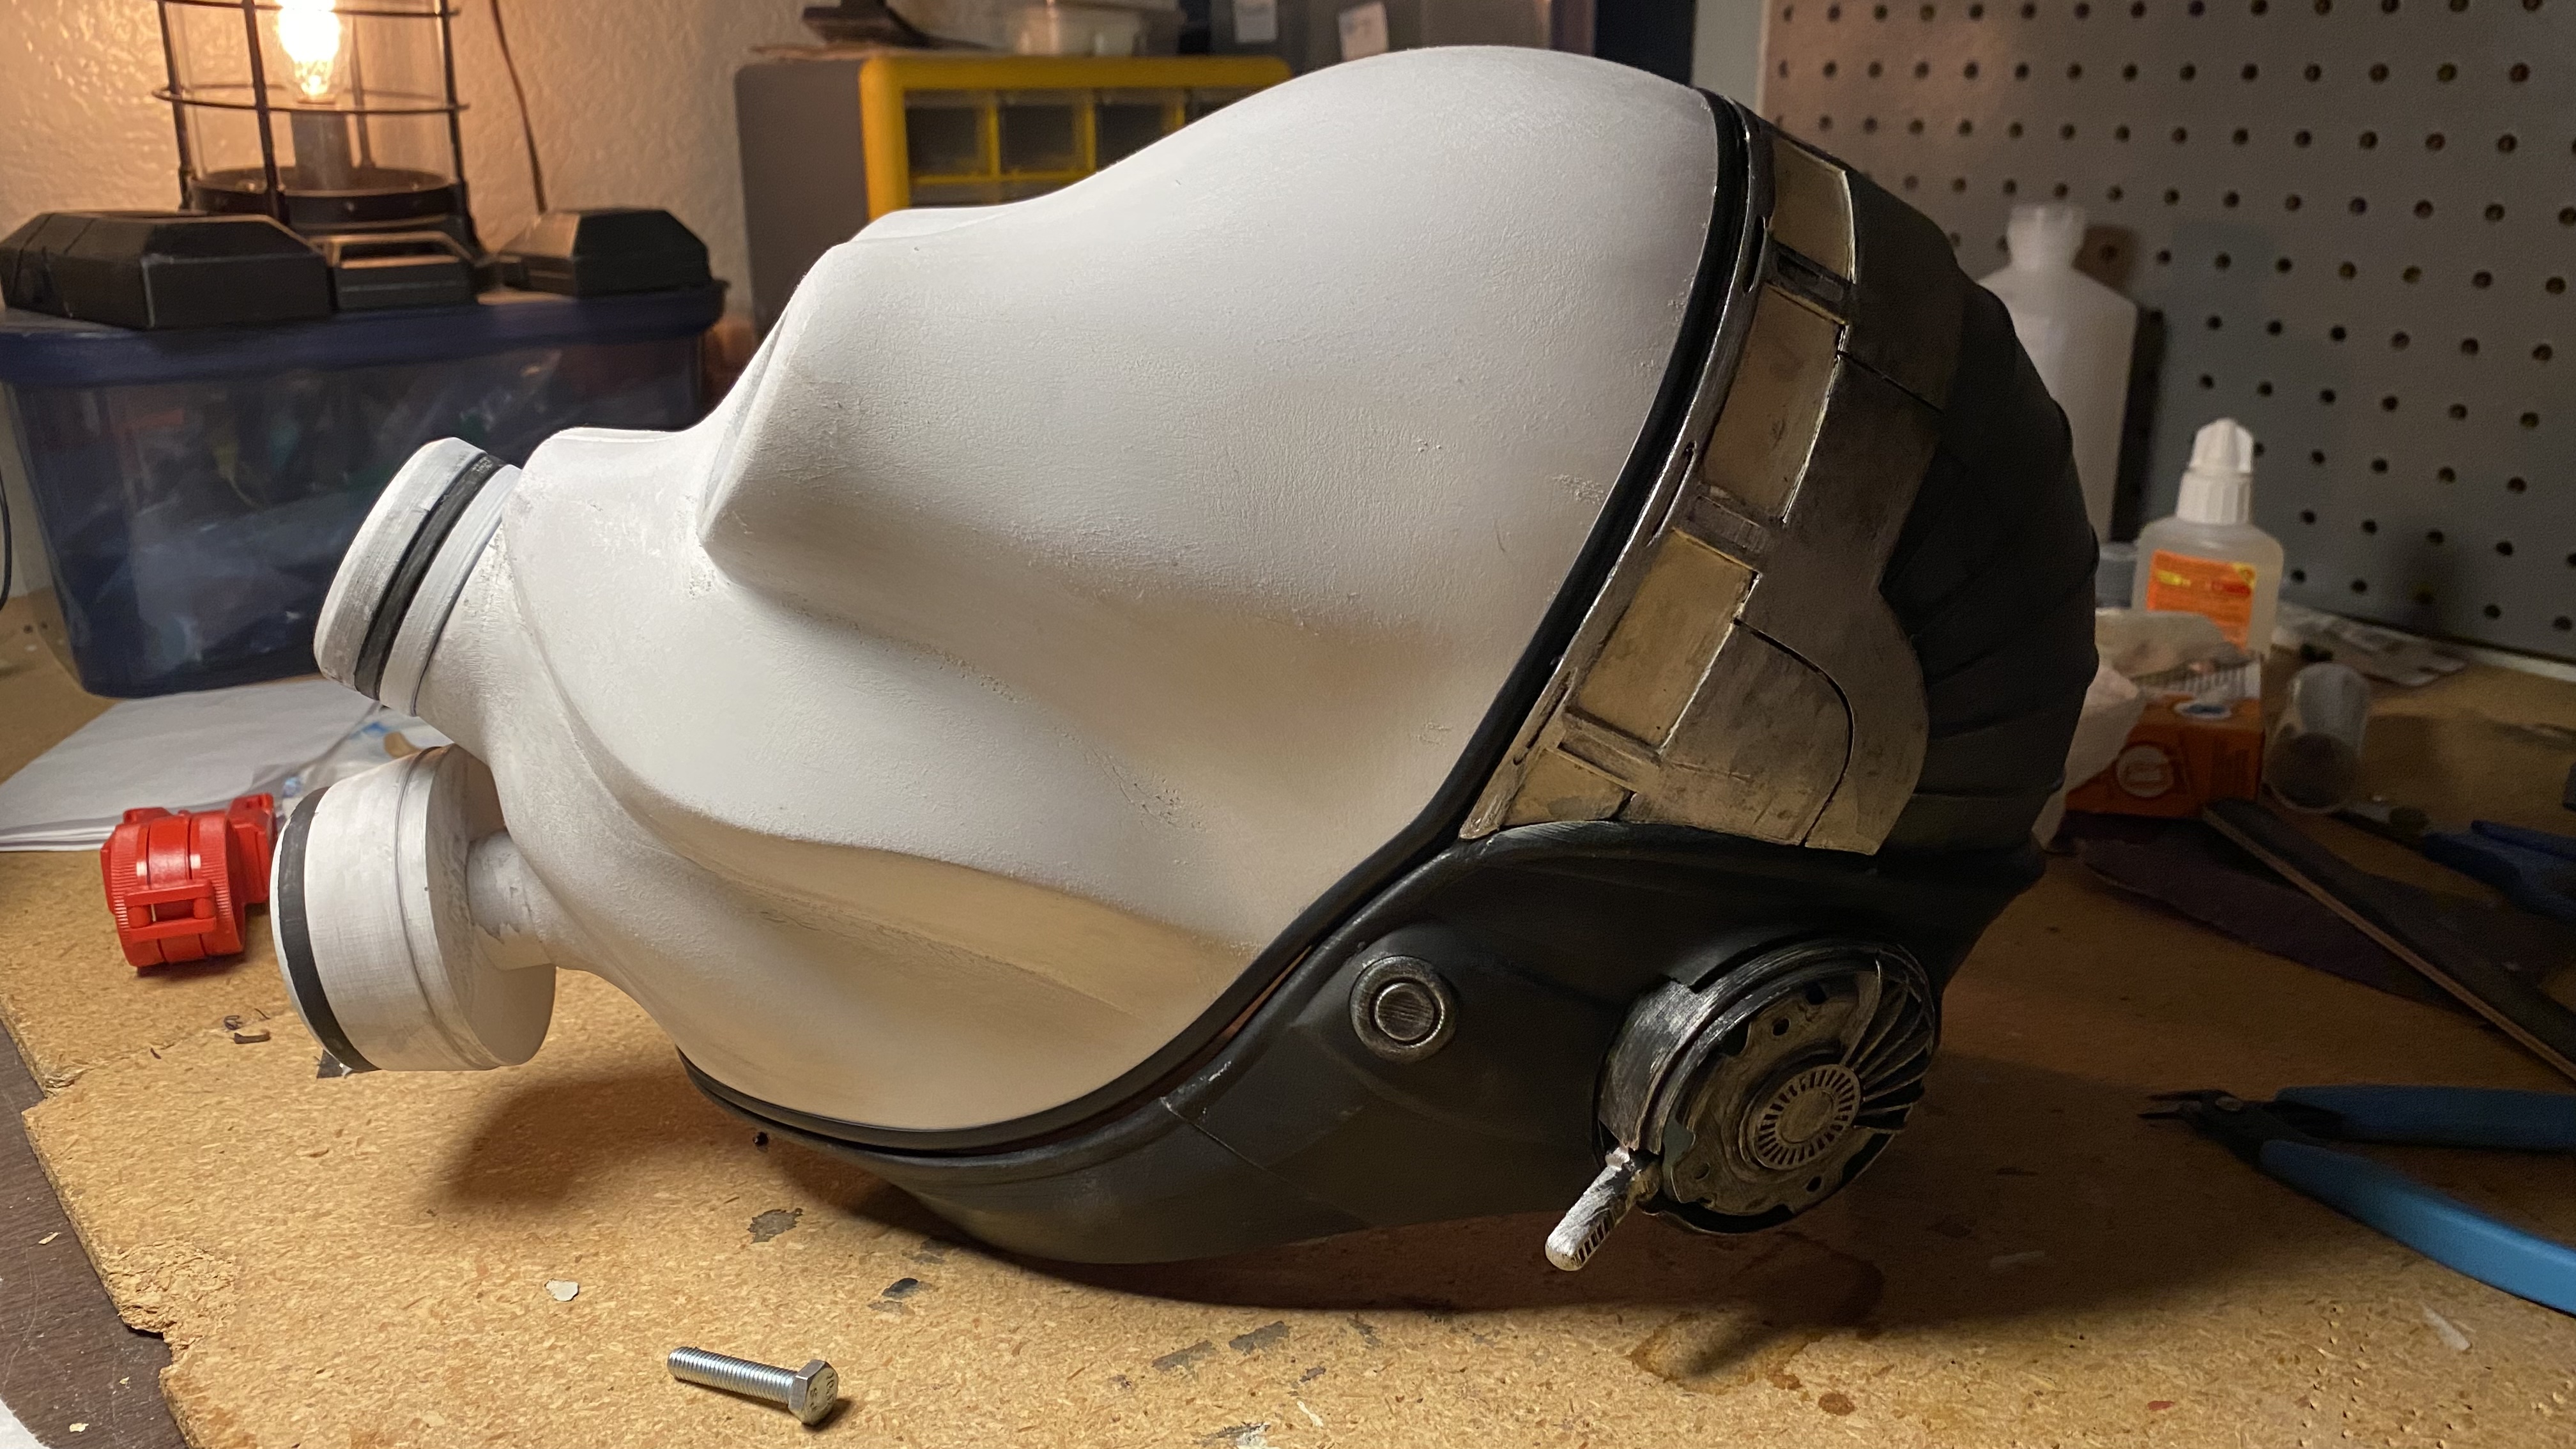
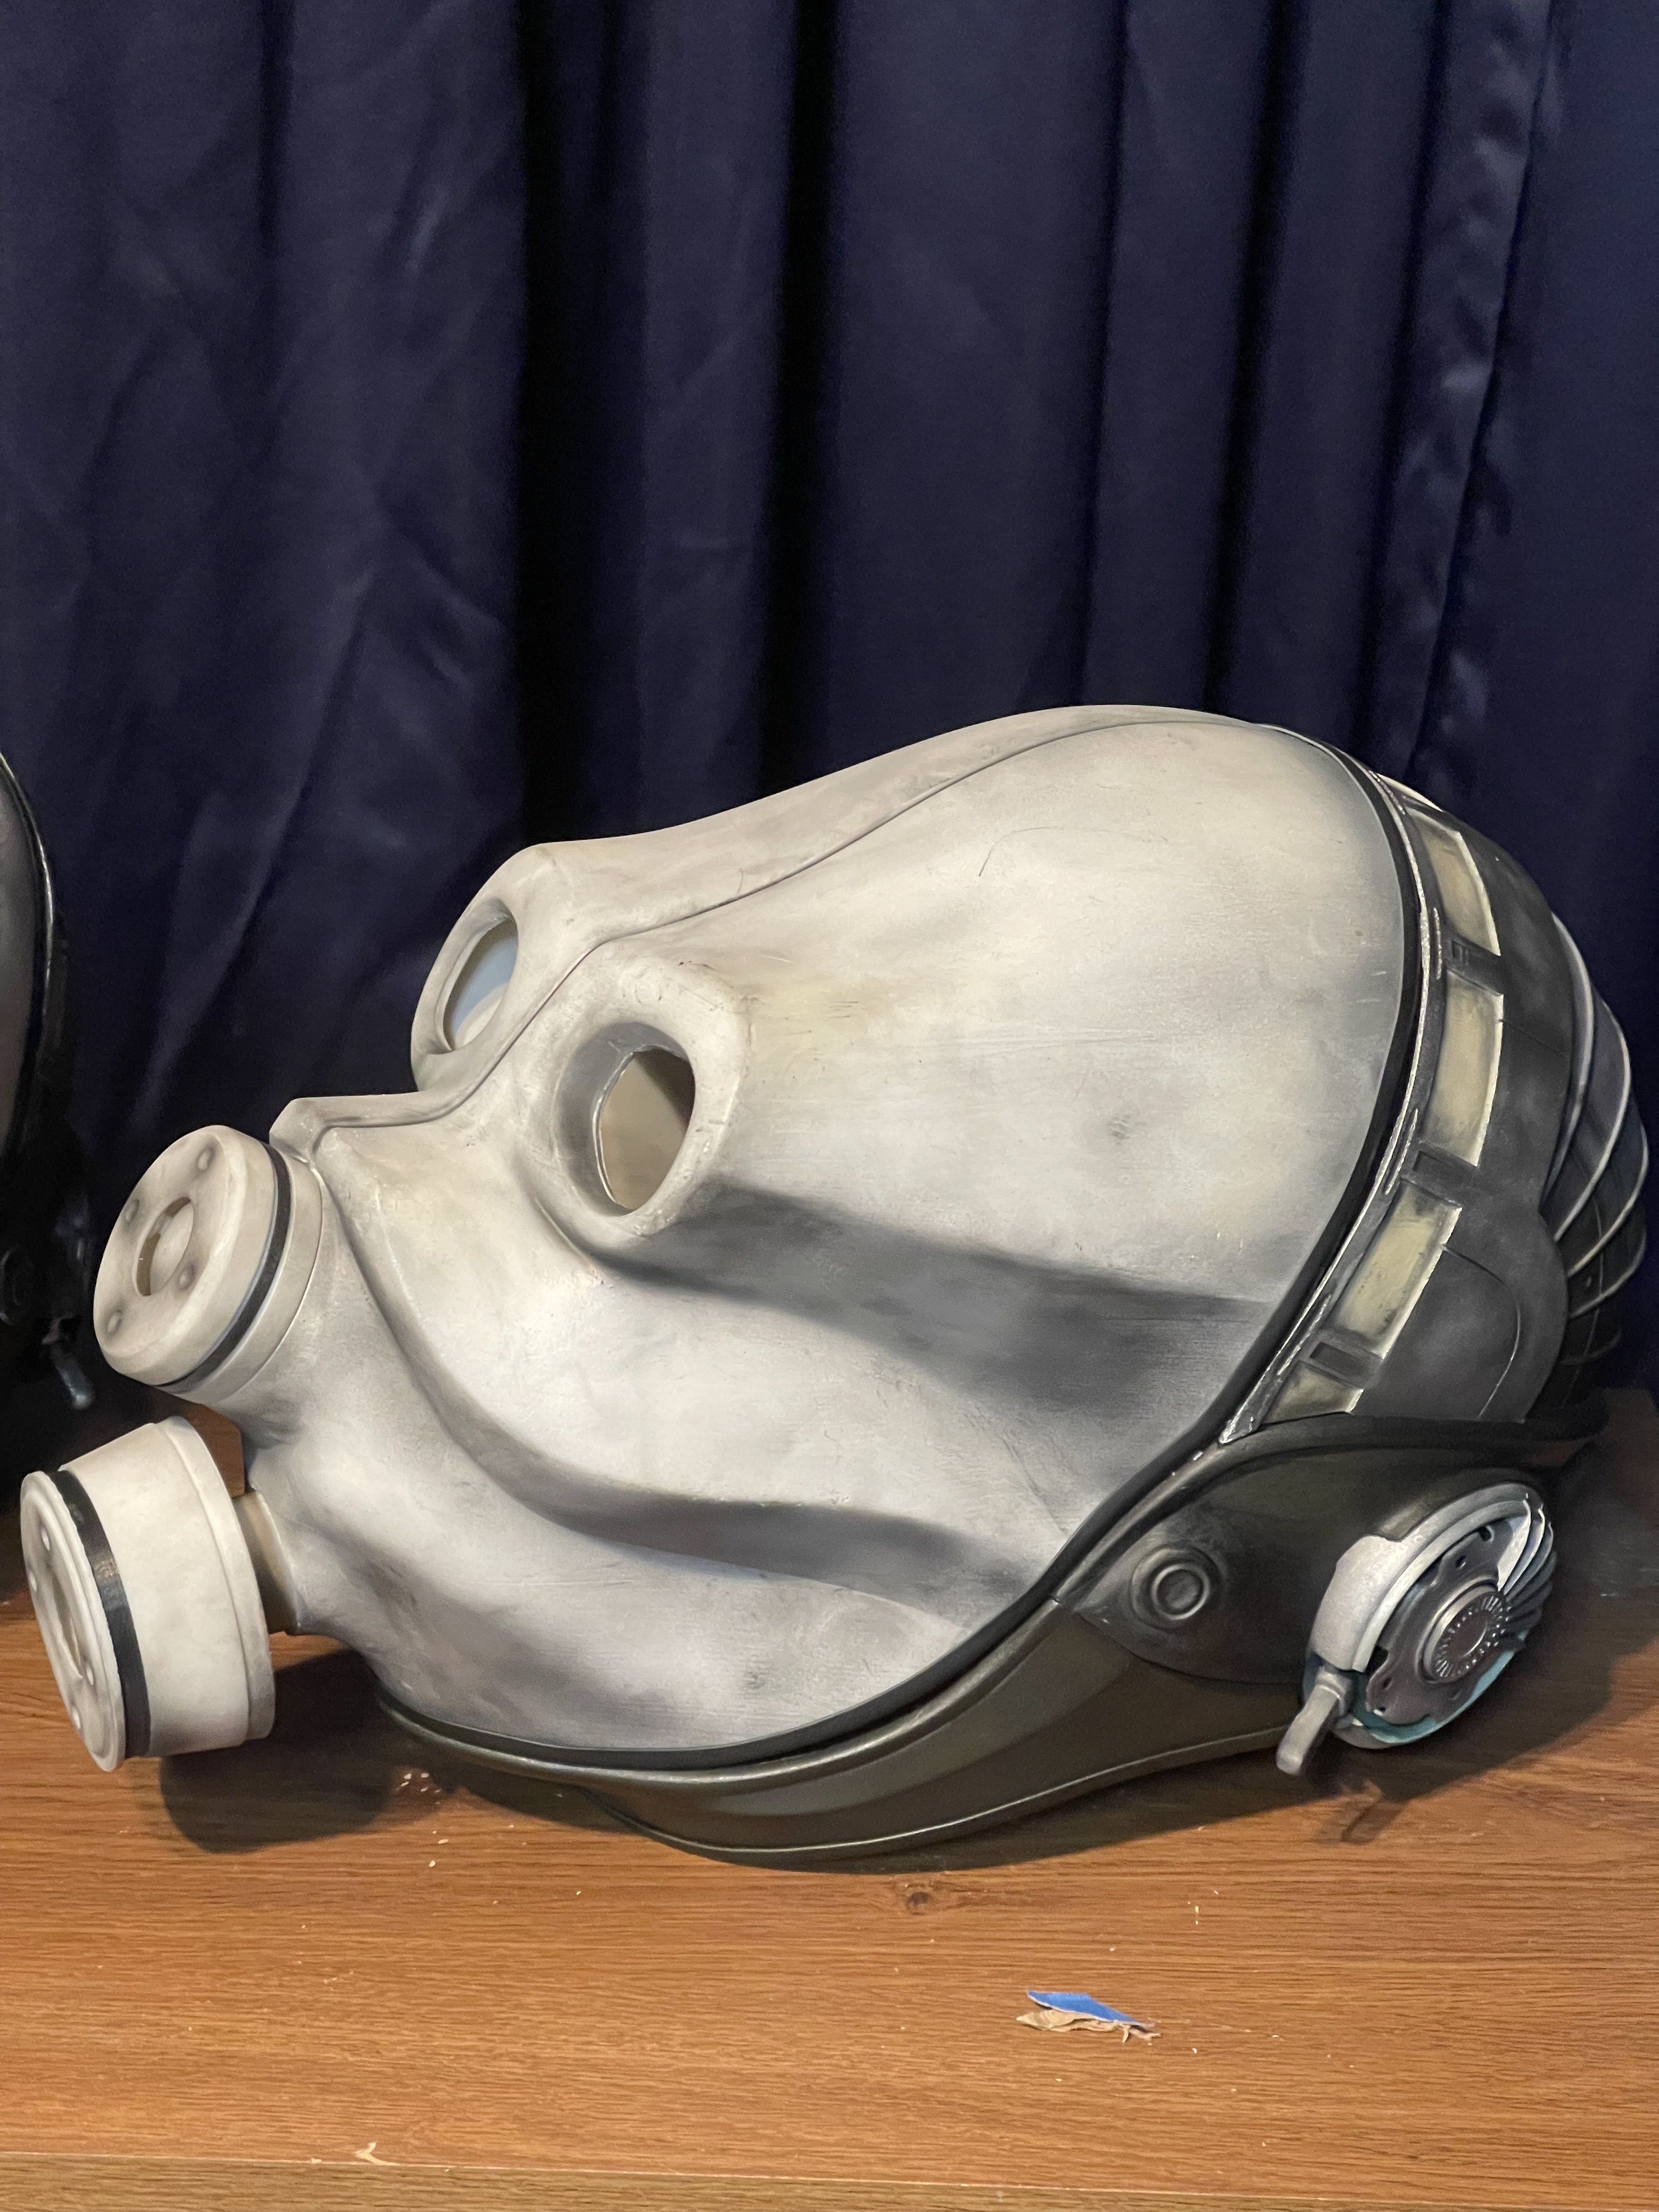
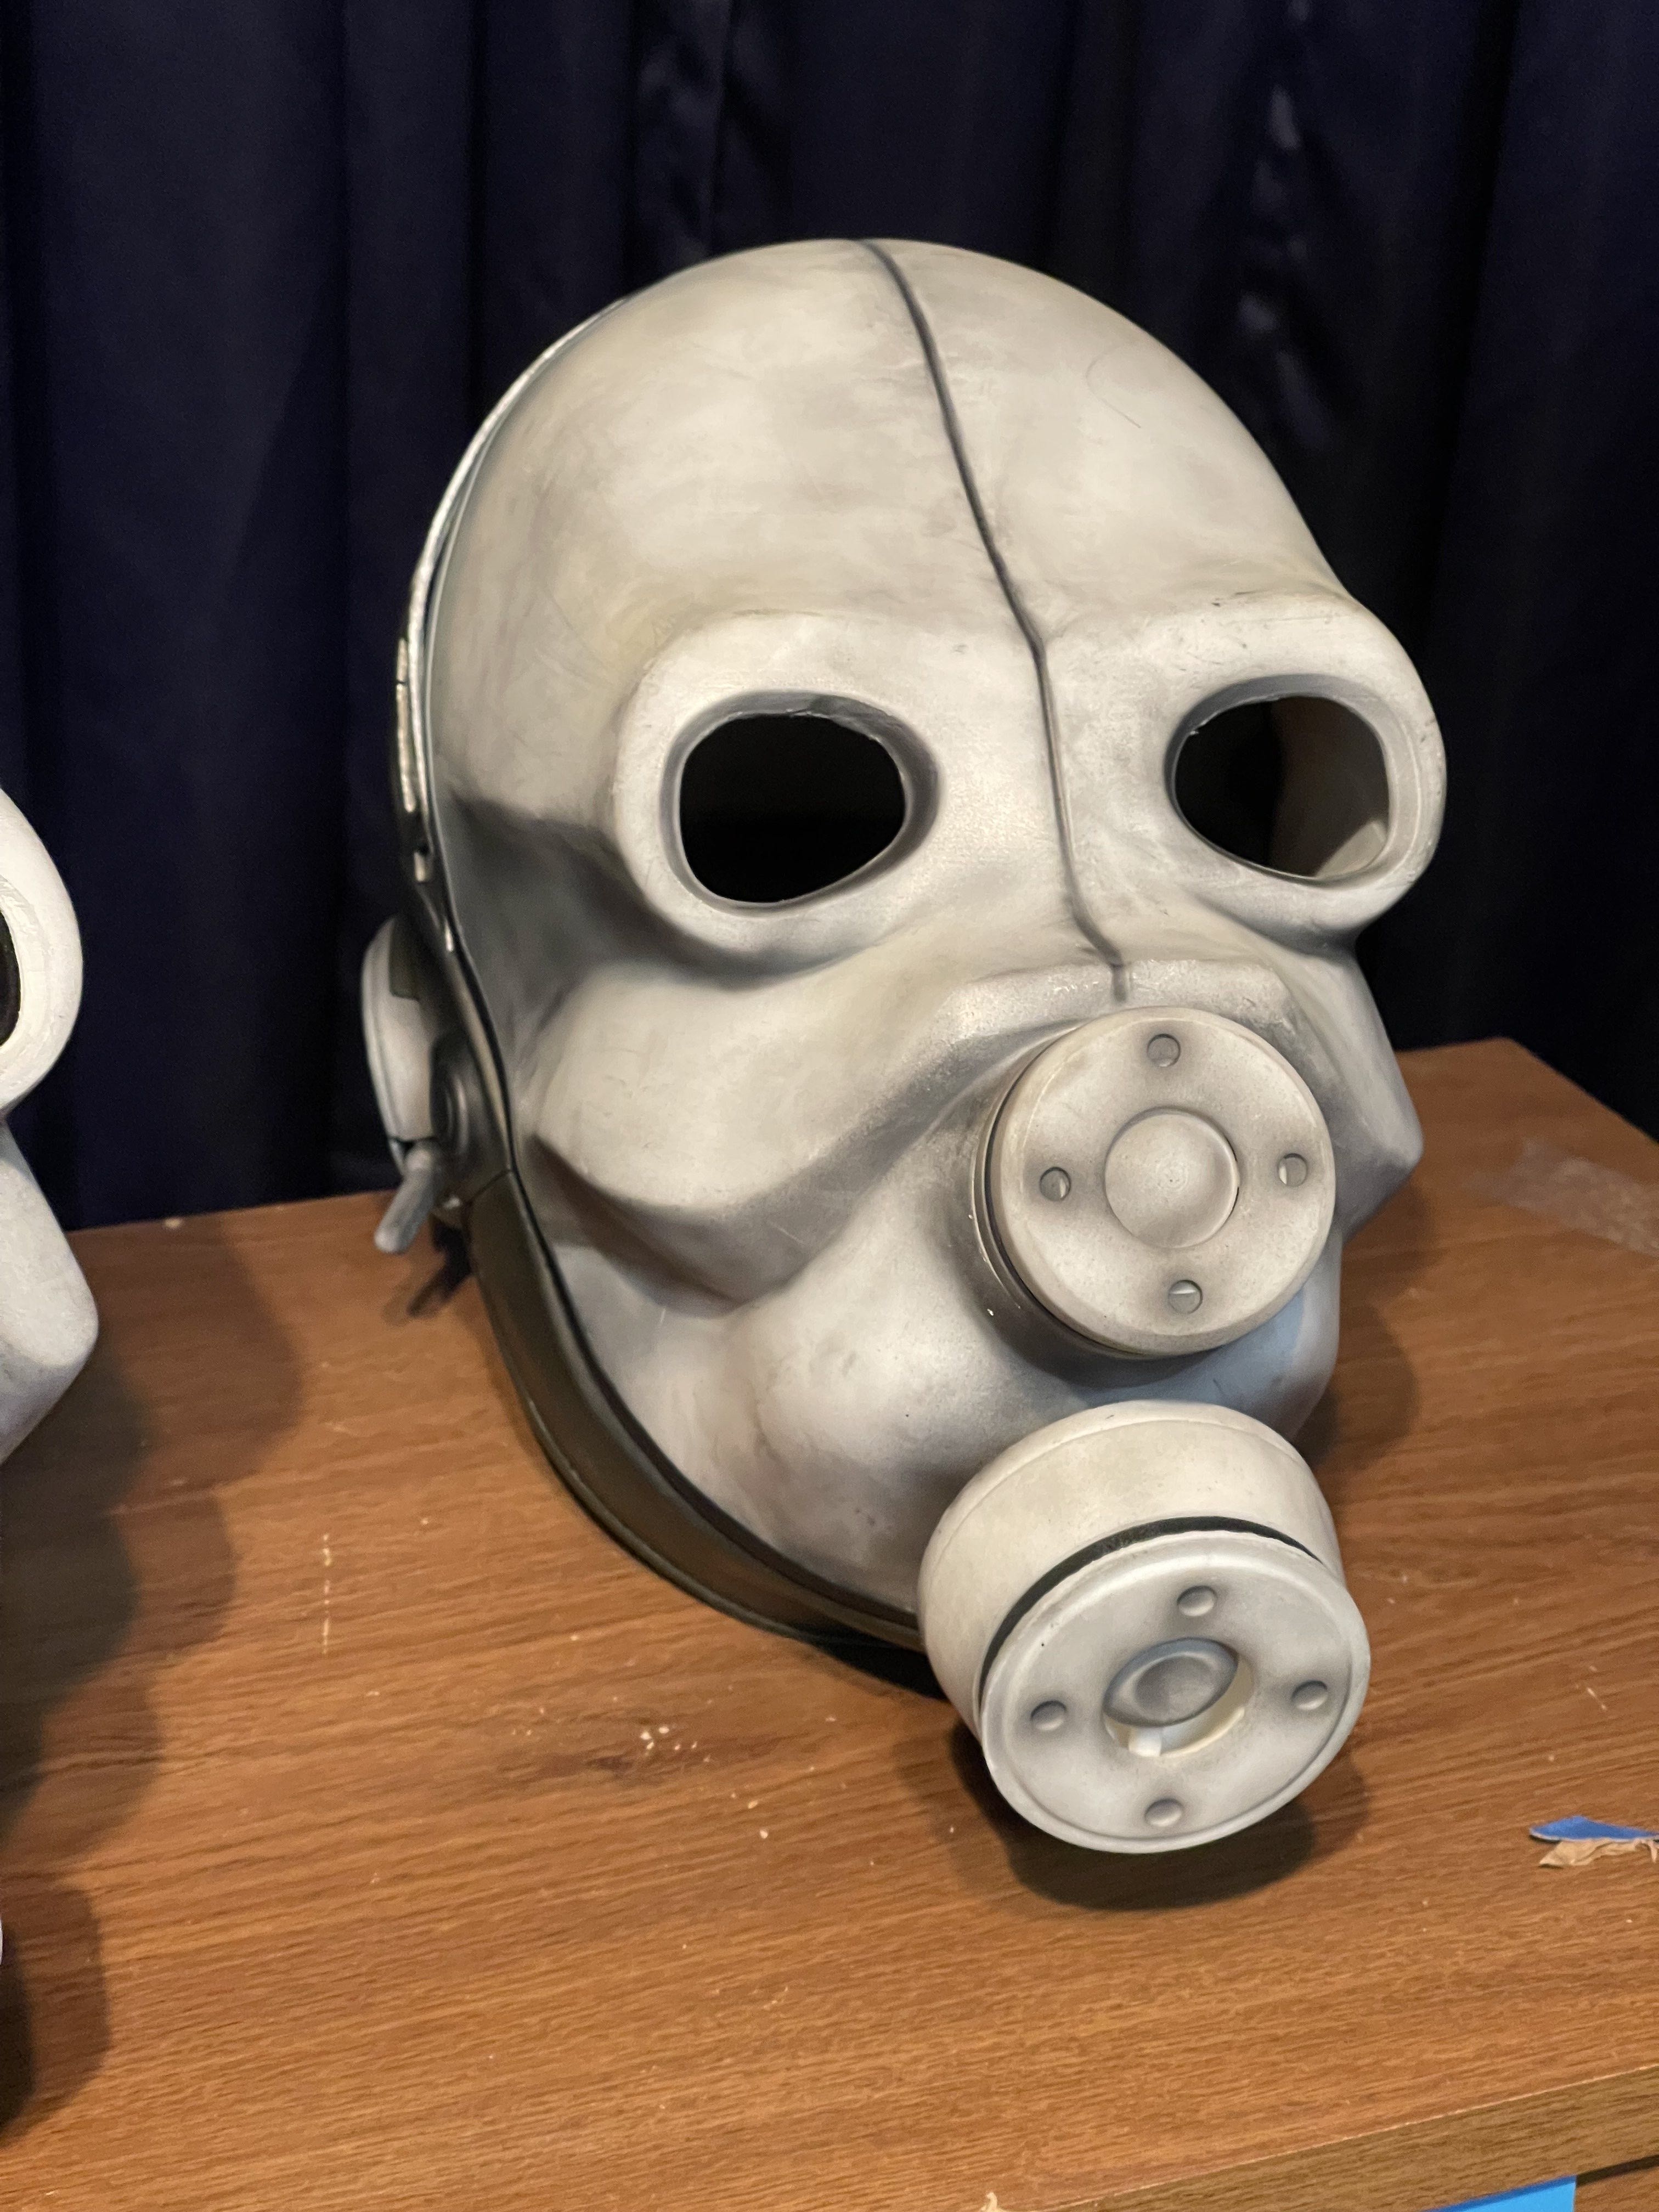
I restarted the helmet using a different model purchased on Etsy. I'm glad I made the switch—the new mock-up feels like a better foundation for the costume.
There is still plenty to finish: more detail on the belt boxes, paint on the stunstick, and white shoulder sections for the jacket. I'm considering padded shoulder pieces attached with hook-and-loop fasteners.
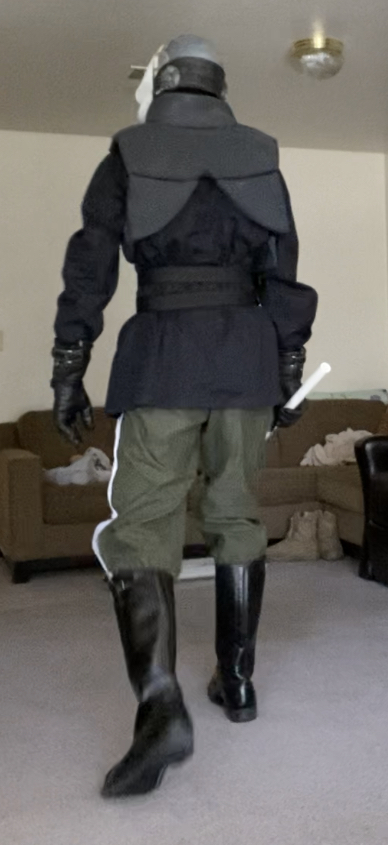
The trousers need their white stripes, and I'm still working on the drape around the boots. The motorcycle gloves are ready; the lower half of the costume remains the biggest fit challenge.
From the community · 1 reply
Feedback and contributions from other builders. Follow the links to read more and see their photographs.
This test fit gives me a clearer view of the costume from several angles. The helmet, vest, and soft goods are starting to feel like a complete uniform.
Praises the documented process, particularly the vest construction.
· Erik Reiner
Revisiting the vest proportions
The arch at the bottom of the vest is sitting higher than the reference. The fit photos make that easier to spot.
The front and back aren't attached yet, so I'm holding my arms close to keep everything in place. That may also be pushing the front outward and exaggerating the arch. I need to reassess the proportions once the vest can support itself.
From the community · 1 reply
Feedback and contributions from other builders. Follow the links to read more and see their photographs.
Continues the discussion of measurements and costume practicality.
· Erik Reiner
Comfort and lens choices
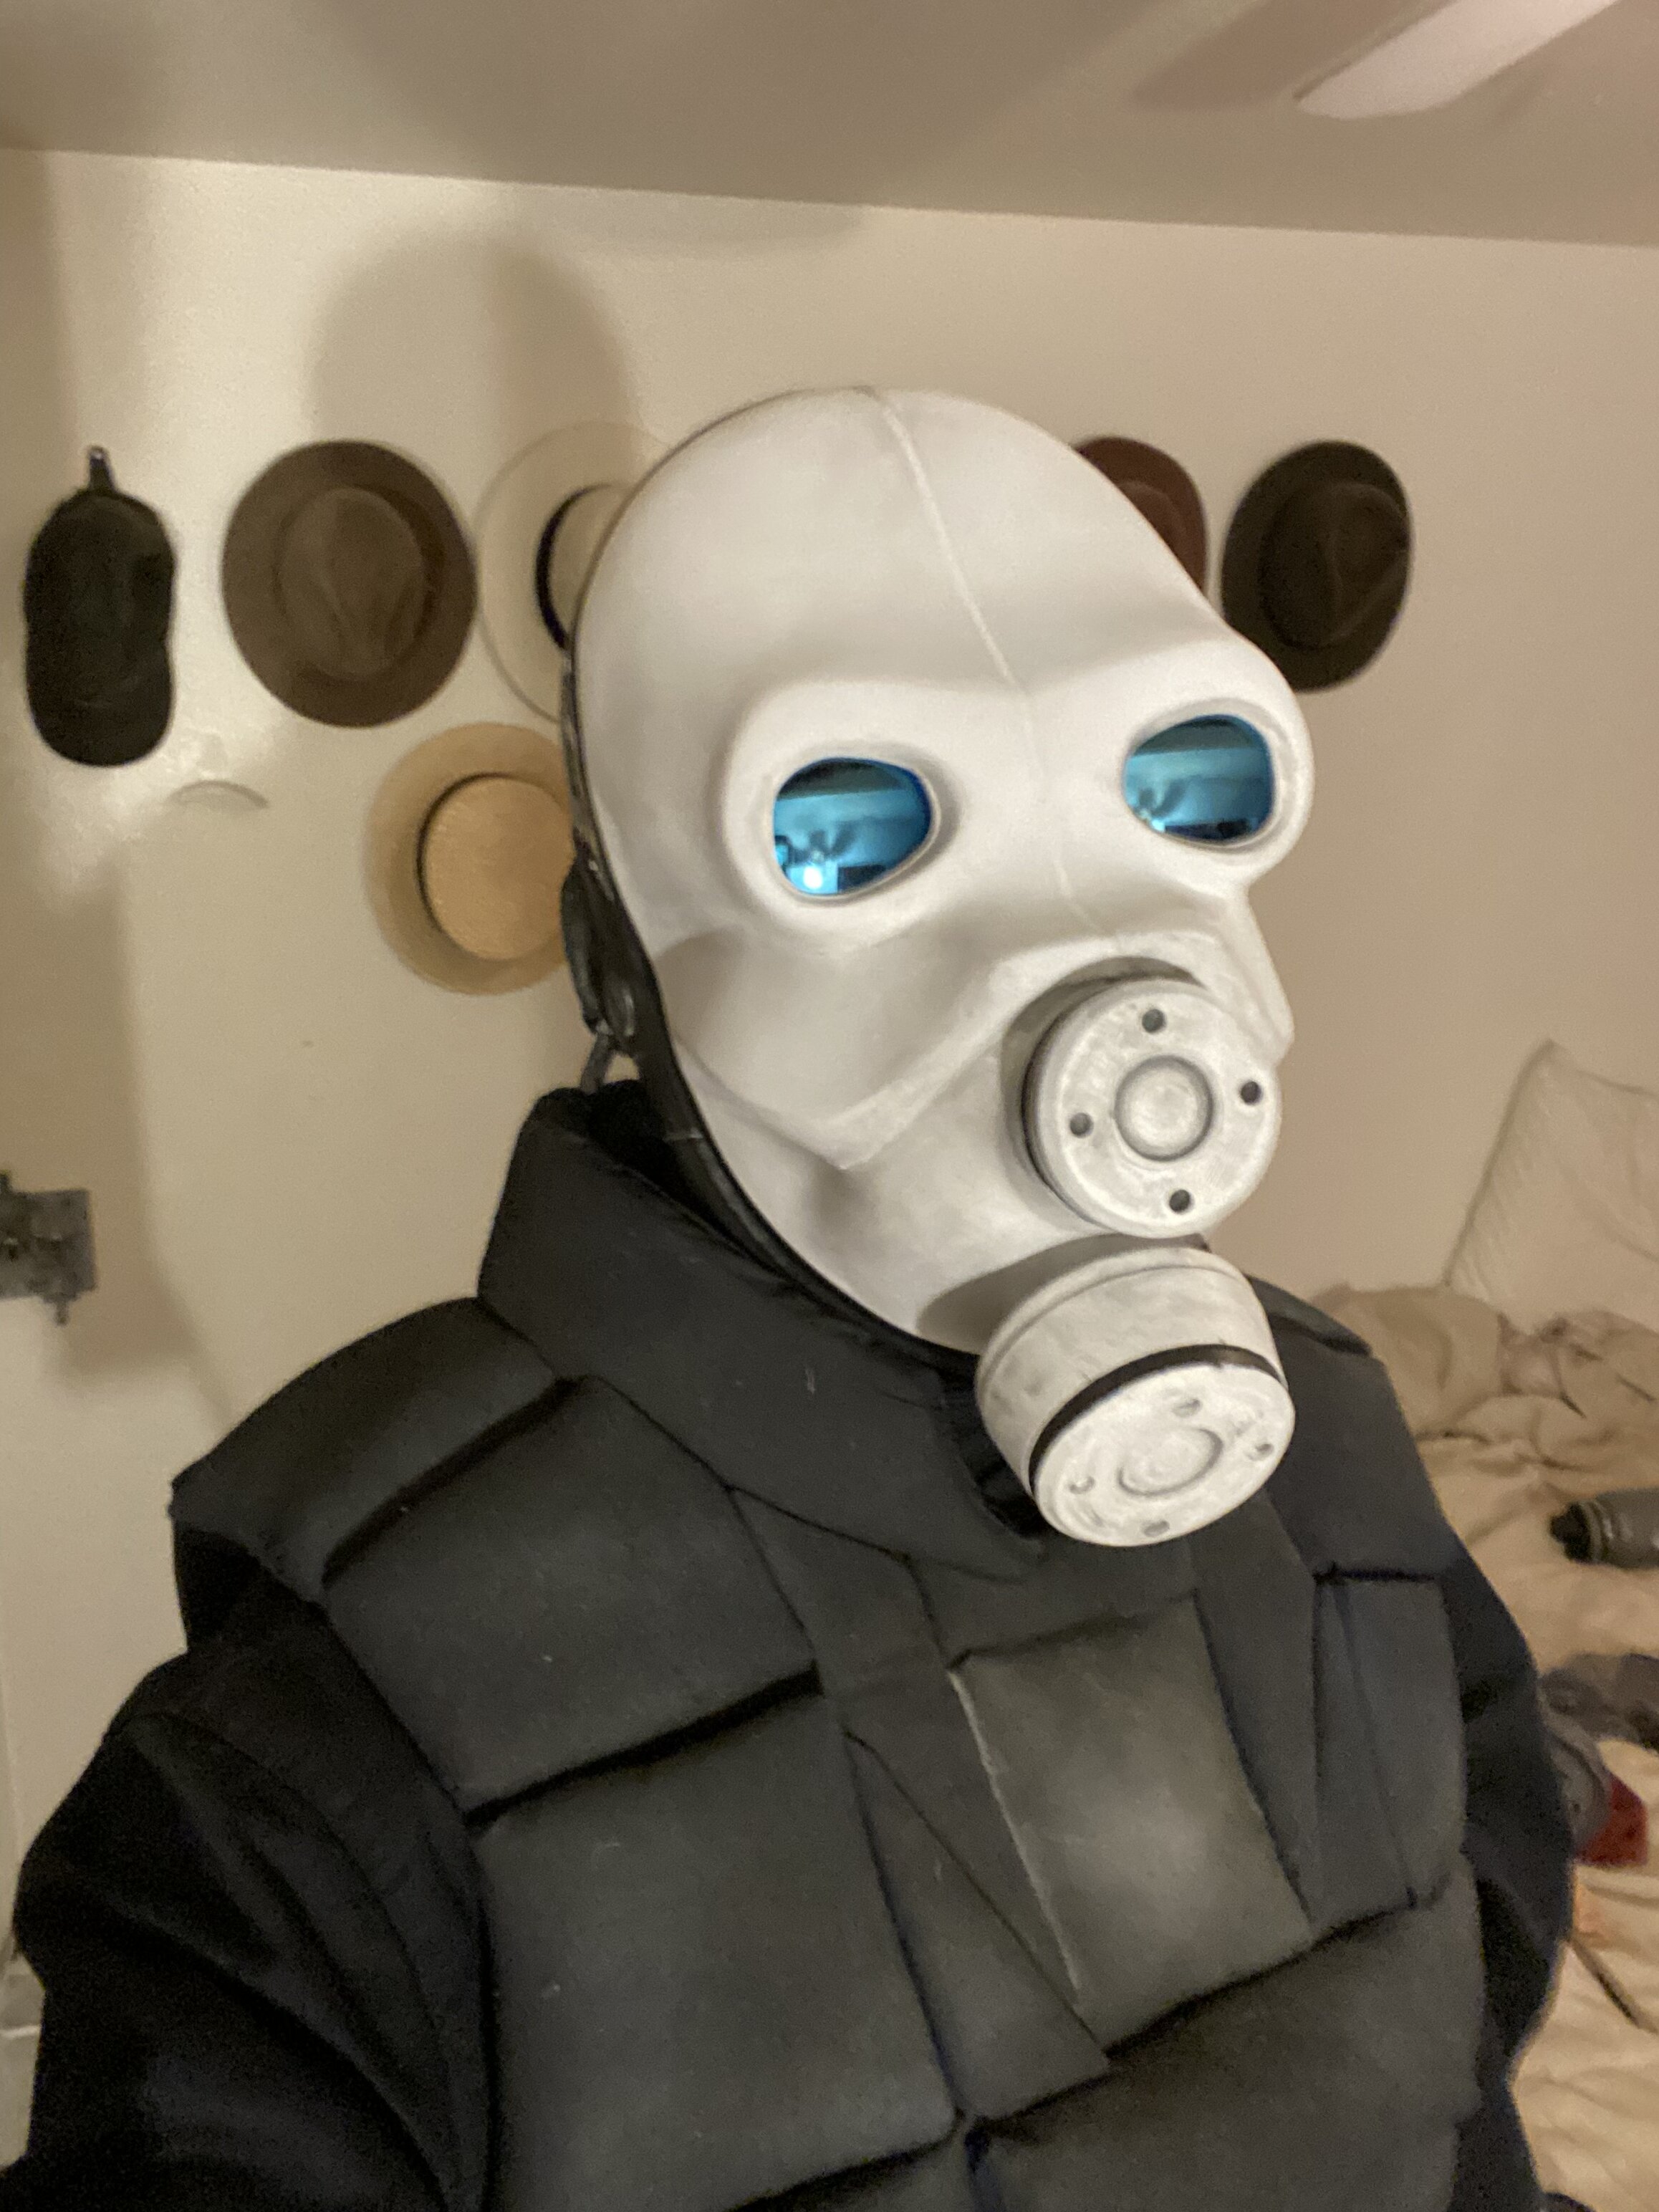
At this stage, the costume feels surprisingly comfortable compared with my Scout Trooper and Mandalorian builds. Boots, trousers, a jacket, and a vest are a manageable combination, and visibility in this helmet setup is better than I expected.
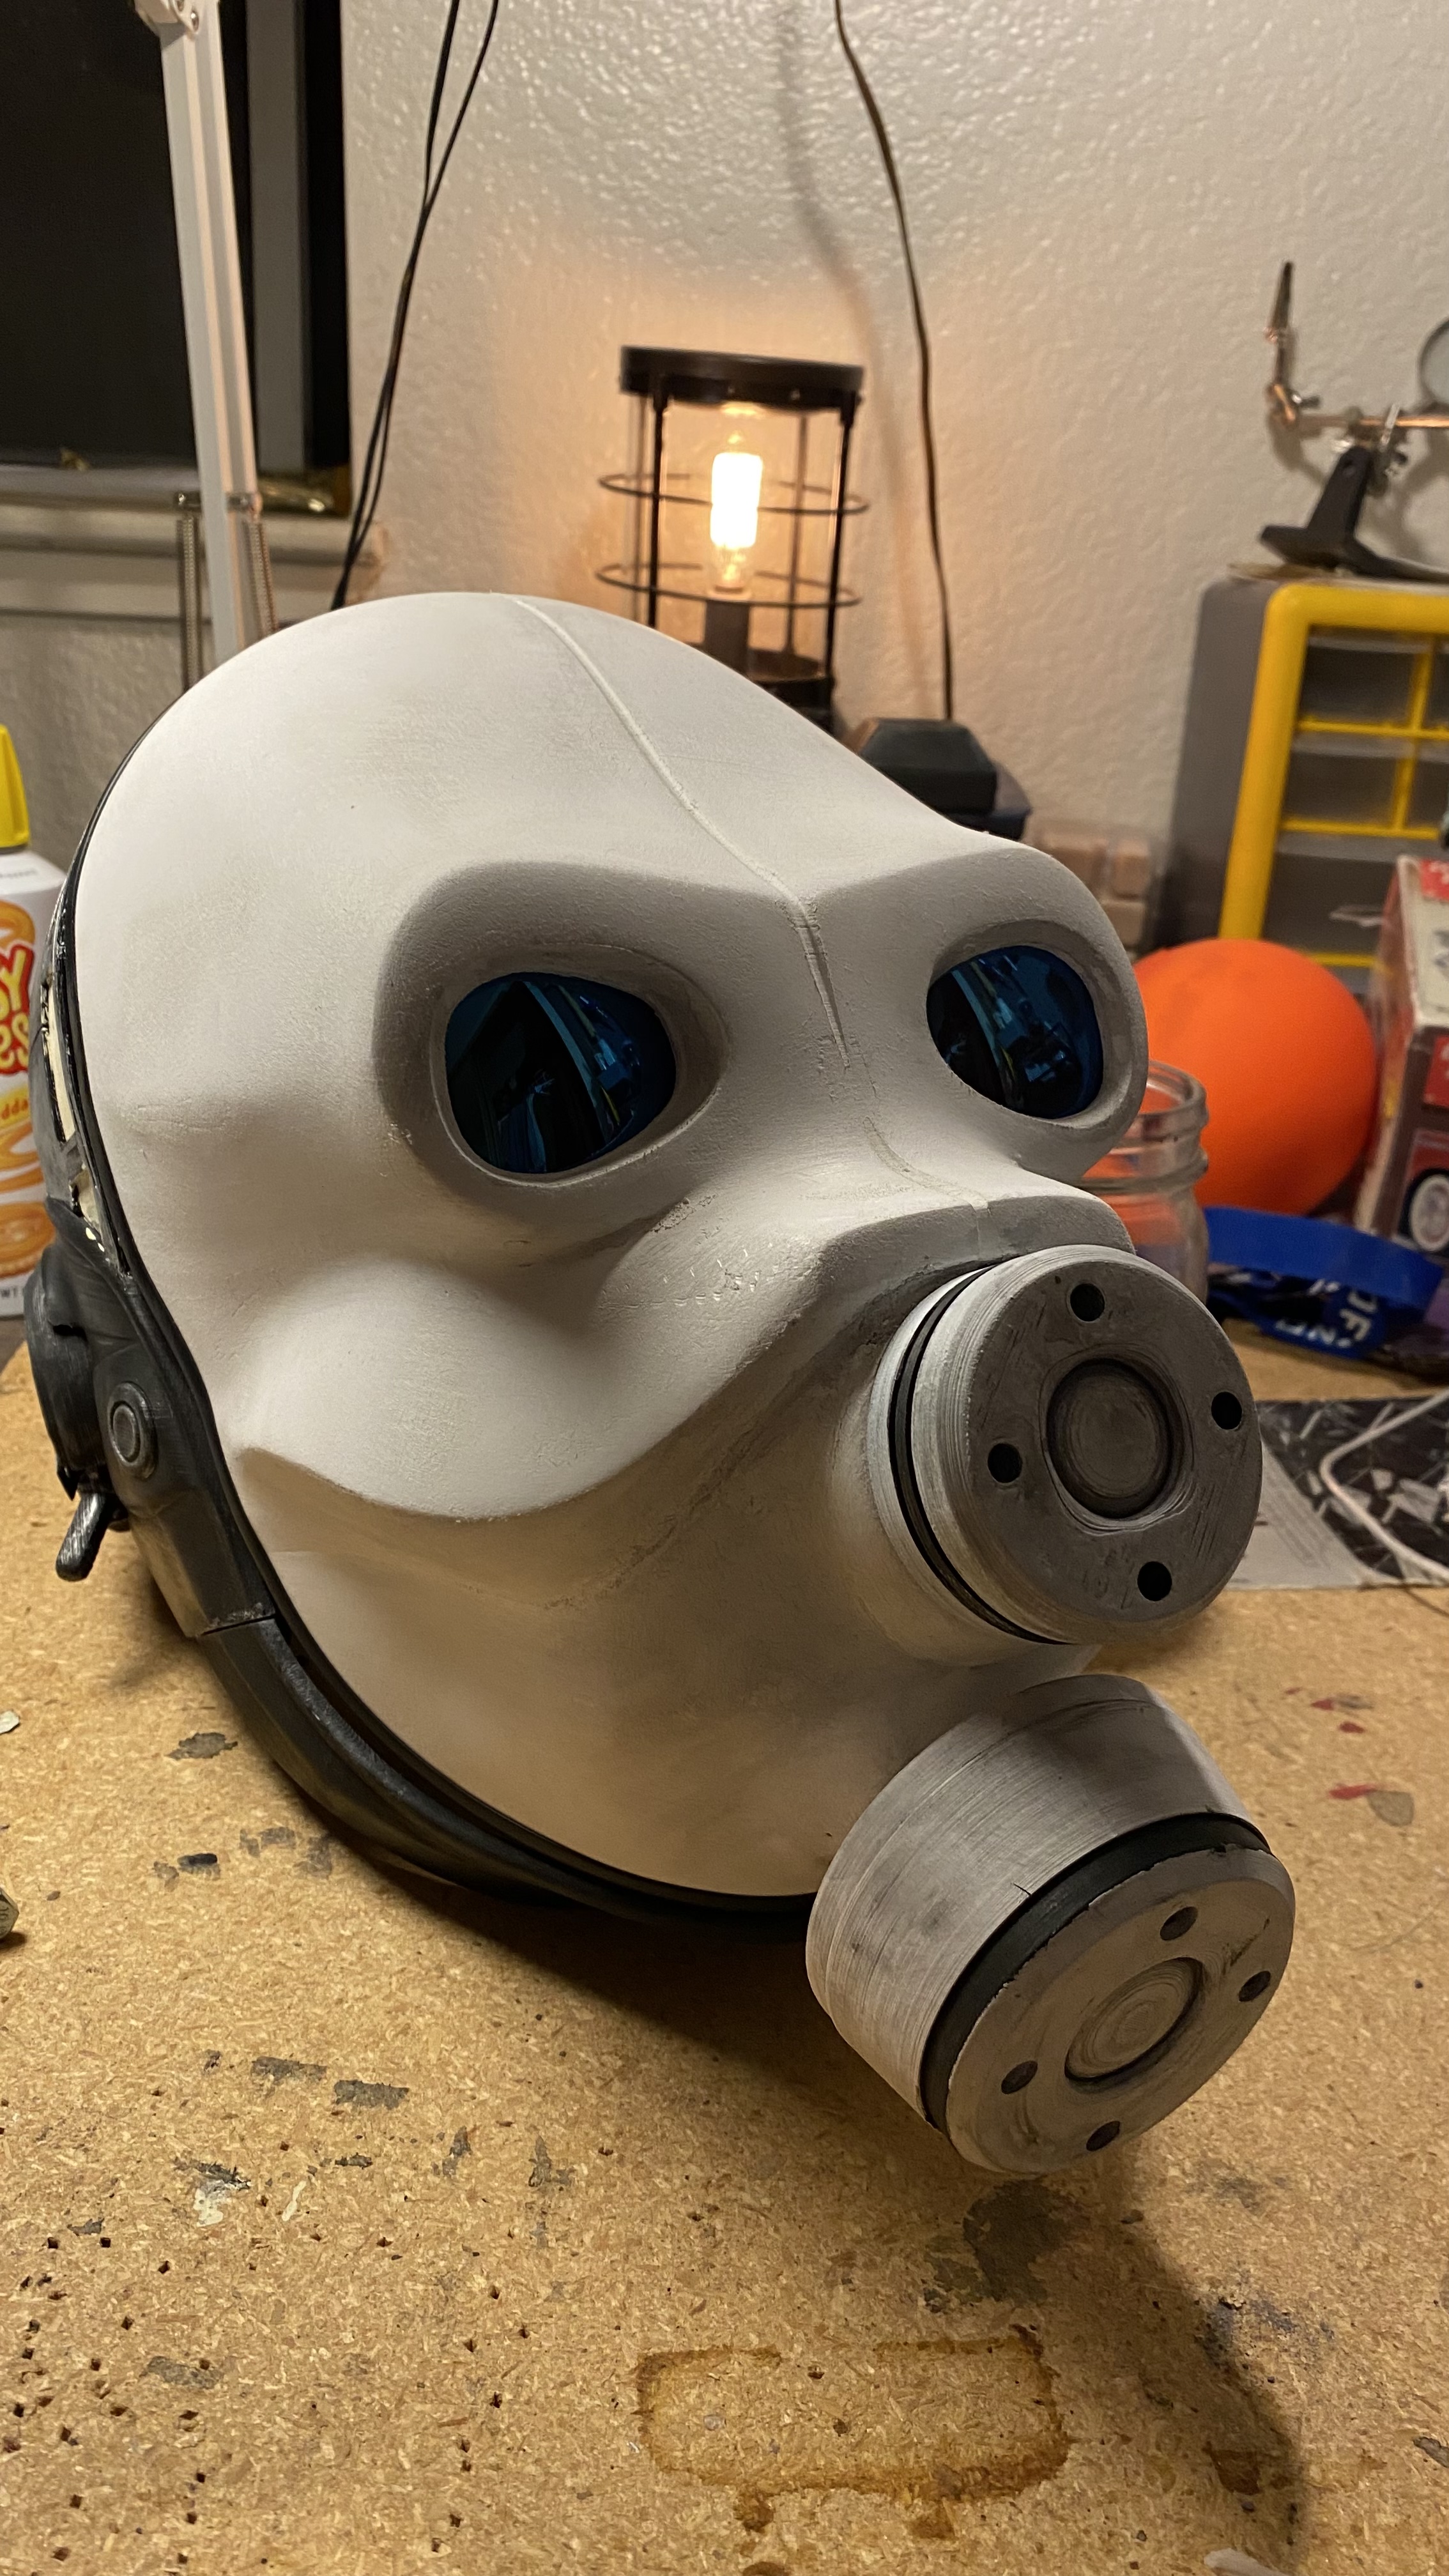
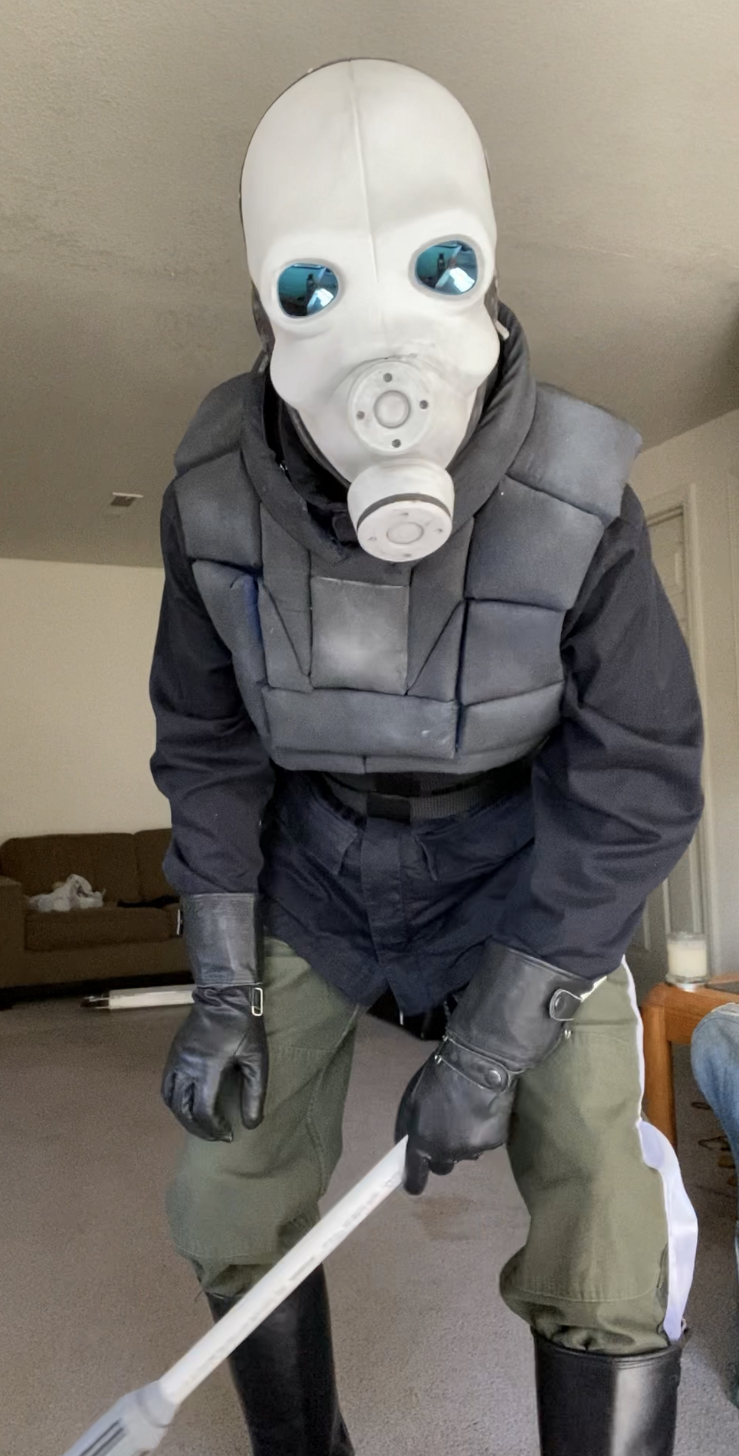
I'm less certain about the blue lenses. They stand out strongly, so I'm considering silver mirror or black instead. Hot glue keeps them removable while I work through the options.
From the community · 1 reply
Feedback and contributions from other builders. Follow the links to read more and see their photographs.
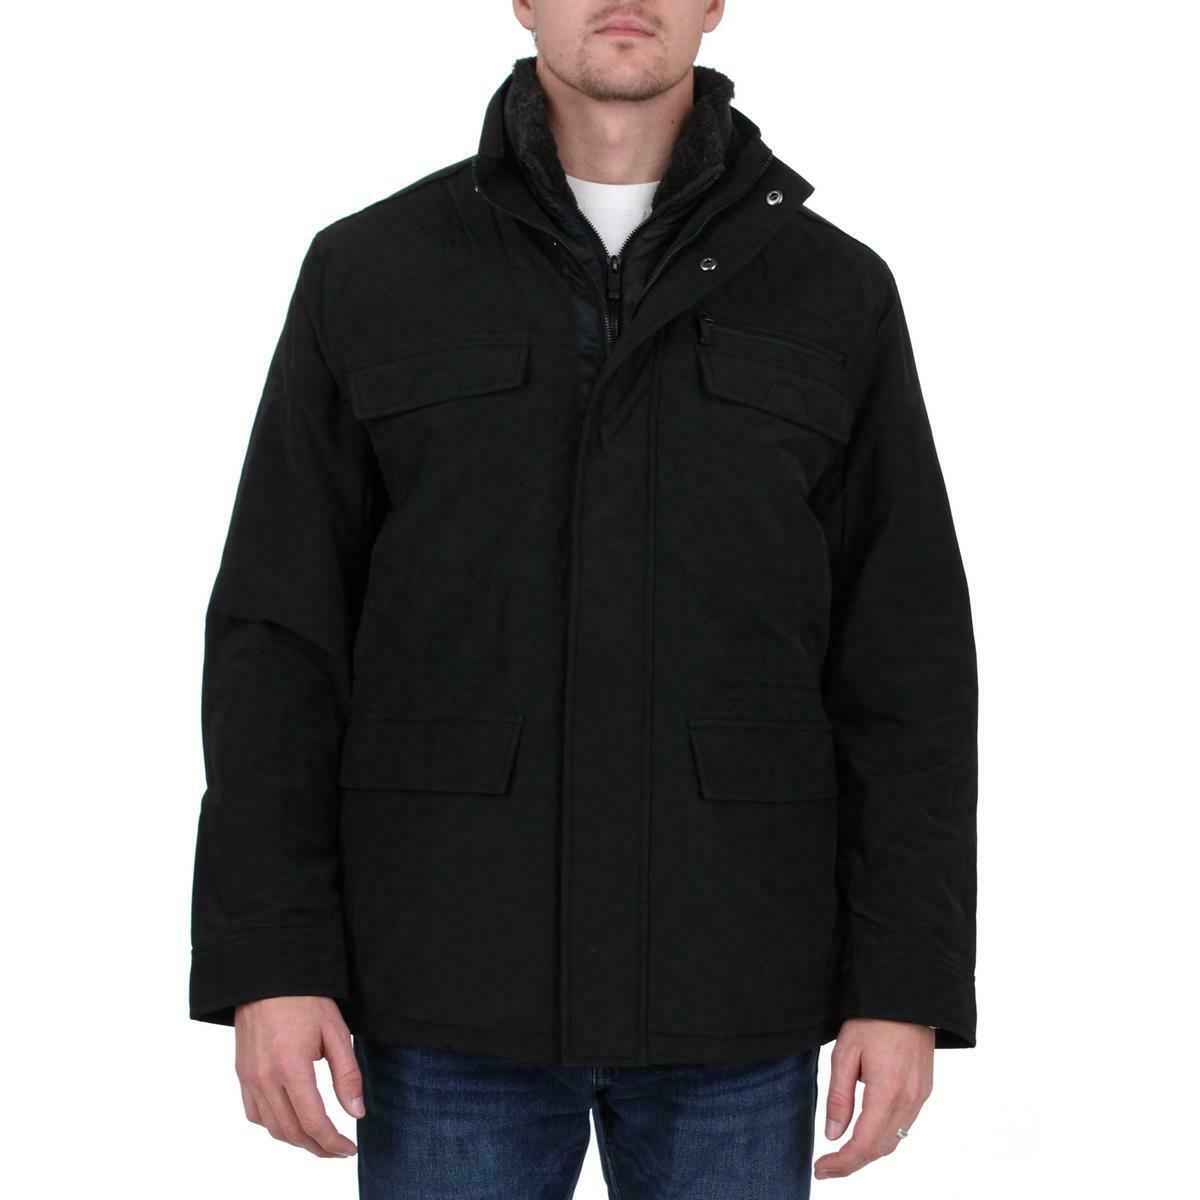
The jacket is an inexpensive Columbia field coat I found on eBay. Searching for “field coat” and “field jacket” helped narrow the options to garments with the front pockets, high collar, and longer body I needed.
From the community · 2 replies
Feedback and contributions from other builders. Follow the links to read more and see their photographs.
For the clothing, shape matters more than finding one exact product listing. The jacket needed front pockets and enough length; the gloves needed a slim gauntlet profile.
Women's motorcycle gauntlets offered a more streamlined shape than many men's versions, although sizing required care. The boots I used were Harley Davidson boots bought secondhand. Round-toe riding, engineer, or harness styles can offer a similar outline, depending on the details.
These are the choices behind this build, rather than a current shopping list.
2023
Voice electronics & WonderCon
From the community · 1 reply
Feedback and contributions from other builders. Follow the links to read more and see their photographs.
Asks for more detail on developing the vest pattern.
· Erik Reiner
How the vest was made
The prototype vest came together in roughly a day or two of hands-on work. Sketching it from several angles gave me a mental model, and I used the center chest square as a reference for the surrounding pieces.
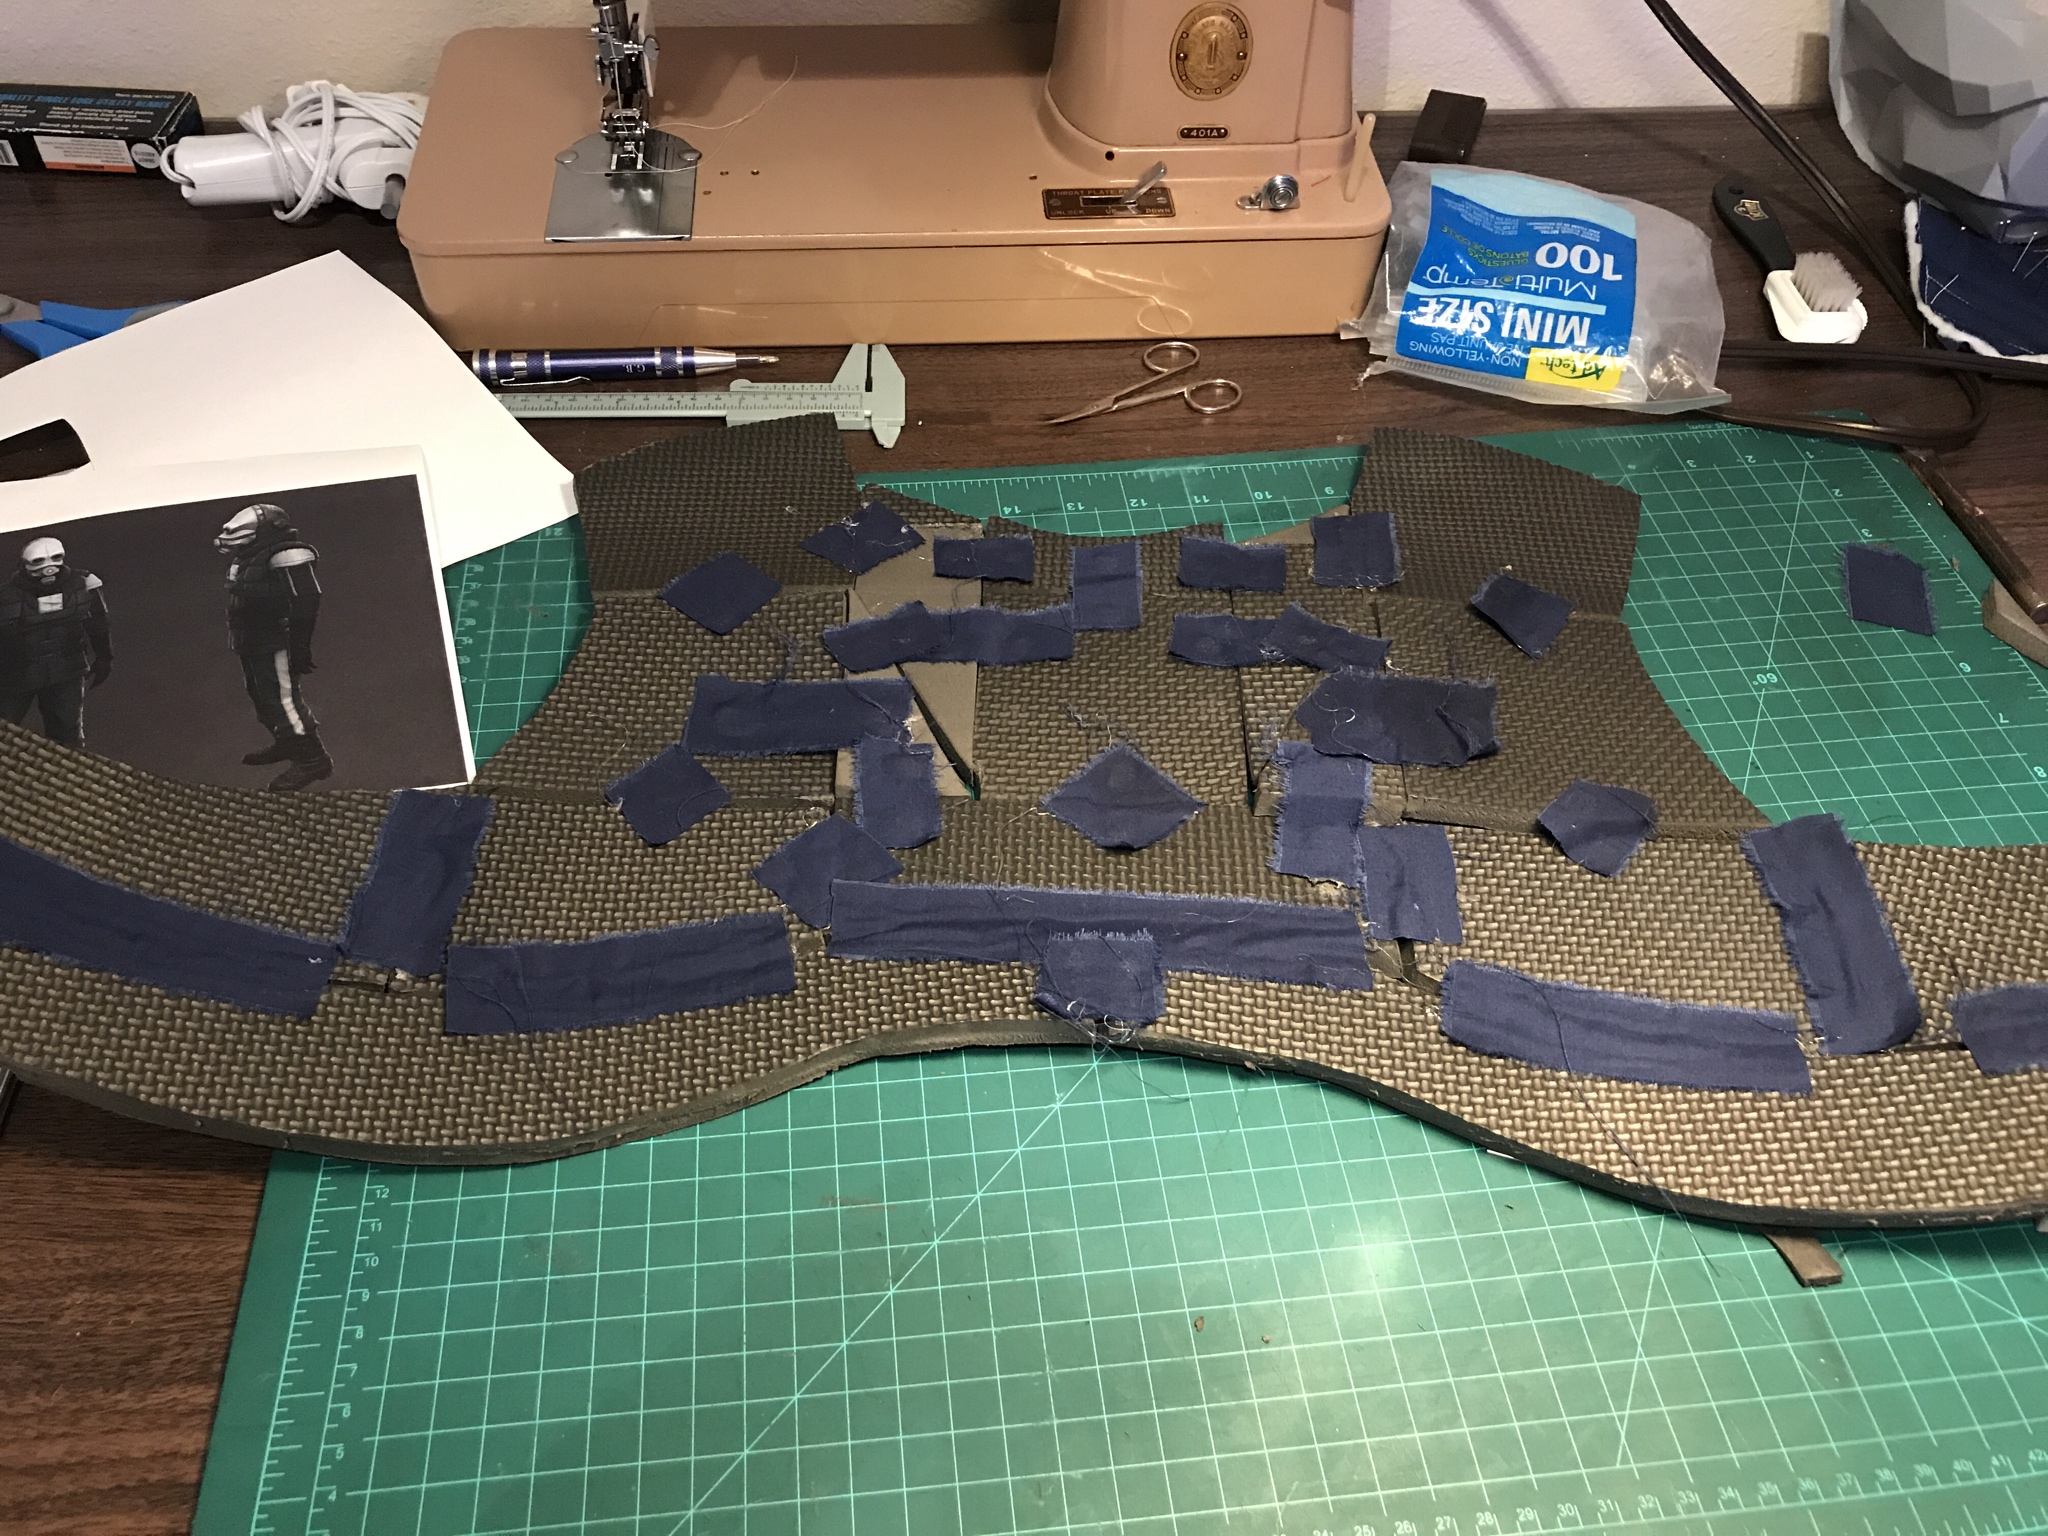
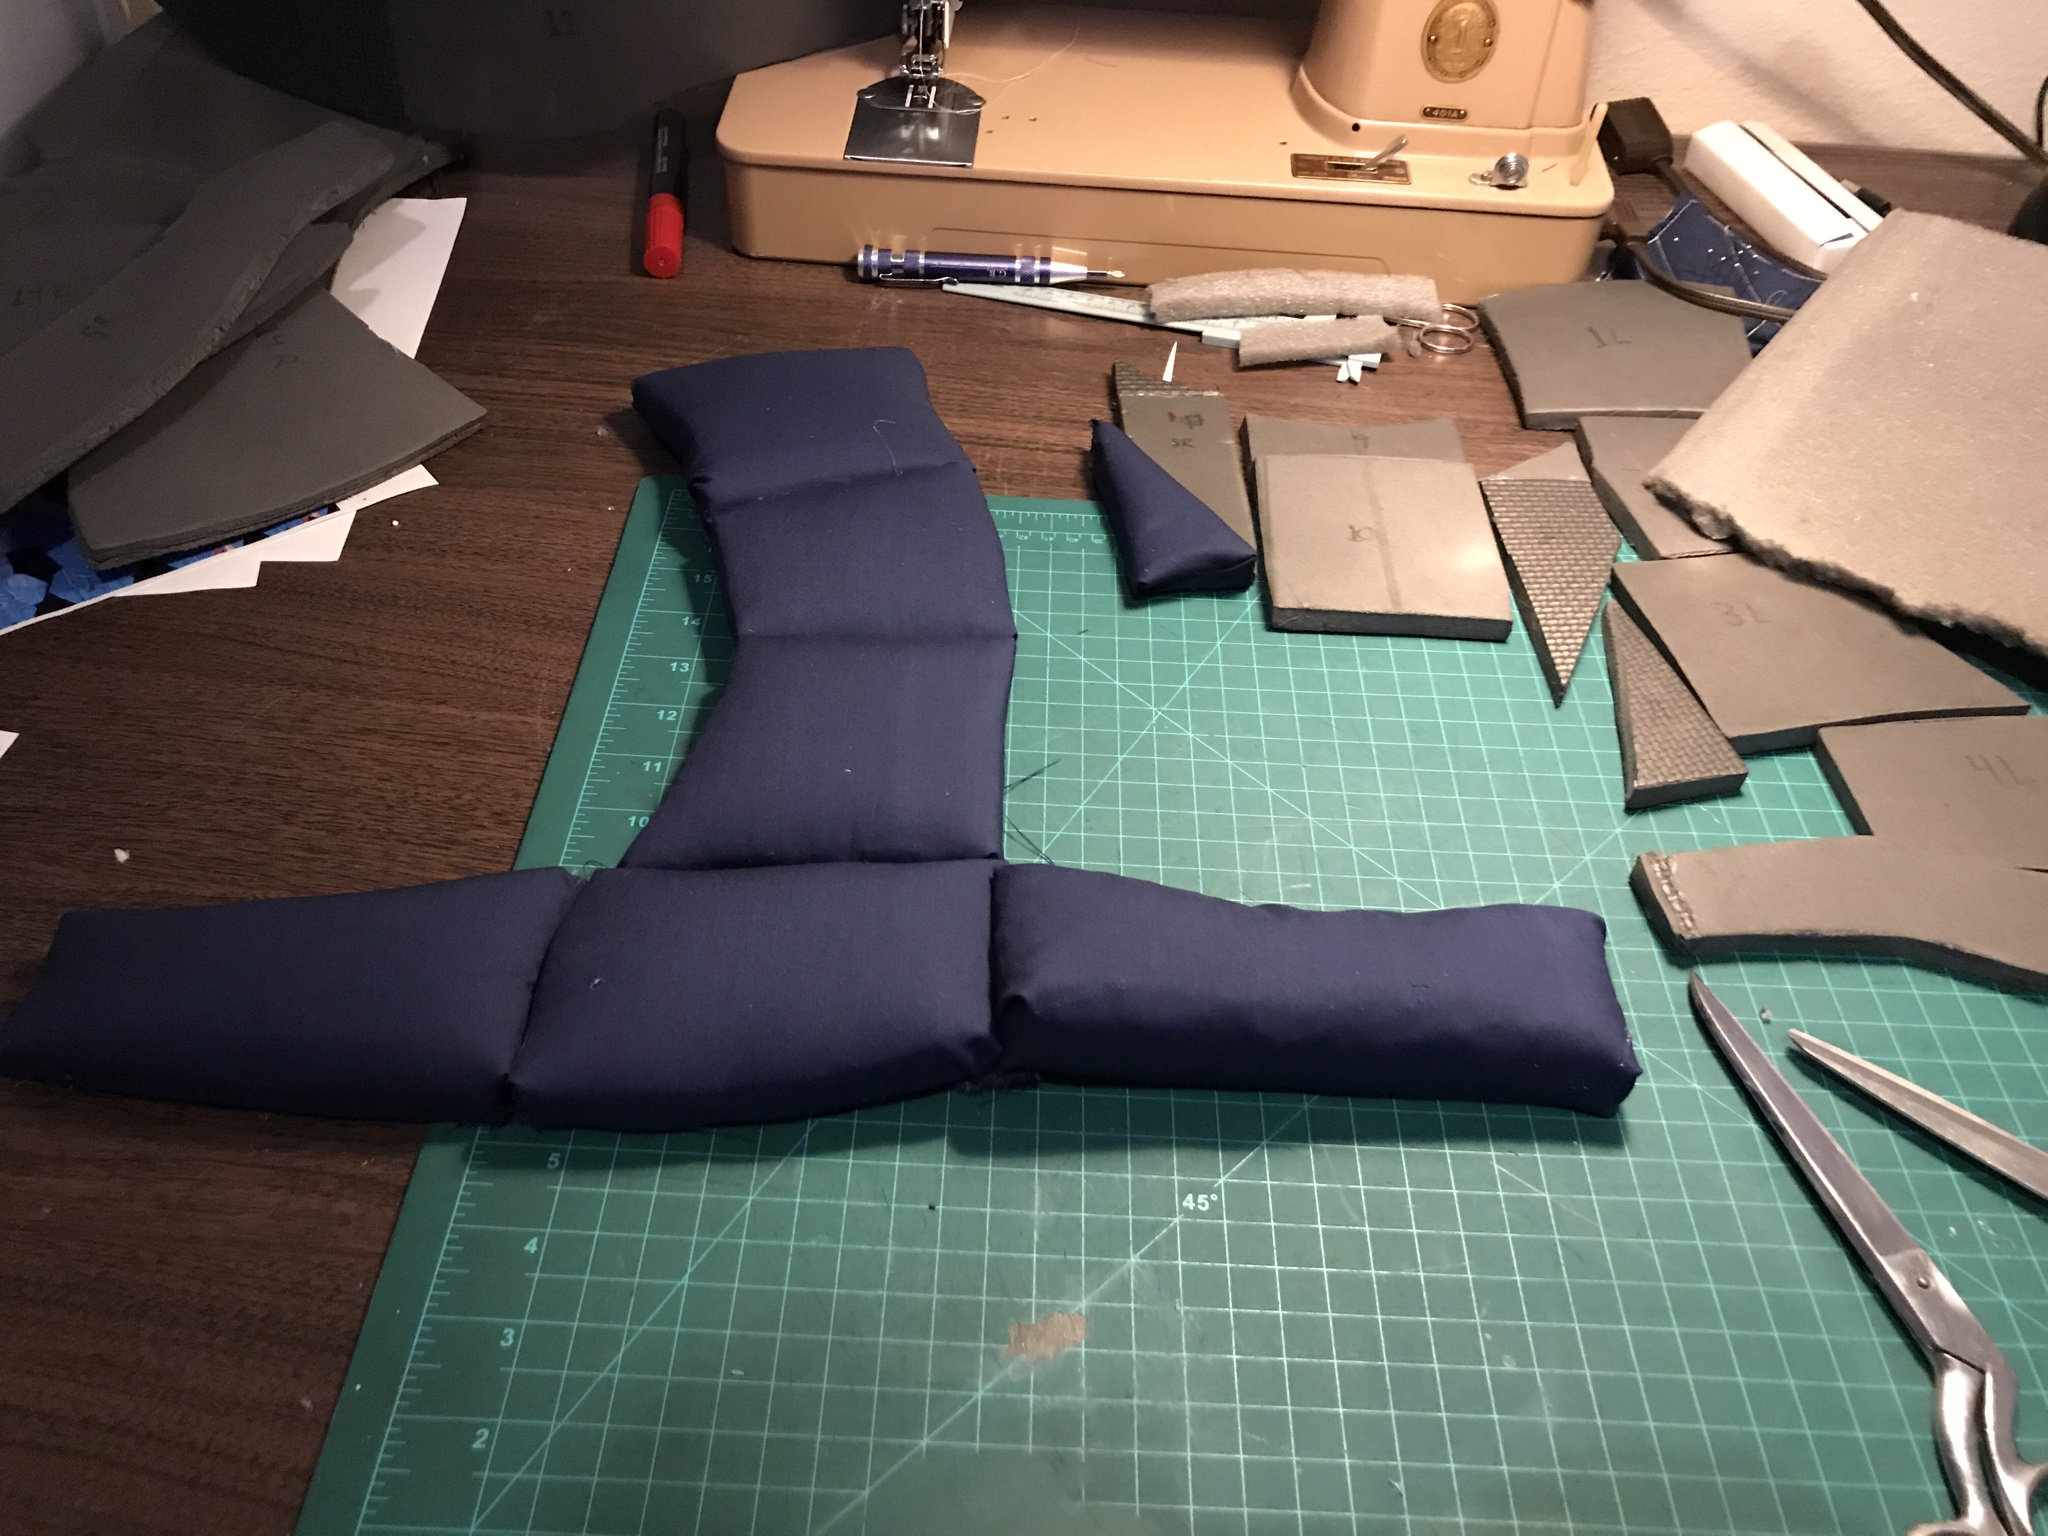
I cut the foam panels, joined their backs with cloth strips, and tried the assembly on. Where it didn't fit, I trimmed; where it did, I moved on to heat-forming.
Once the shape worked, I took it apart, glued batting to the front of each panel, wrapped the panels in fabric, and reconnected them from behind. The pattern was largely developed by eye, so later revisions still had room to improve the proportions.
· Erik Reiner
A voice system and a first CAD enclosure
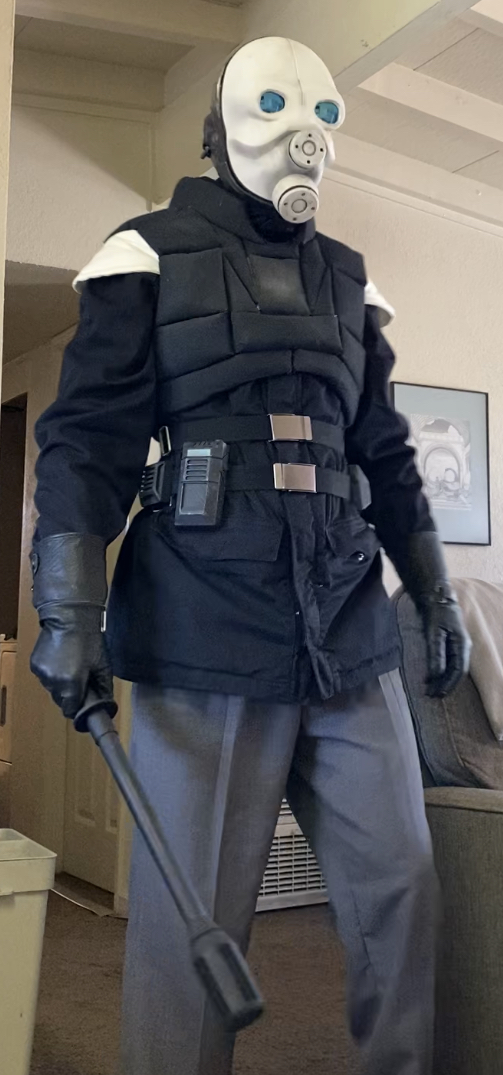
Another test fit shows the progress on the upper half of the costume.
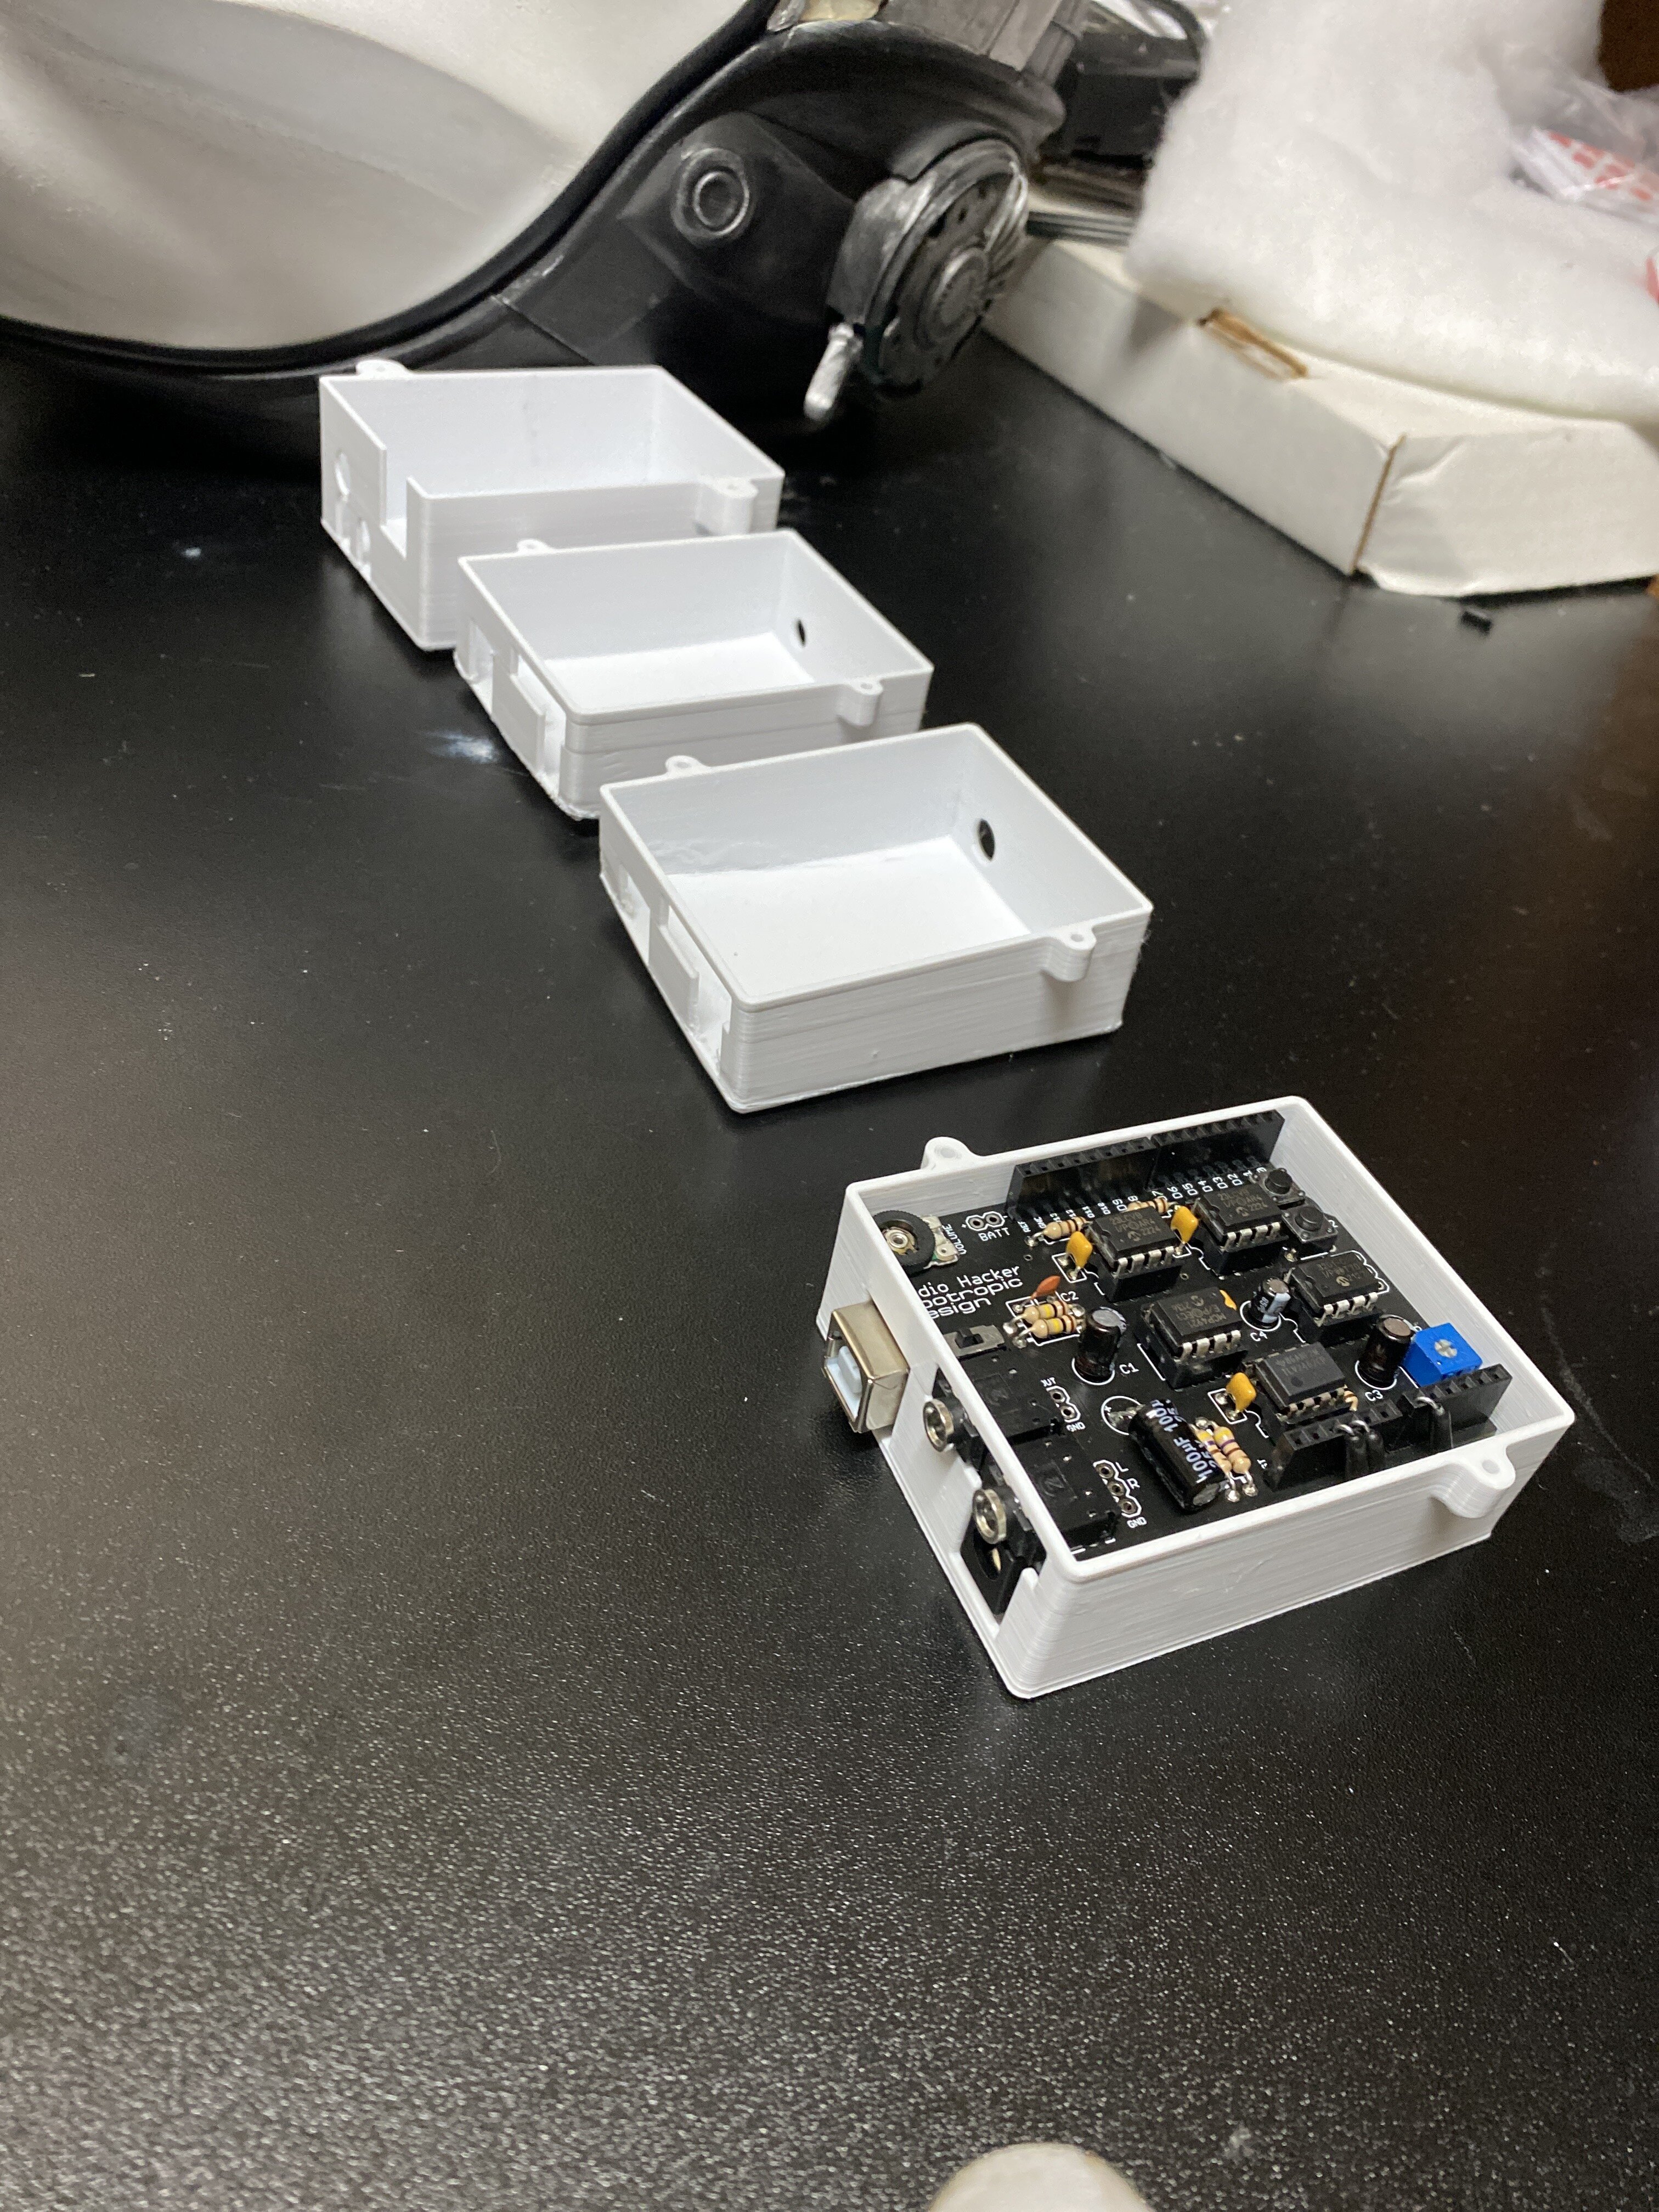
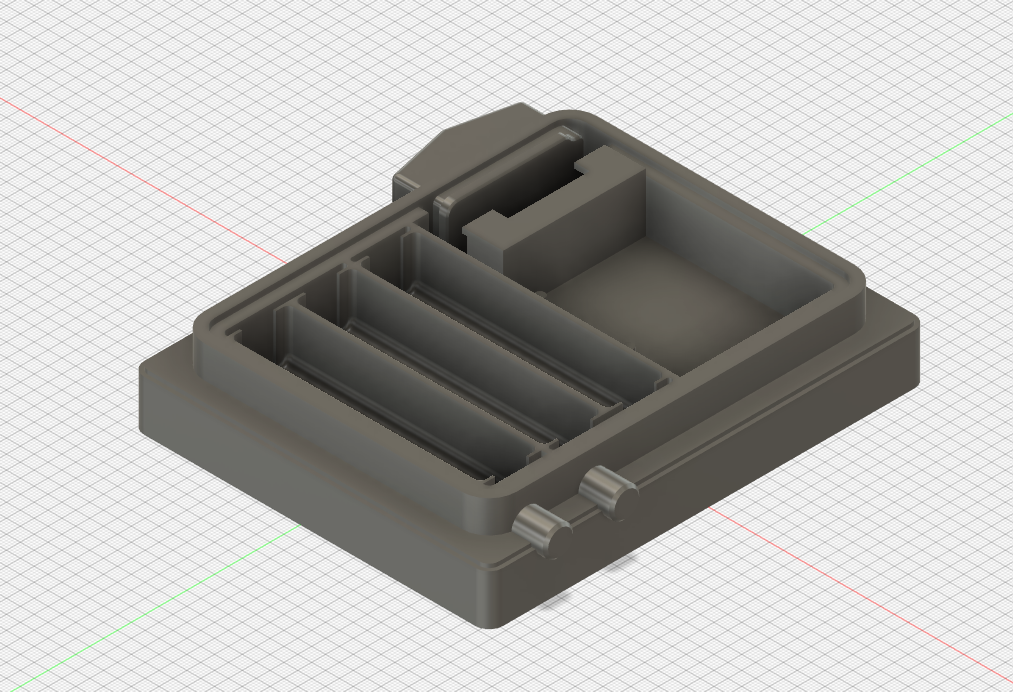
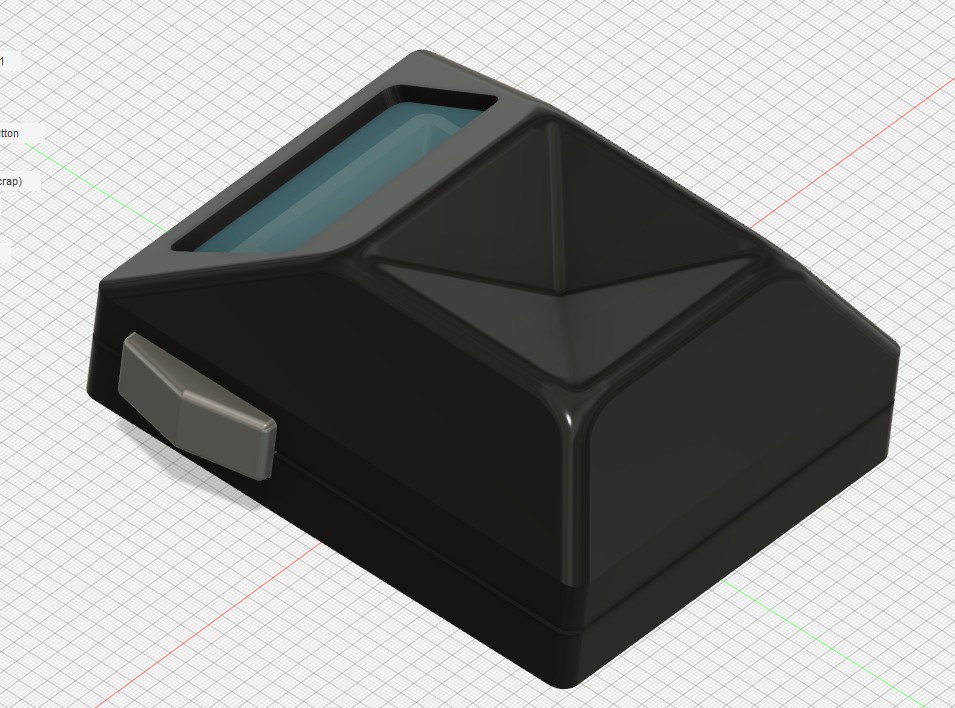
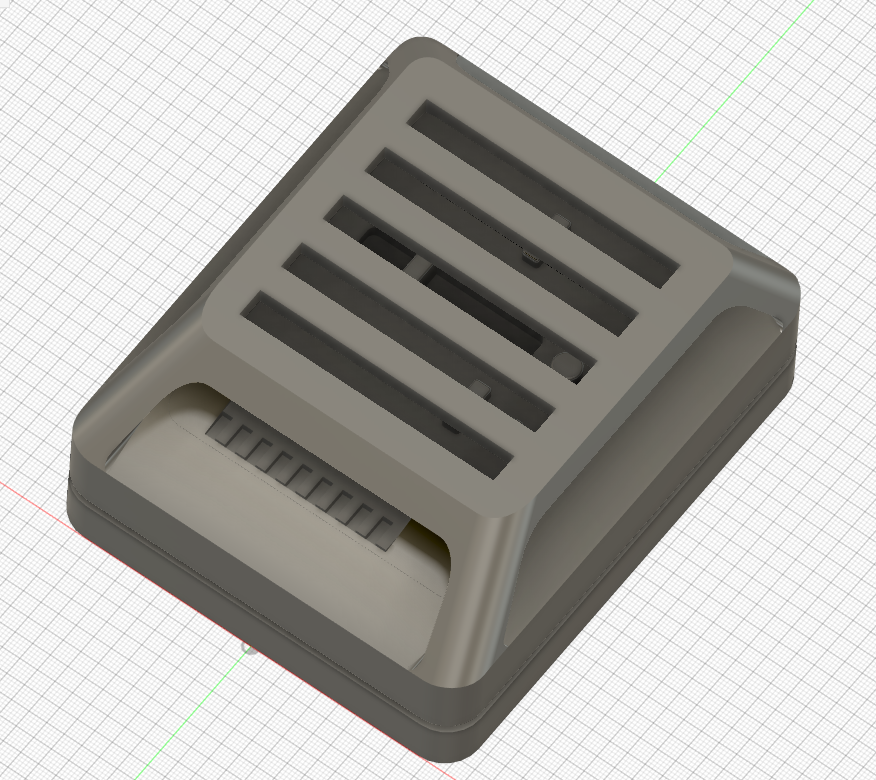
I also built a voice modifier using an Arduino and a Nootropic Design Audio Hacker shield. This was my first Arduino project, and designing its enclosure was my first experience with Fusion 360.
The trousers and boots aren't part of this test fit; the focus here is the upper-body assembly and electronics.
· Erik Reiner
Nearly ready
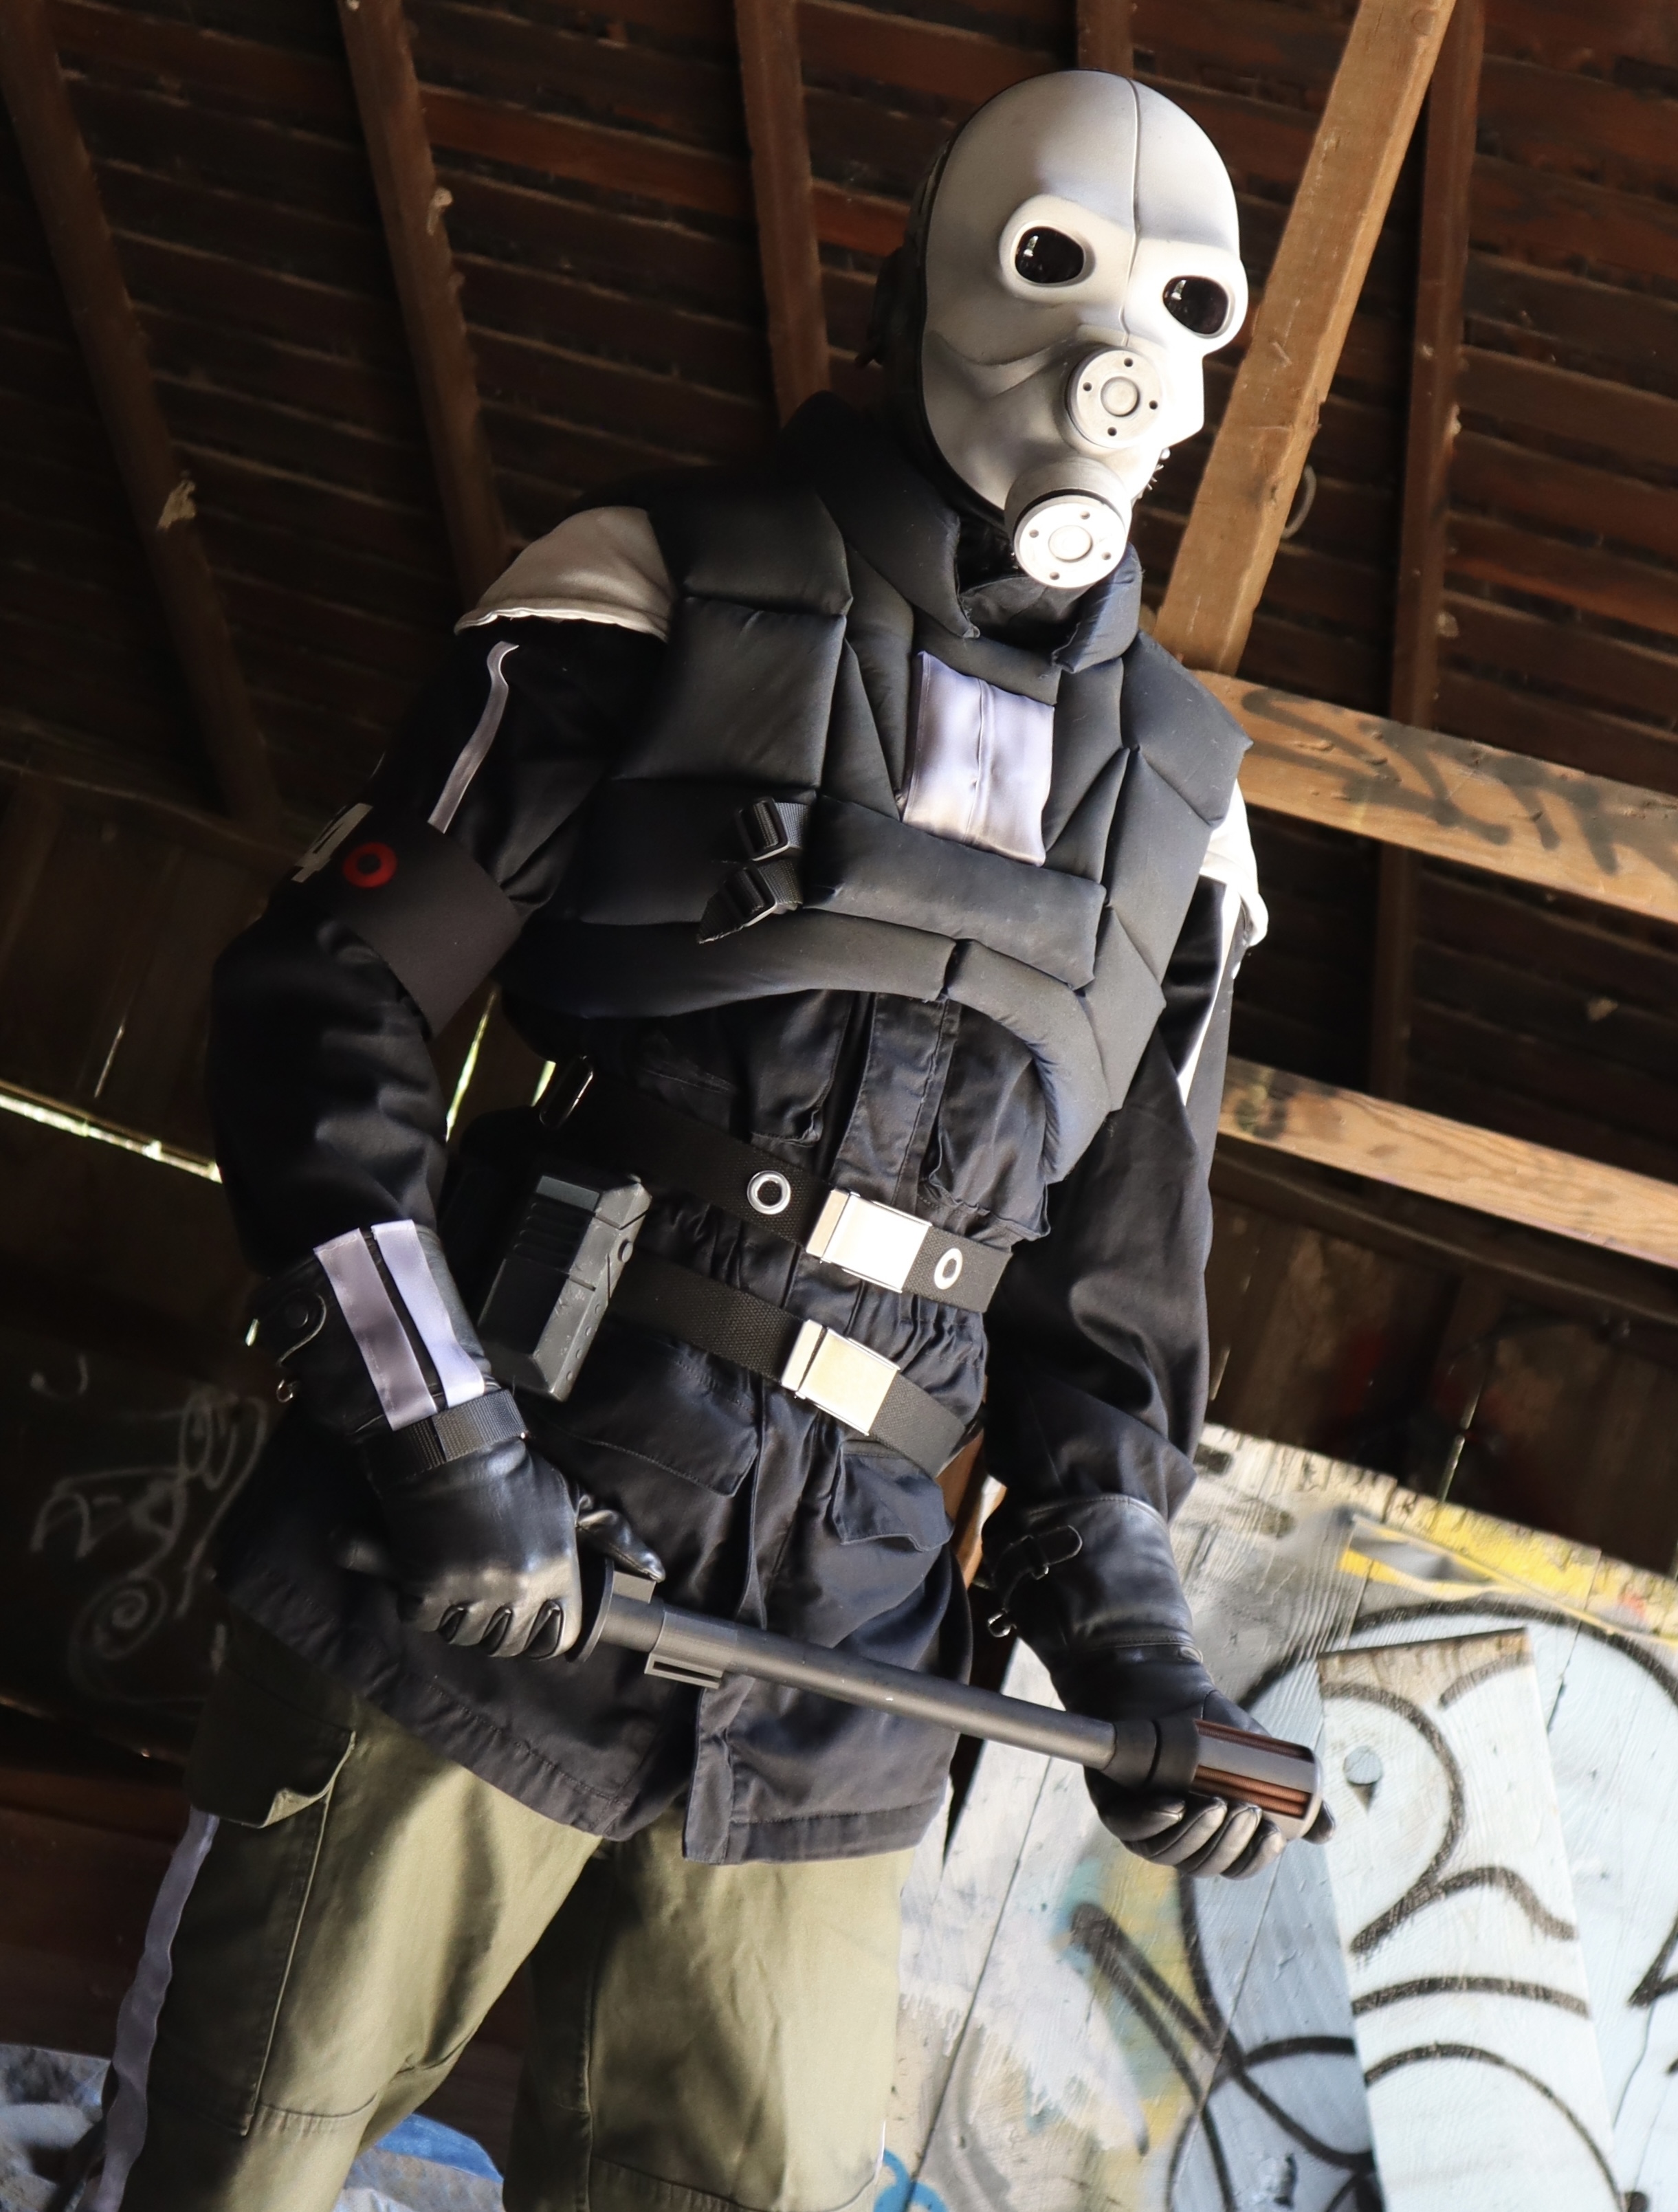
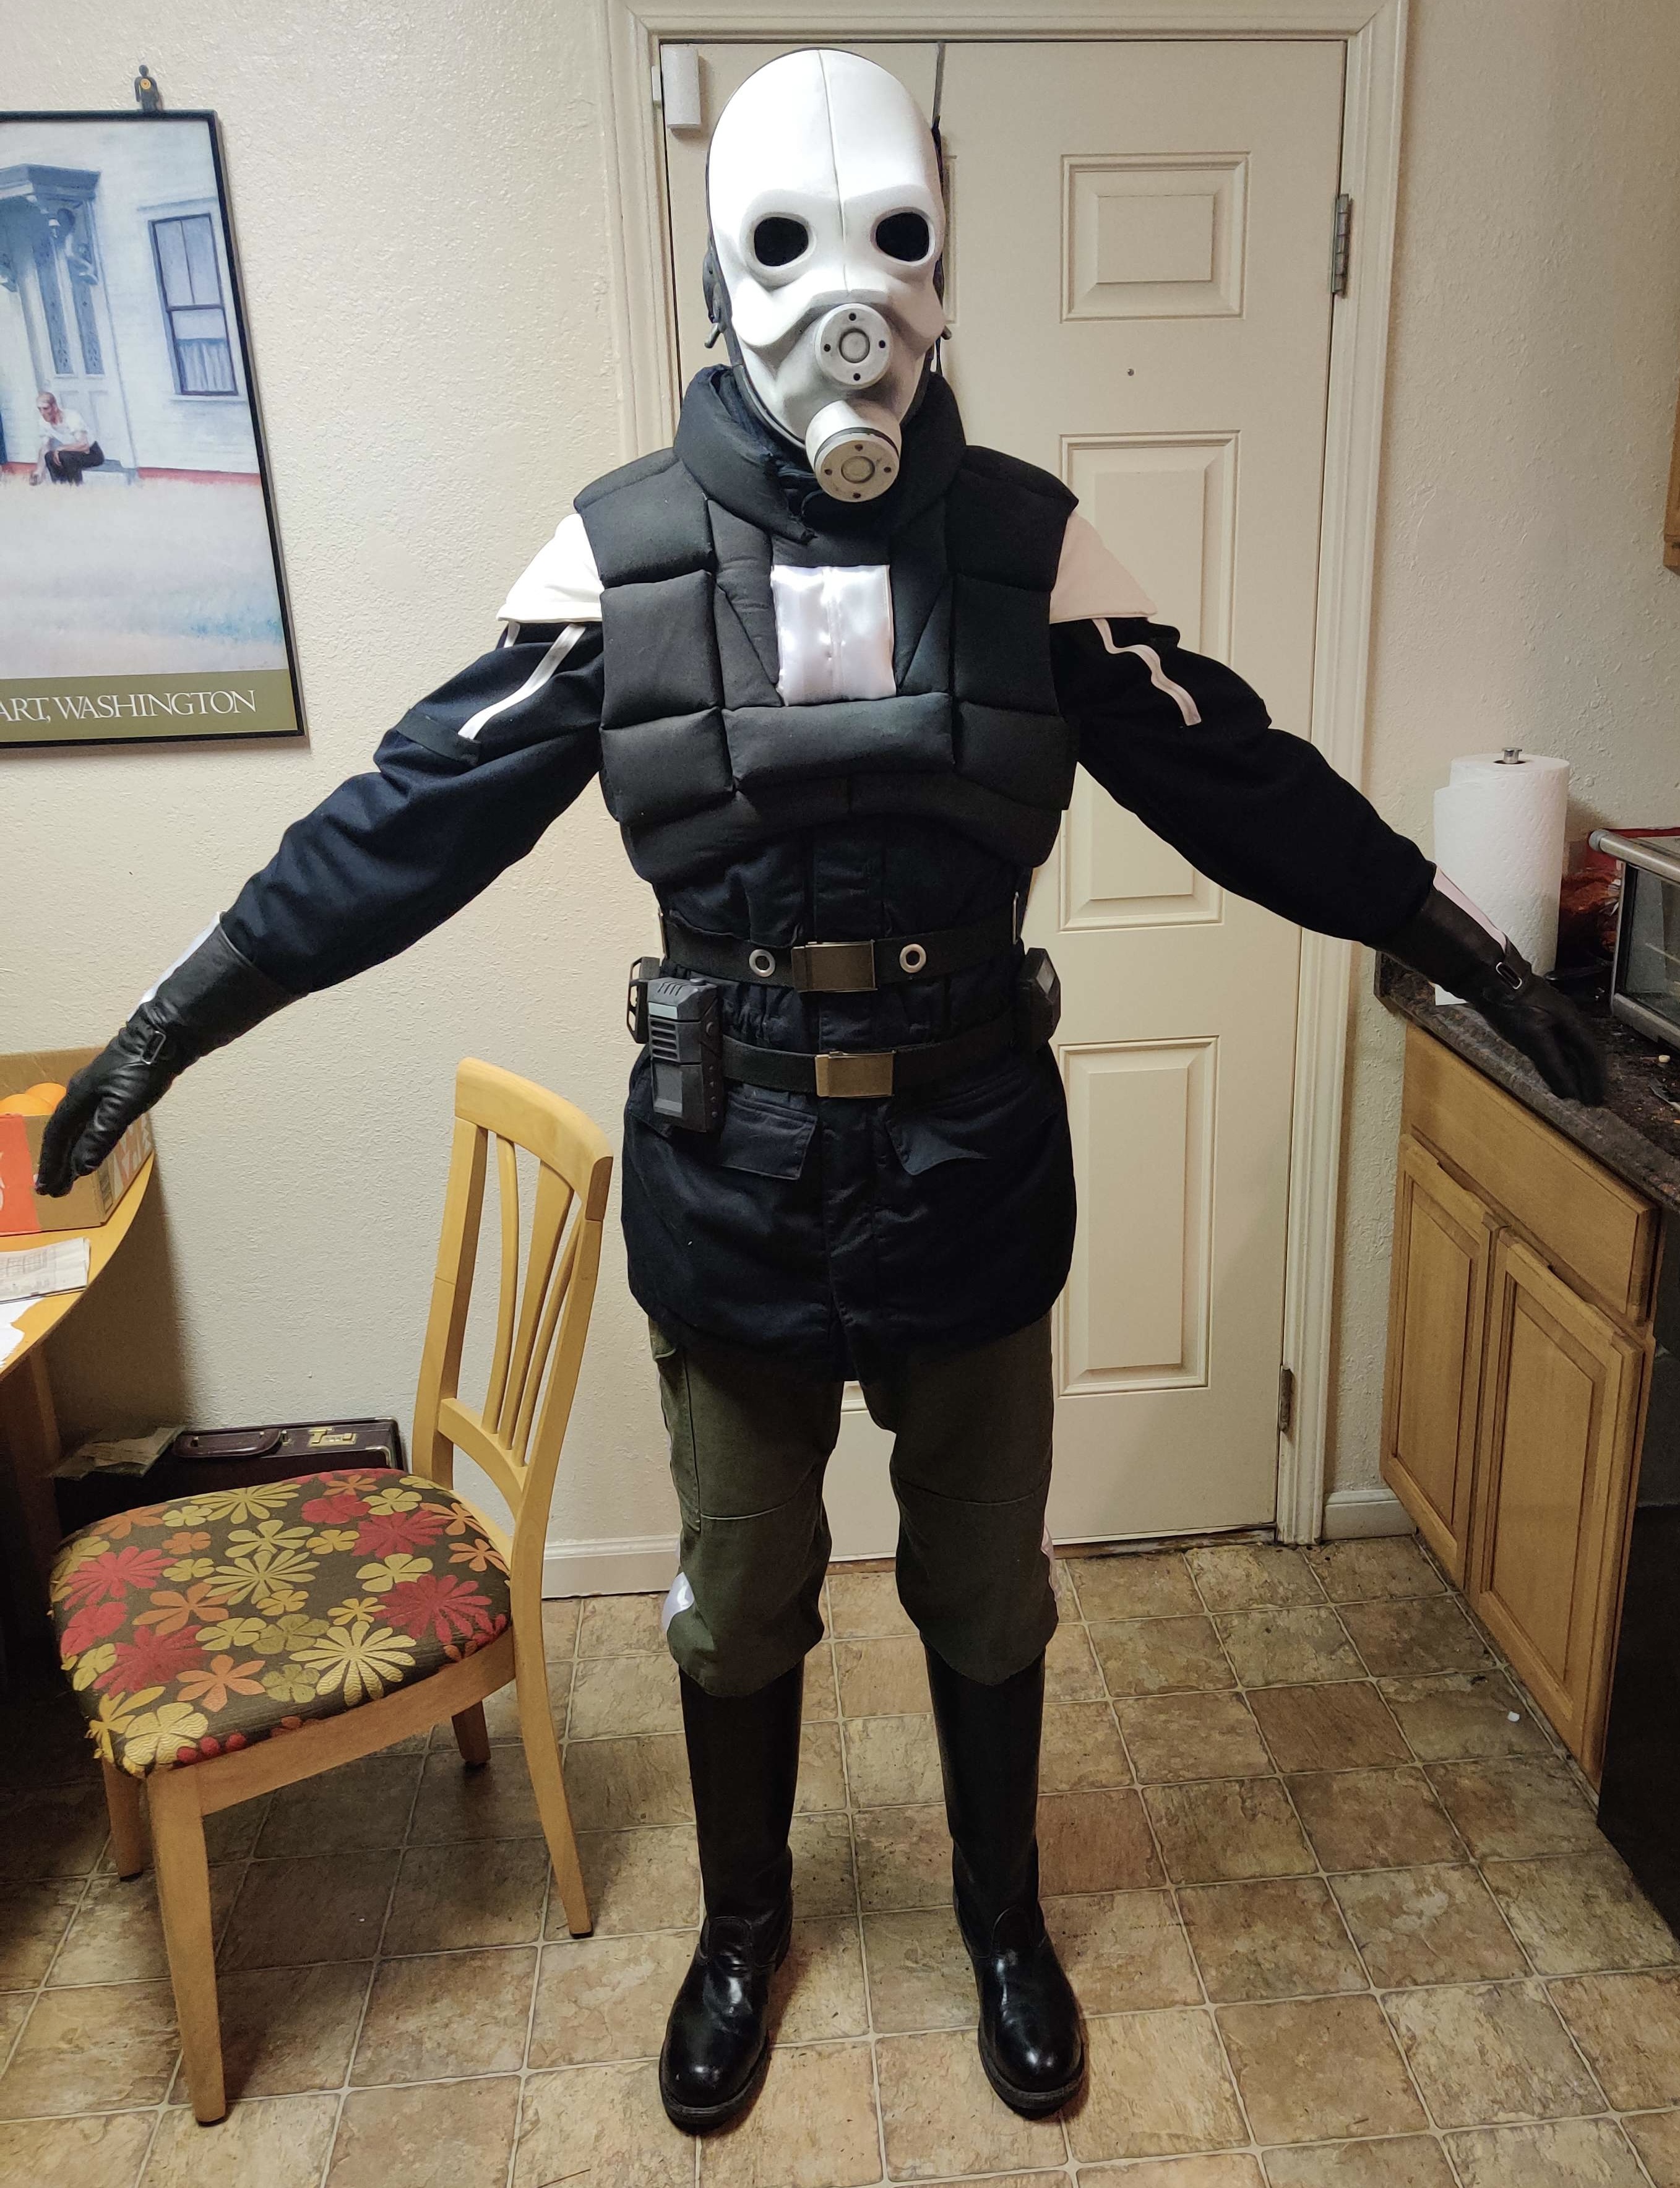
The costume is nearly ready. A few fit adjustments, light weathering, and electronics are still on the list, but I'm pleased with how the pieces are coming together.
There are compromises. Visibility in this configuration is poor, and I leaned heavily on hot glue to keep the build moving. Some parts are properly sewn, but this version leaves me plenty to revisit after wearing it.
· Erik Reiner
WonderCon 2023
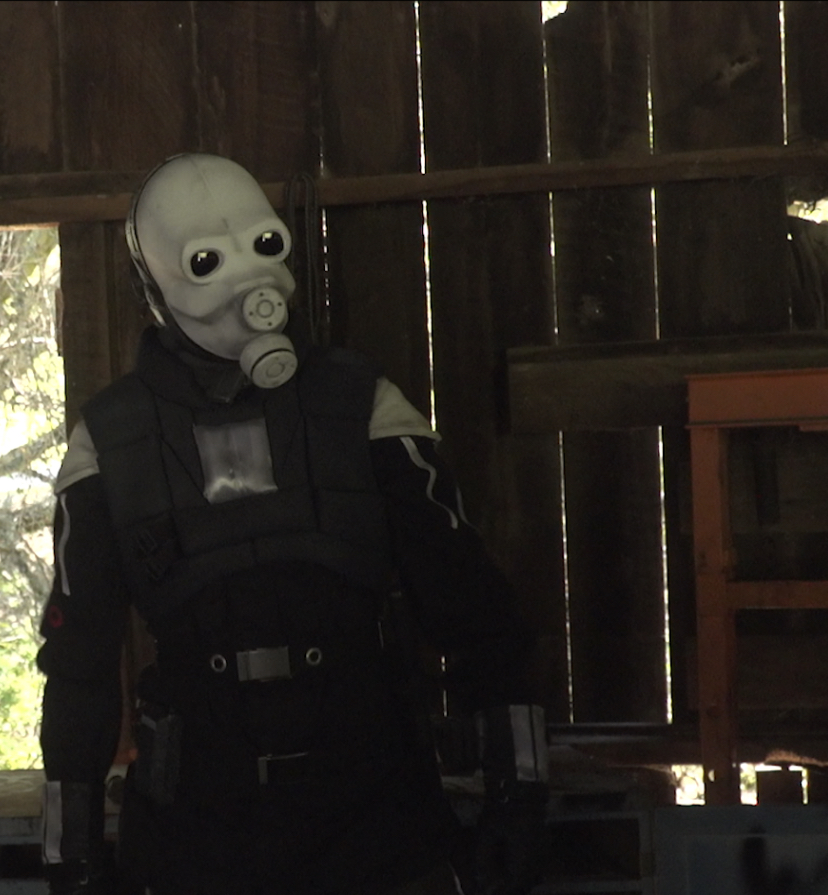
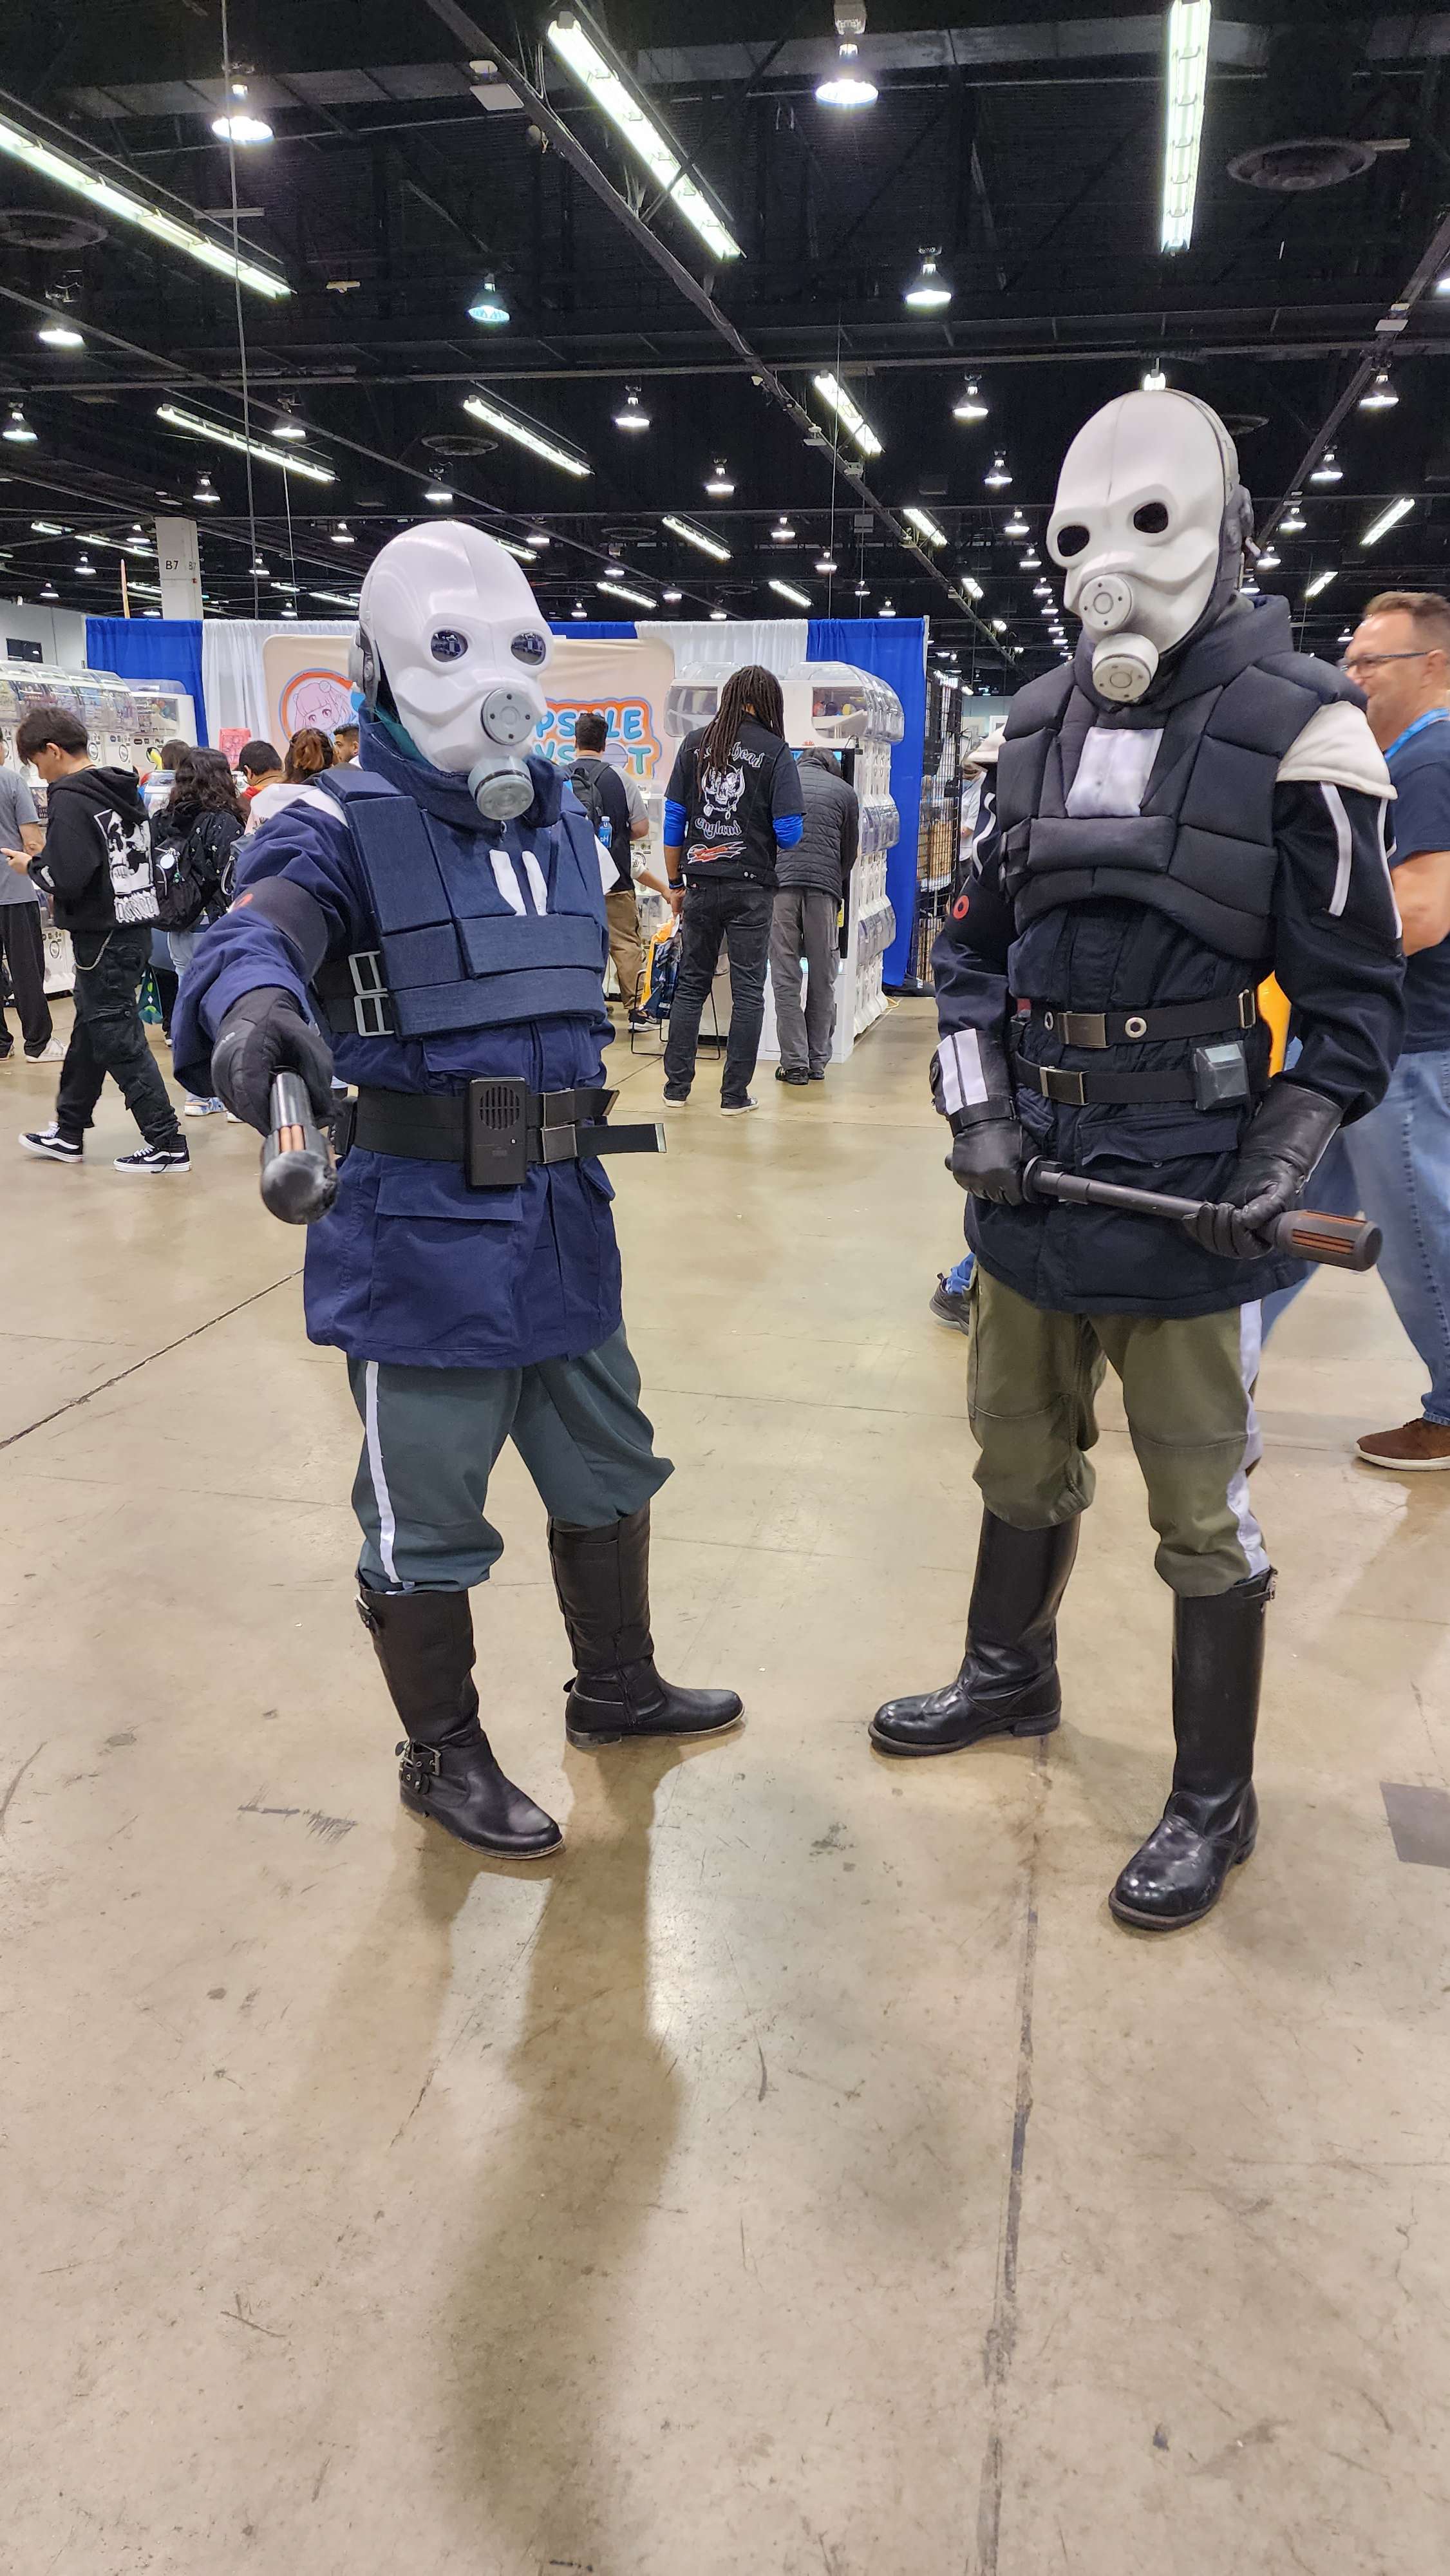
I wore the costume to WonderCon 2023. After years of prototypes and intermittent progress, taking it onto the convention floor was a real milestone.
Reports seeing the costume at WonderCon and shares a photograph of the encounter.
· Erik Reiner
Modifying the Columbia coat
The jacket began as a stock Columbia field coat. I modified it to bring it closer to the character, including adding the white stripes, but the underlying garment is still largely off-the-shelf.
From the community · 4 replies
Feedback and contributions from other builders. Follow the links to read more and see their photographs.
The first wearable version took roughly four years from start to finish. That span included pauses, experiments, and a helmet restart—not four uninterrupted years of construction.
The vest method and the finished costume now give me a foundation to build on rather than another starting point.
From the community · 1 reply
Feedback and contributions from other builders. Follow the links to read more and see their photographs.
For the armband, I ordered a custom print from an Etsy seller who made roller-derby armbands. Adapting an existing product was a practical way to handle that detail.
· Erik Reiner
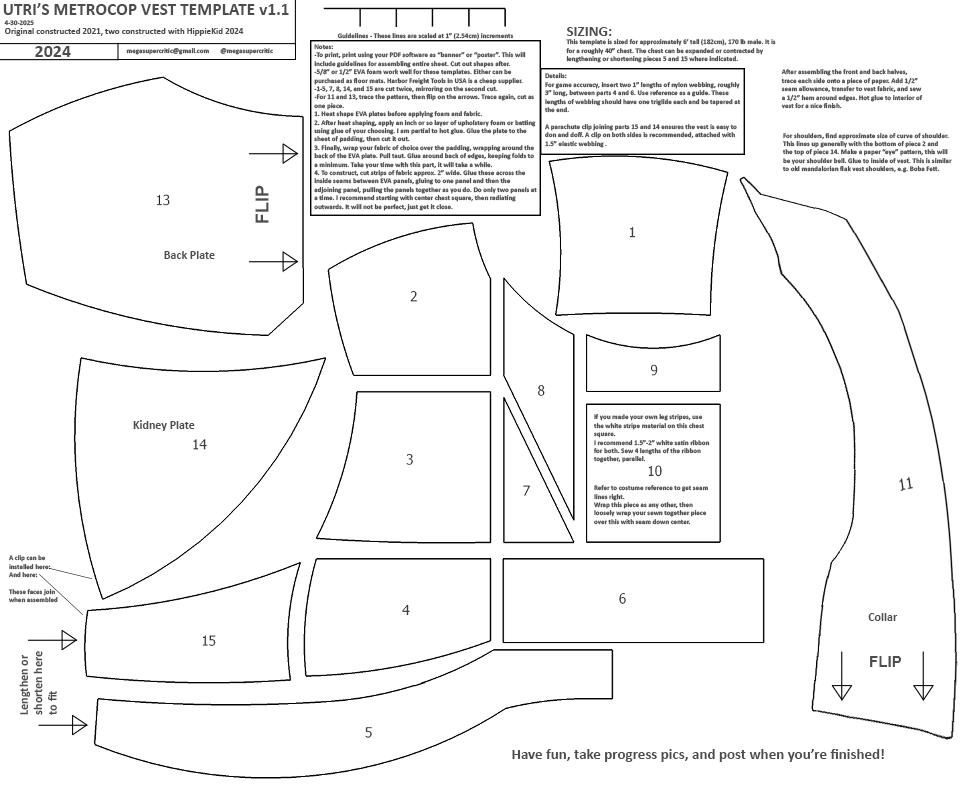
Digitized vest templates
I digitized the vest templates so the panel shapes would be easier to reproduce. This version was designed to be tiled using a PDF viewer's poster or banner printing option.
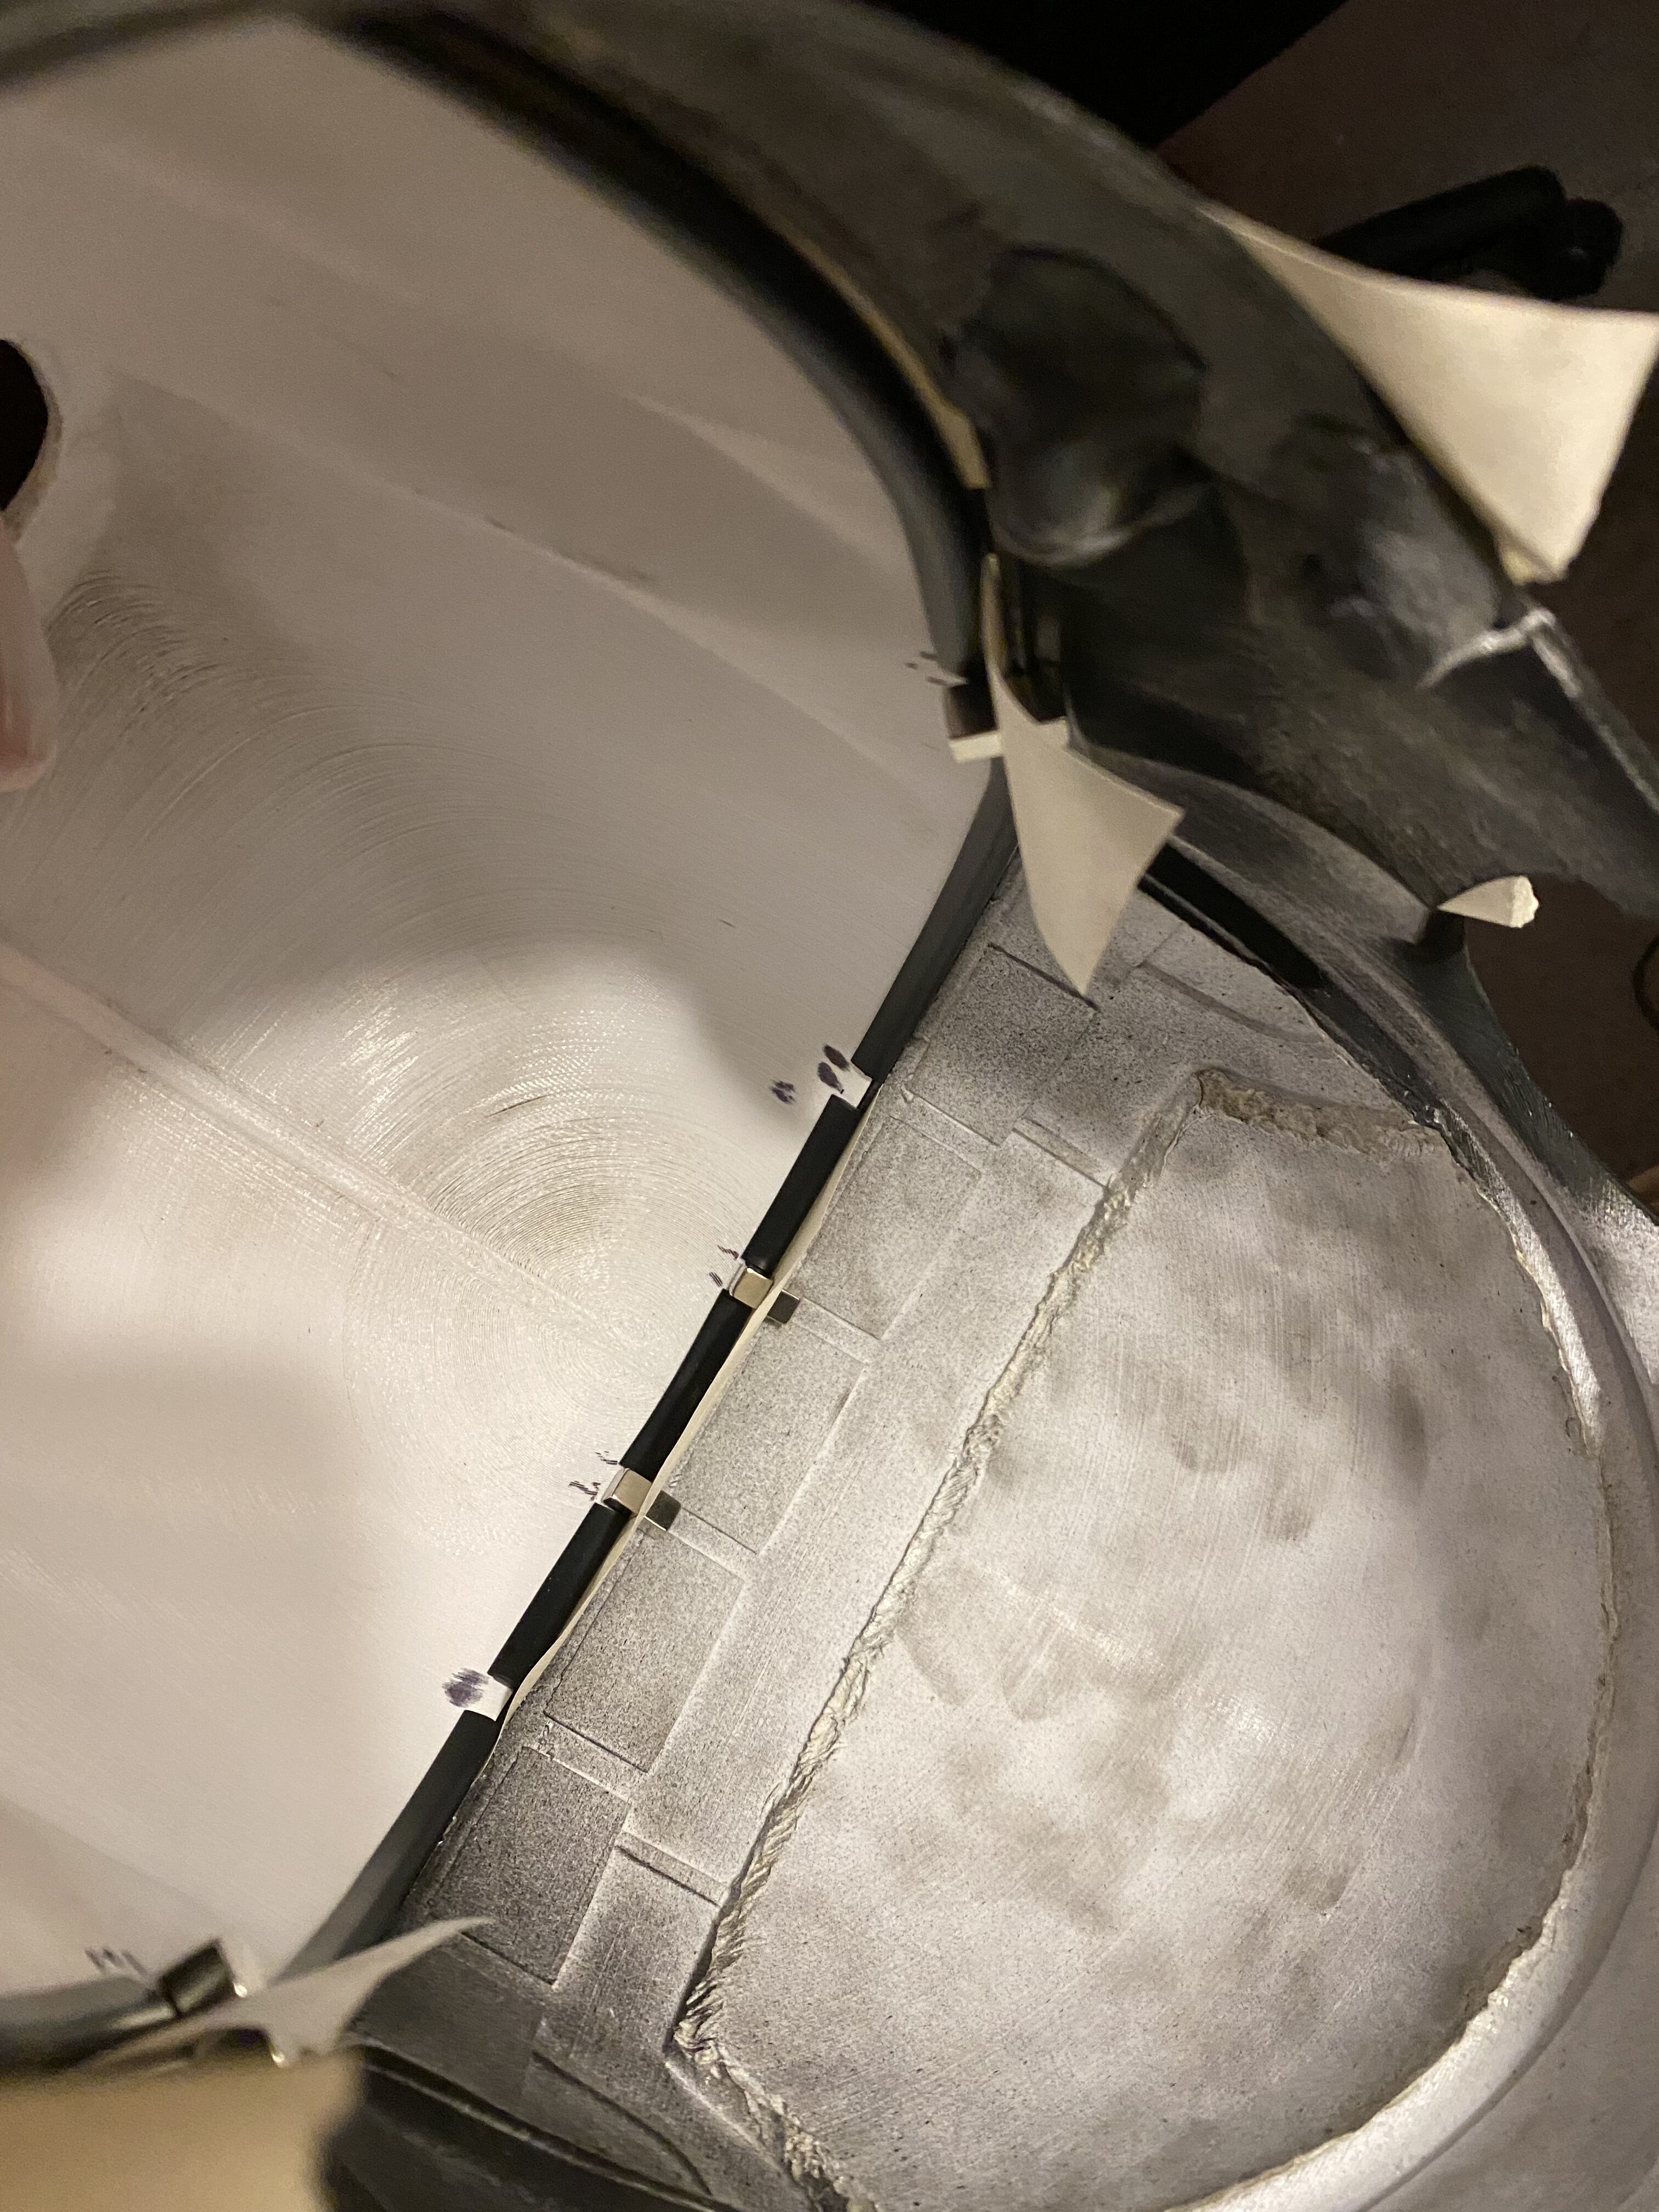
The lenses are held in with hot glue so I can remove them; I changed them three times while refining the look. A simple U-channel rubber trim finishes the edge of the mask. It's the same general type of material sold as automotive door-edge guard.
From the community · 3 replies
Feedback and contributions from other builders. Follow the links to read more and see their photographs.
The lenses came from a pair of dollar-store sunglasses. A small, inexpensive part ended up being the solution for one of the mask's most noticeable details.
From the community · 4 replies
Feedback and contributions from other builders. Follow the links to read more and see their photographs.
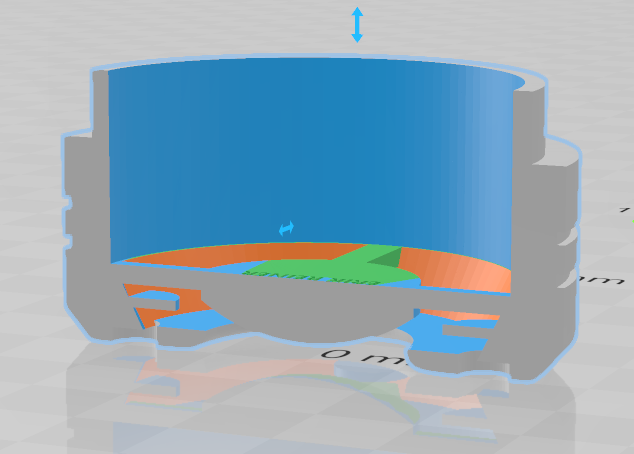
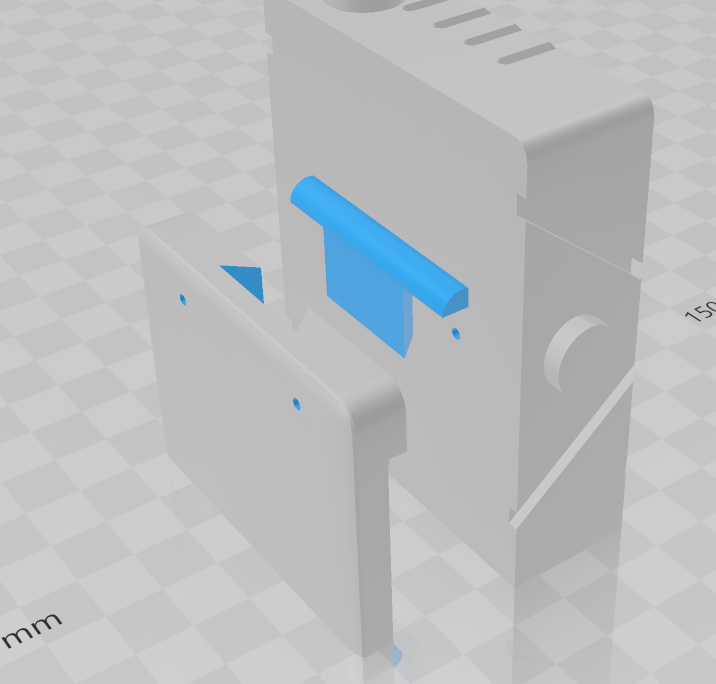
I modeled the early belt accessories myself in Blender. Those files belong to an earlier stage of the project, before the later Fusion 360 redesigns.
The vest templates have also become useful beyond my own costume. Sharing the pattern gives other builders a starting point, while each new build offers another chance to refine it.
Shares a completed costume commissioned from Erik; identifies the pistol and boots as independently supplied. Customer photographs are available through the contribution link.
The belt boxes are designed around functionality as well as appearance. Watching Will Cogley's work got me thinking more carefully about assembly, print orientation, and hiding visible marks from the printing process.
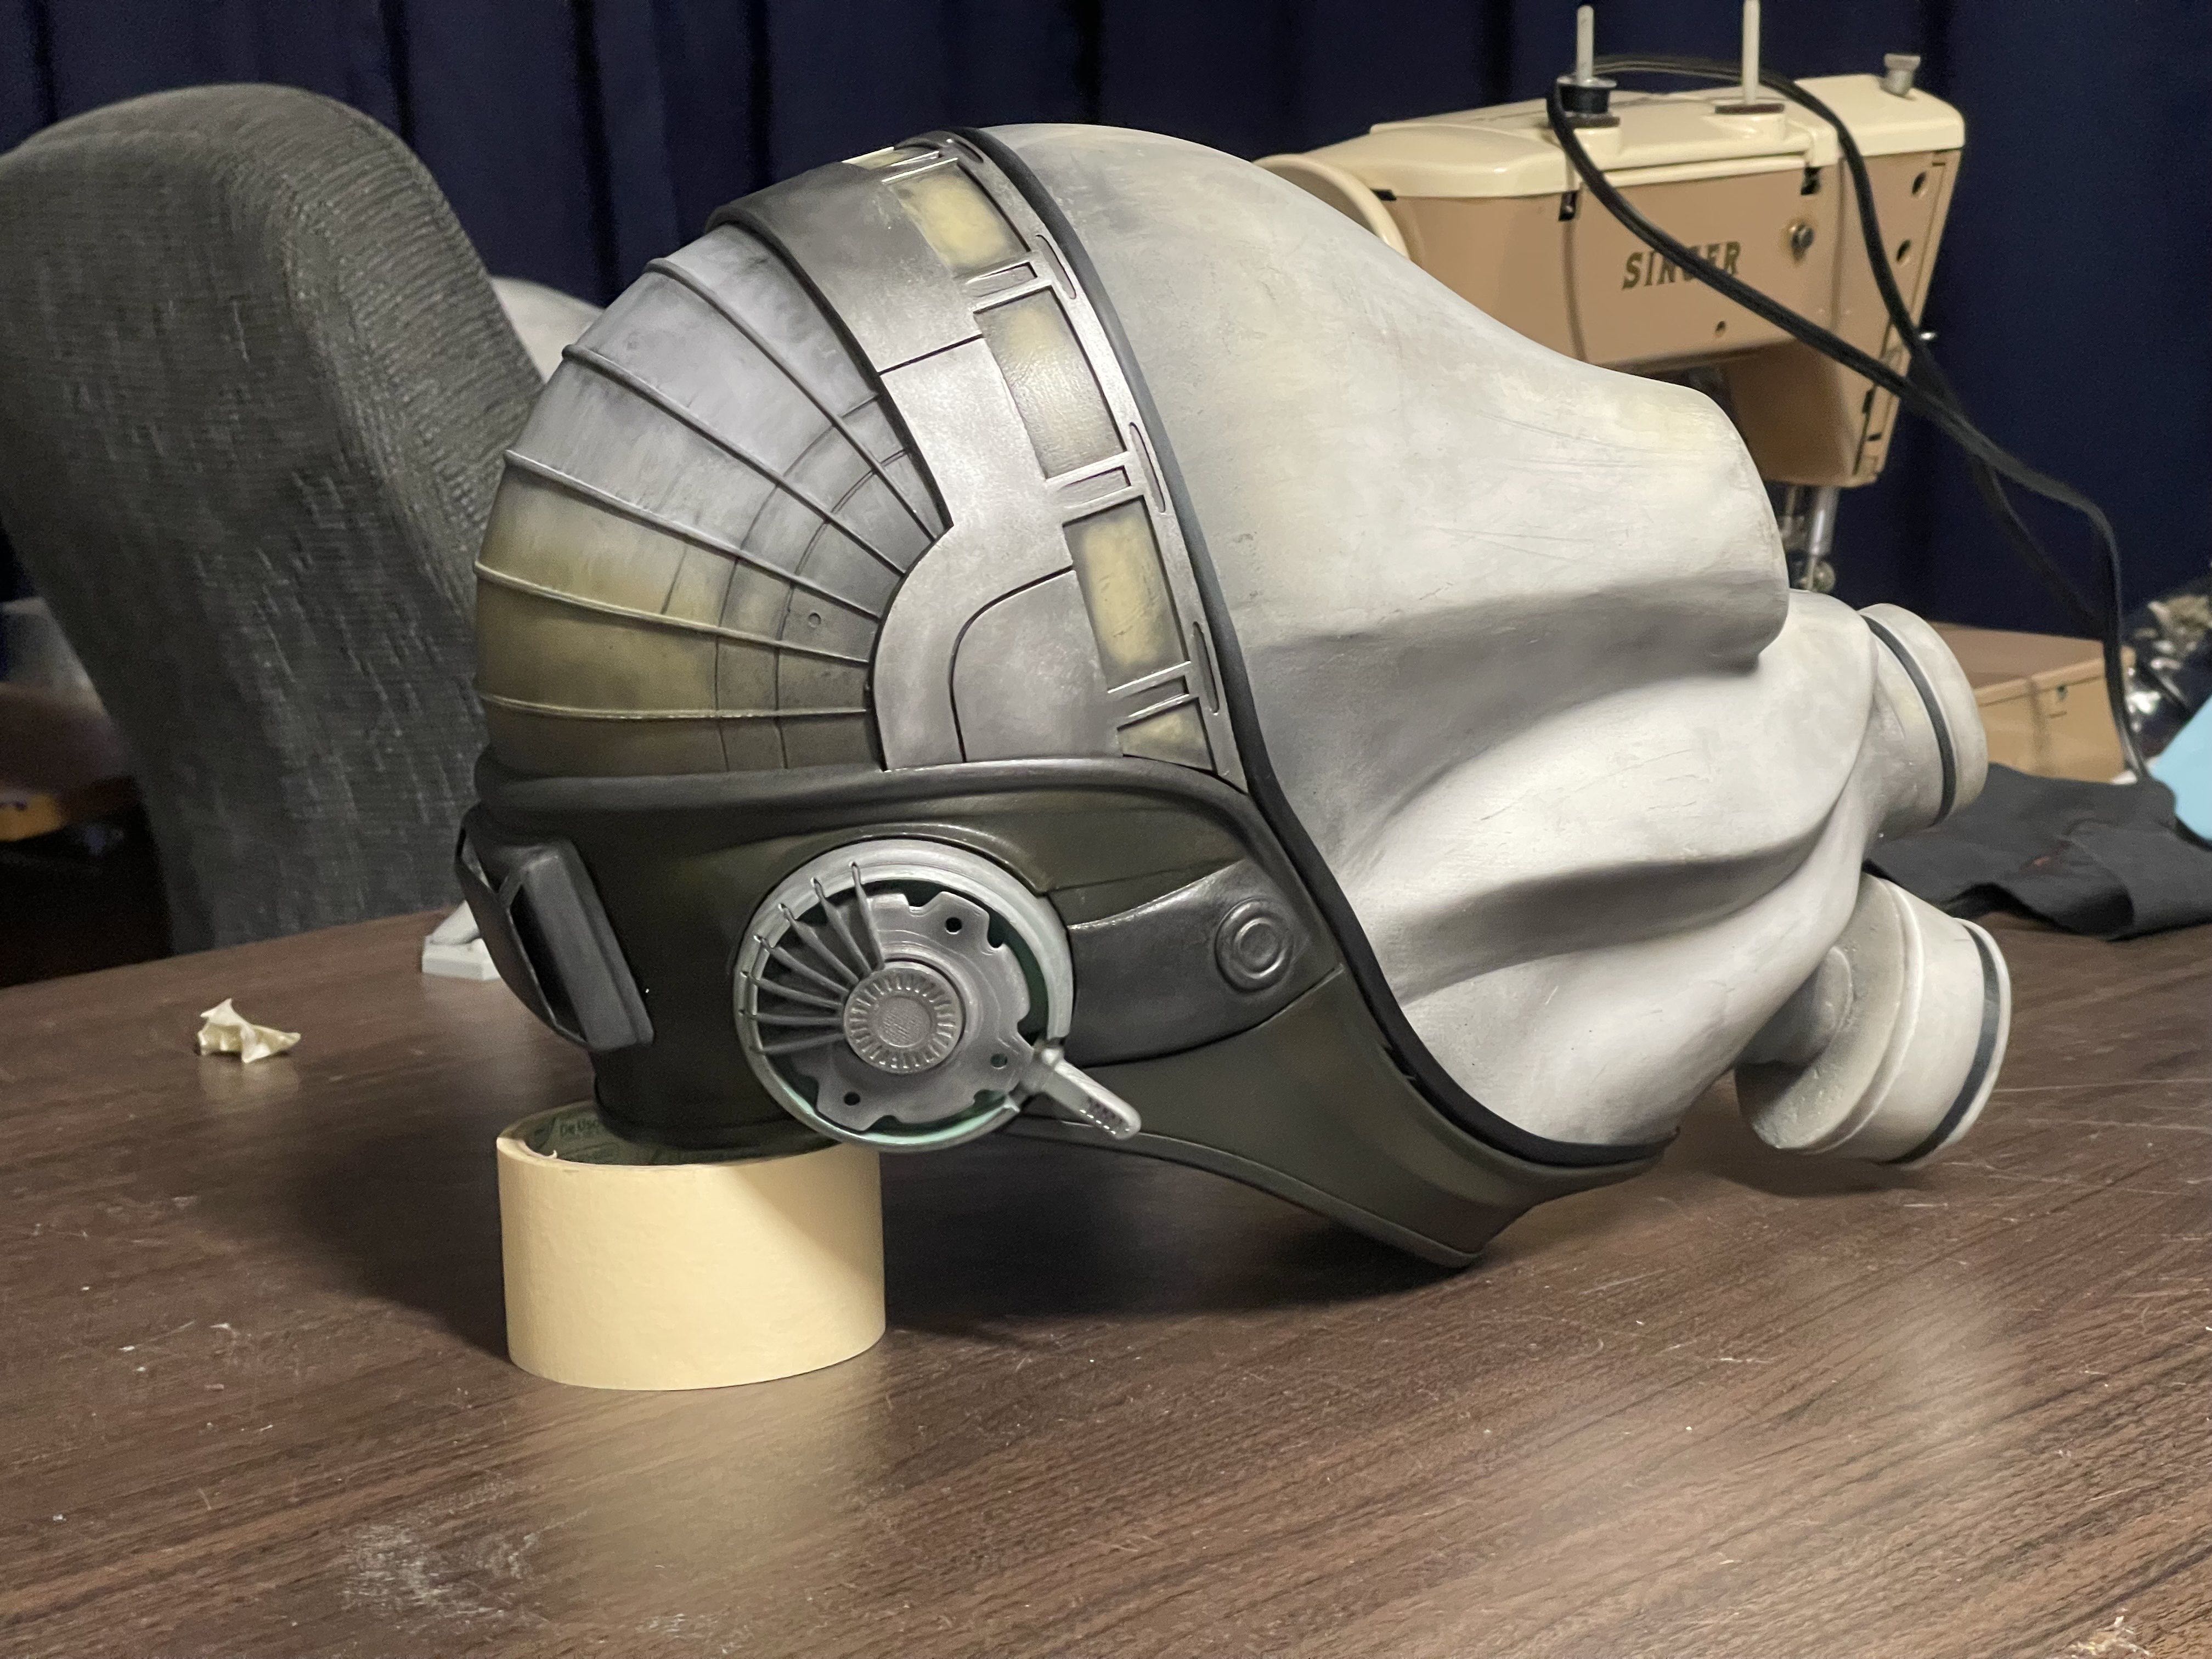
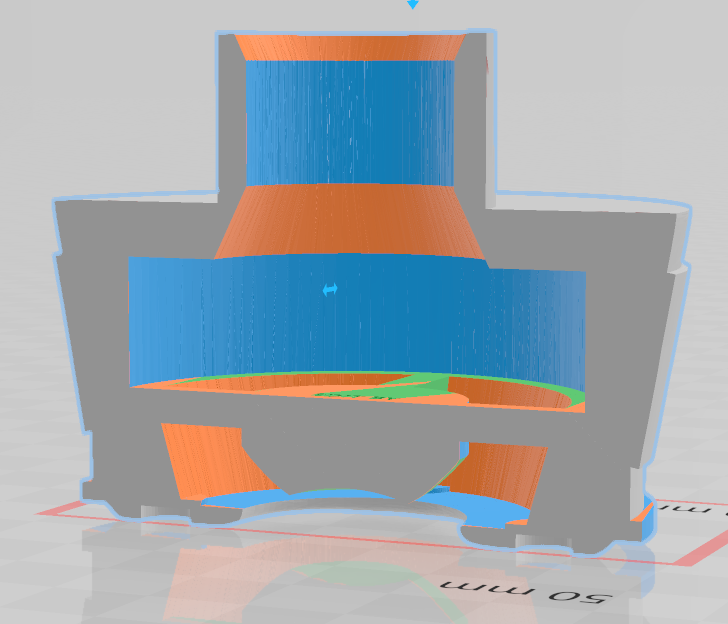
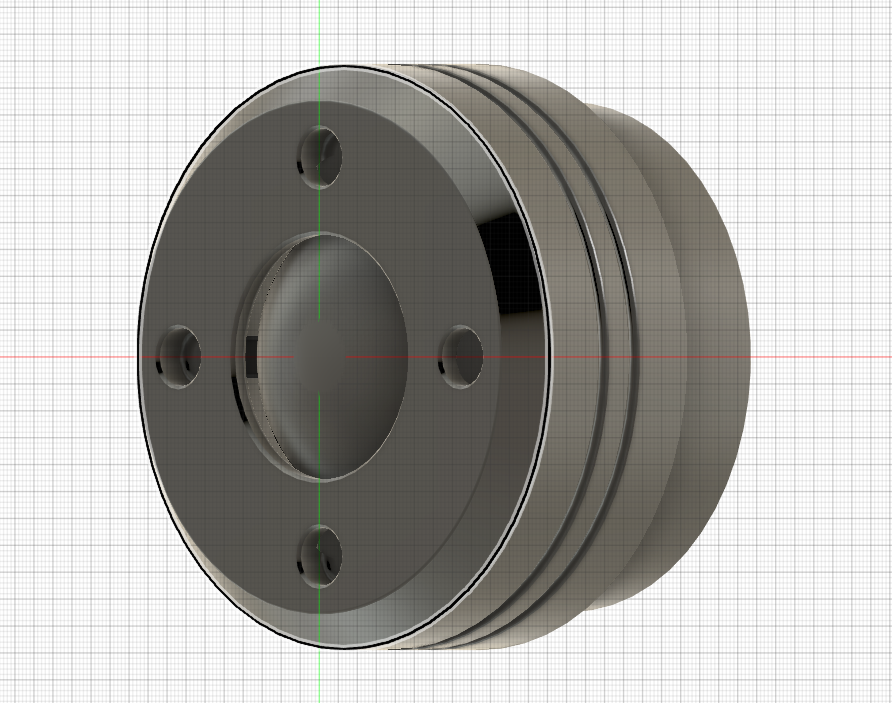
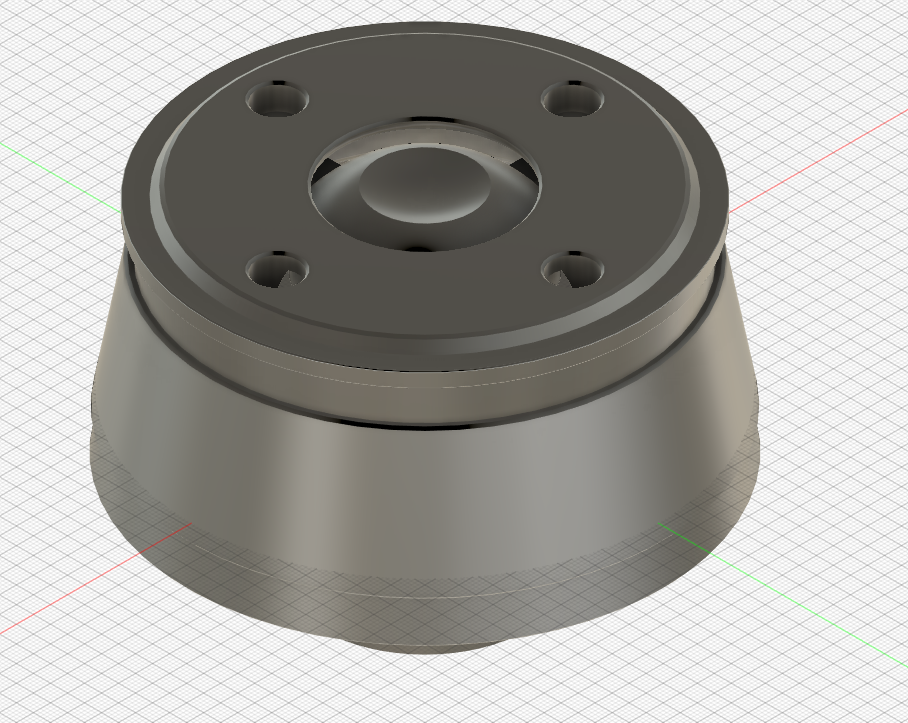
I also developed ventilated costume filter components to make the mask less stuffy on the convention floor. These are costume parts, not protective respirators.
These versions were printed on my Bambu P1S. The Ender 3 that started the project is still around, but the newer printer has become my main machine for this work.
From the community · 1 reply
Feedback and contributions from other builders. Follow the links to read more and see their photographs.
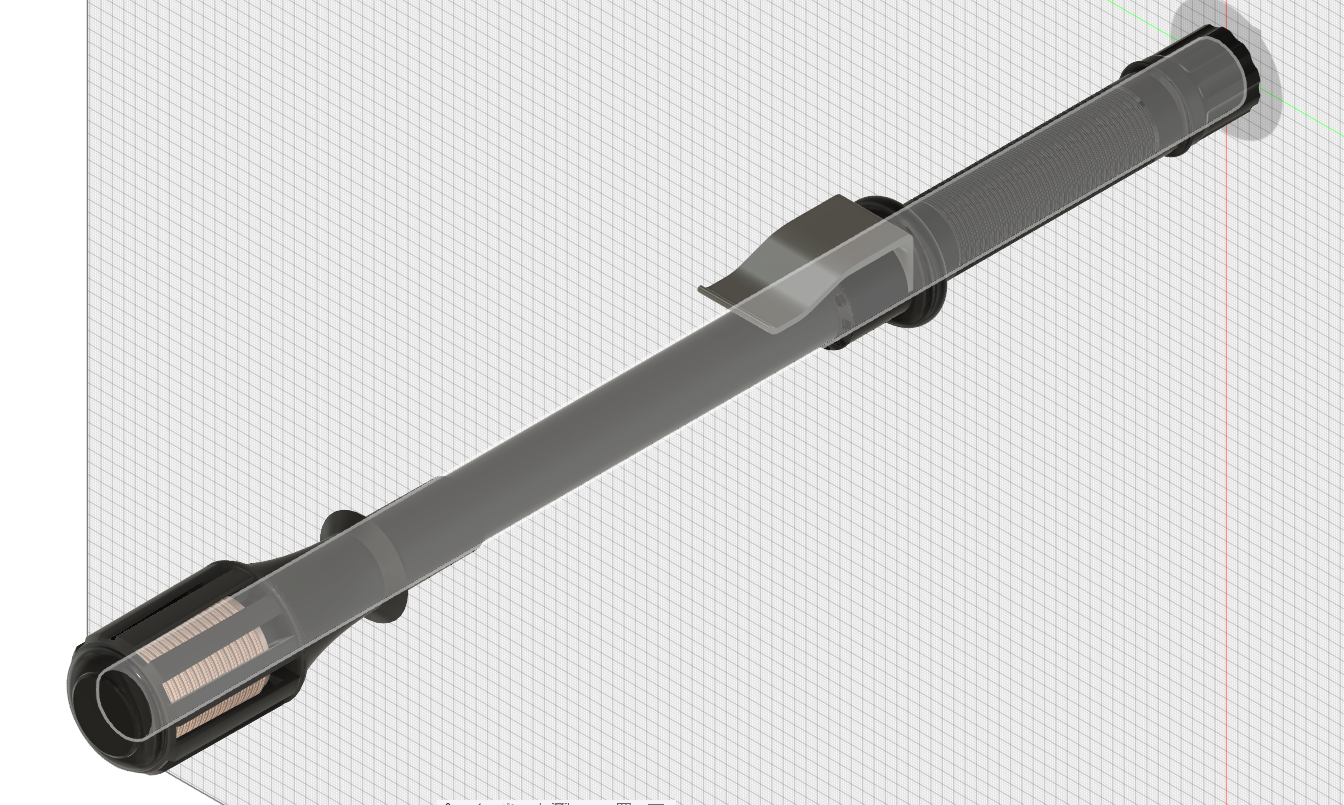
The Metrocop keeps evolving. A builder's LED stunstick effect has given me another idea to explore, and there are still parts of the costume I want to improve.
One of the most rewarding outcomes has been seeing the construction notes and templates help other people make their own versions. What started as a personal costume has become a much longer-running project than I expected.
The story continues
From a personal build to Citadel.
The project is still evolving. Explore the current props and accessories, or return to the condensed project story.